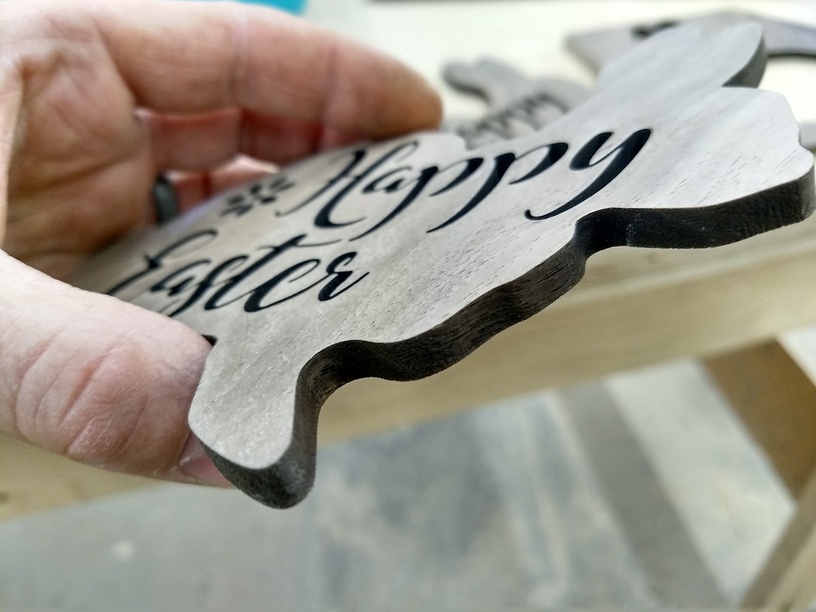
I’ve been really curious how well the Glowforge would cut up pieces of hardwood I have around the shop so I planed down some Walnut to a quarter inch and started experimenting.
At first I tried two passes and it worked (and I’m excited to try cutting 3/8" or even 1/2" with multiple passes, manually setting the focus deeper each pass), but then I tried a single pass and I think it worked just as well or better and was much faster.
I settled on using full power and a speed of 135-140 depending on the piece. I set the focus to 0.21 because I read here someplace that focusing just below the surface sometimes helps cut through thicker material in one pass.
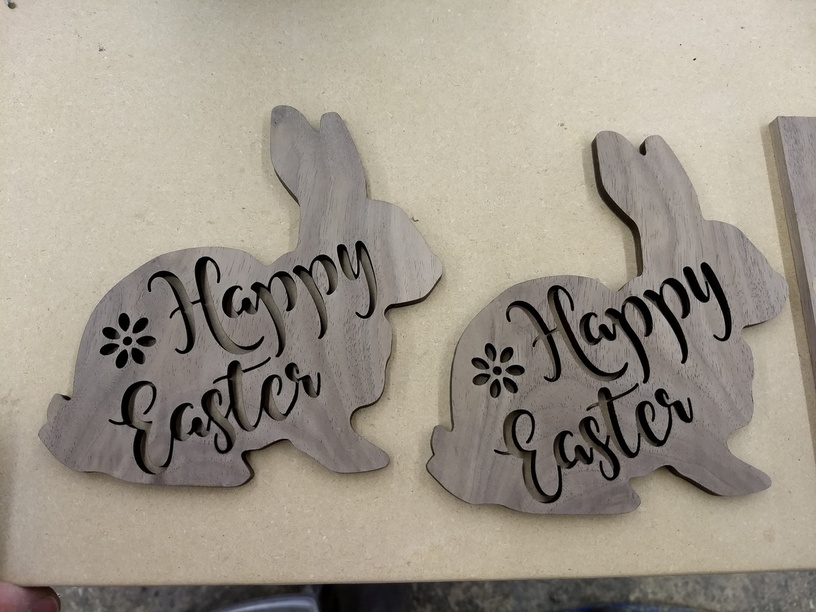
I played around a bit with maple as well and it also worked quite well.
I find myself really wishing the Glowforge UI had some very basic image editing tools such as copy paste, and the ability to stretch images (I can’t upload a square and then distort it into a rectangle?? Very frustrating to have to upload an SVG for every single thing I might want to cut…).
Anyways I’m sure the UI will continue to improve and get better. Quite a fun machine to have!
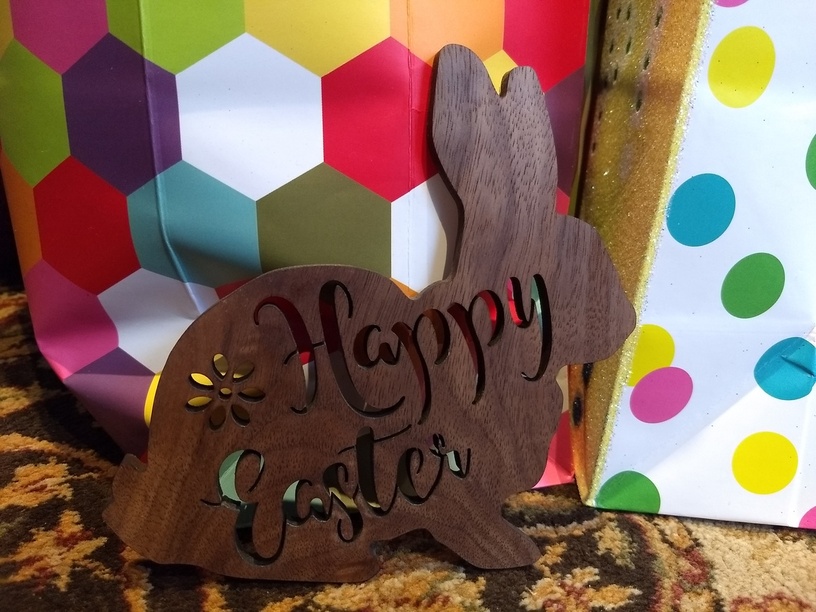
Anyways, here is what we made. A quick sanding and a coat of spray laquer and vwalla!
Standard copy/paste shortcuts - Control-C/V, Control-Z.
As for resizing, yup. Everything maintains the aspect ratio. Best bet is to drop the image into your vector program, add a cutline and export the whole thing as a SVG file. The plus is that everything is aligned perfectly, if you laid it out right in the design software.
The UI is probably best used as a print preview and settings interface that can move stuff around holes in your material.
You just saved me so much time and frustration! Thank you very very much for posting the cut and engrave settings you used for 1/4 Walnut You are a life saver!
I can’t find this font anywhere… any chance you could email me the vector for this bunny or the font name? My wife is dying to have a whole litter of these guys for easter this year.
Normally it’s against the forum guidelines to ask people to share their vectors if they don’t offer up front, but this one happens to be a free internet silhouette so here’s the link:
I certainly don’t mind sending you my file if you want it, as well as the font if I can find it… I will say that my font had to be manually modified to keep the inner parts of the letters still attached to the main part. Also, I cut these out of solid walnut, and because of the nature of solid woods and grain, I had many of the smaller pieces break, or in one case the entire bunny broke in half where the wood grain lined up with thin parts of the design. Shouldn’t be a problem in any of the PG plywoods, but if you cut it from solid wood it’s something to be aware of.
Attached here is the file. Good luck!
EDIT: Here is the file again, but with the text a little smaller and things separated out by color so you can easily engrave the words and flower if you prefer that to cutting them out, or if you want to delete parts or whatnot.
Cheers!
Eric

 You are a life saver!
