Disclaimer: Do not attempt to build your own unless you are comfortable working with high voltages. There is information to be found online and in books on how to properly build should you wish, this is not intended as a guide in any form.
For anyone not familiar with Electrostatic Loudspeakers, here is a good overview:
 Technology - MartinLogan")
Maybe my most ambitious Glowforge project to date? These are now my third and likely last set of electrostatic loudspeakers (ESL). The first set I built when I was 18. They were full range monsters with 6’x2’ of radiating area. The sound was magical, but just not practical for a kid still living at home and getting ready for college. I built a second set 15 years ago, about a year prior to the birth of my first child. These were also massive full range panels, not something that exactly blends in with typical room décor even though I did attempt more that time. I am a hobbyist electronics enthusiast and not an electrical engineer. I was not comfortable with the exposed high voltage on the bare stators and the thought of curious little fingers scared me, so they were also discontinued.
I knew if I were to build a pair that were going to stay with us indefinitely, some sacrifices were going to have to be made. They would have to be much smaller both for aesthetics and practicality, this meant a hybrid system. The panels would cover most of the auditable range but would need to be augmented with a typical cone woofer/sub-woofer for the low end. I also wanted something that could be easily stored should they not be welcome in the home at some point. My design can be completely taken apart for either repair or long-term storage. I decided with the Glowforge I now had the tools needed to make curved panels, which is both a sacrifice and a benefit. They are effectively less efficient but the sound covers a larger listening area. My previous versions were strictly for one listener, the curved would have a sweet spot of three listeners based on my chosen panel radius and listening distance. Finally, I wanted to be sure I had the high voltages current limited this time. This would insure a level of safety for dog noses and unknowing visitors.
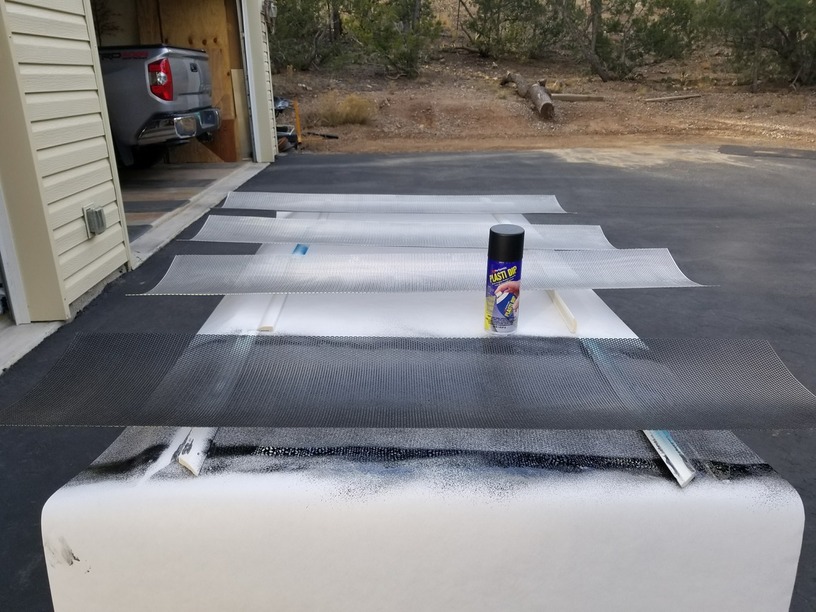
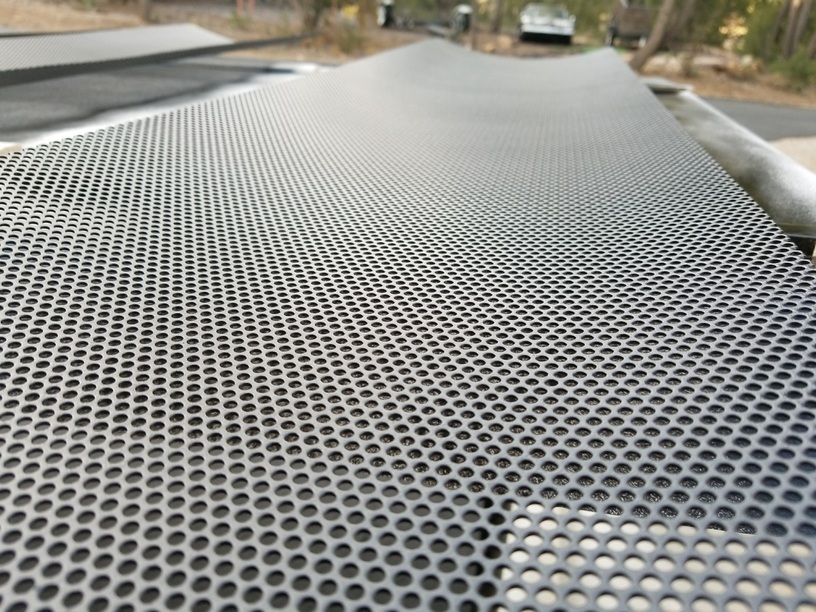
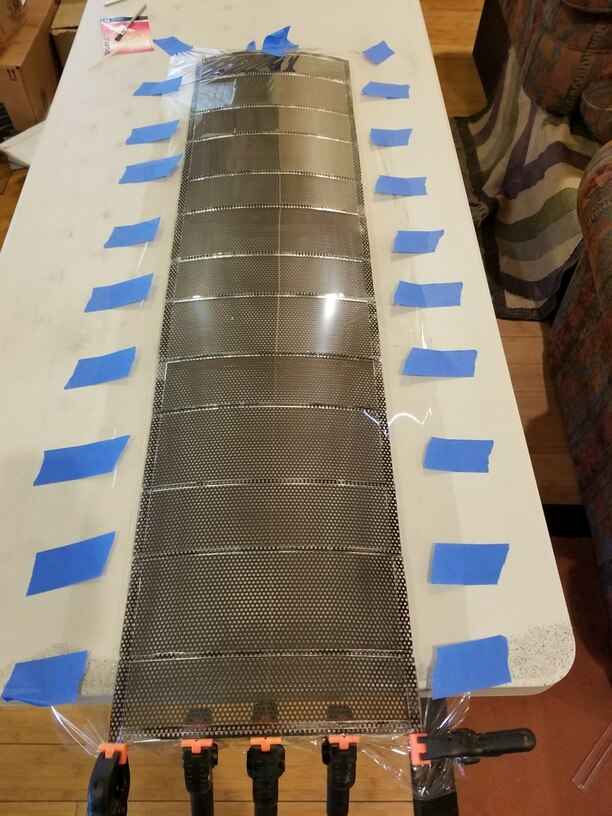
With all that sorted, I set off on fabrication. First step was to Plastidip coat the perforated metal stators. This both served as a nice finish and as an added electrical insulator.
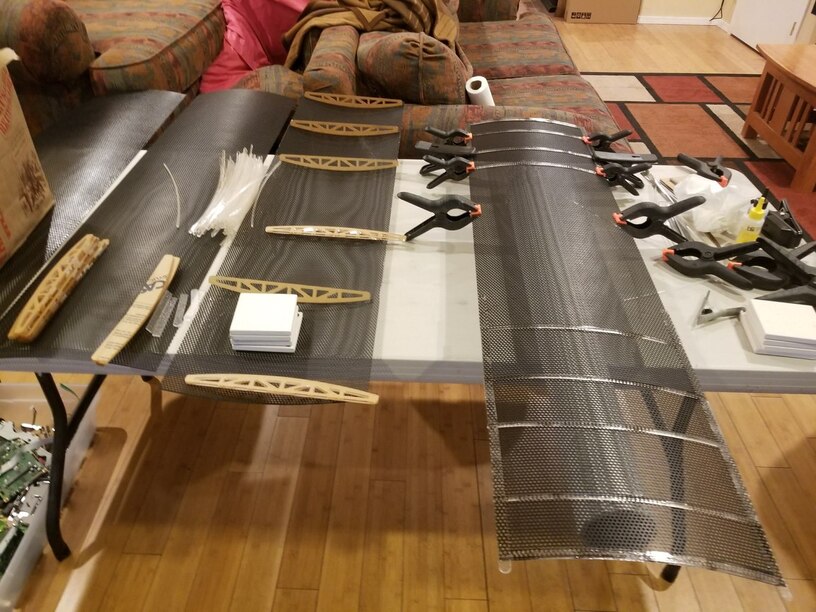
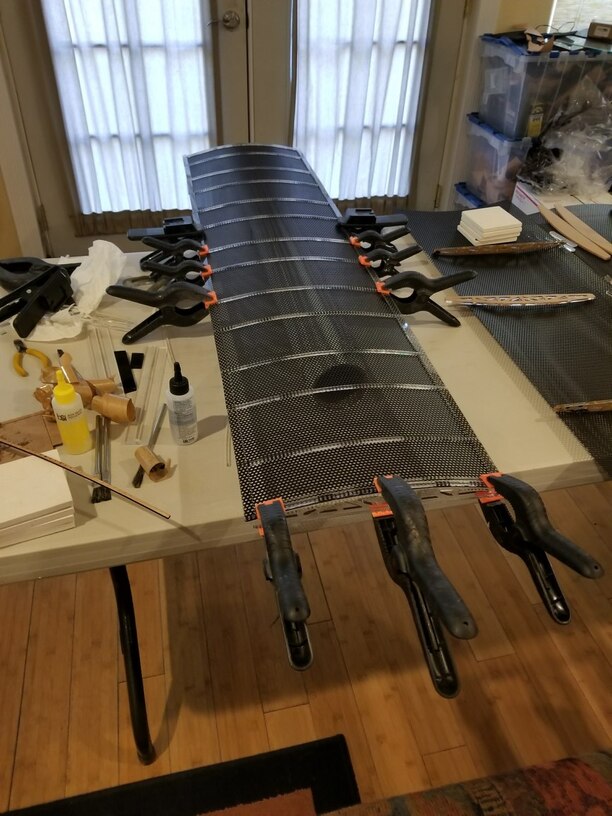
Next was to glue the Glowforge cut spacers and supports to the stators. I was able to precisely cut the arc to match the curve established by the acrylic ribs as well as set my panel spacing exactly how I wanted with the laser cut parts.
The last of the acrylic spacers being glued.
Mylar film being stretched and glued into place.
Masking off the mylar. Graphite powder is rubbed onto the mylar to provide a high resistance conductive layer for the bias voltage. There are various ways of doing this, graphite is what has worked well for me in the past. You can also see the copper foil tape running up both sides to transfer the bias voltage to the graphite.
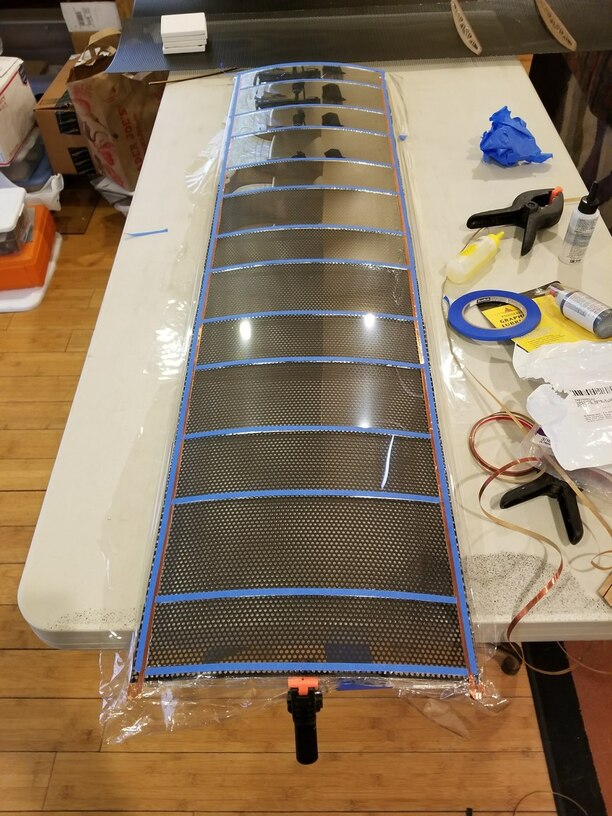
Second layer of acrylic spacers being glued in place on top of the mylar.
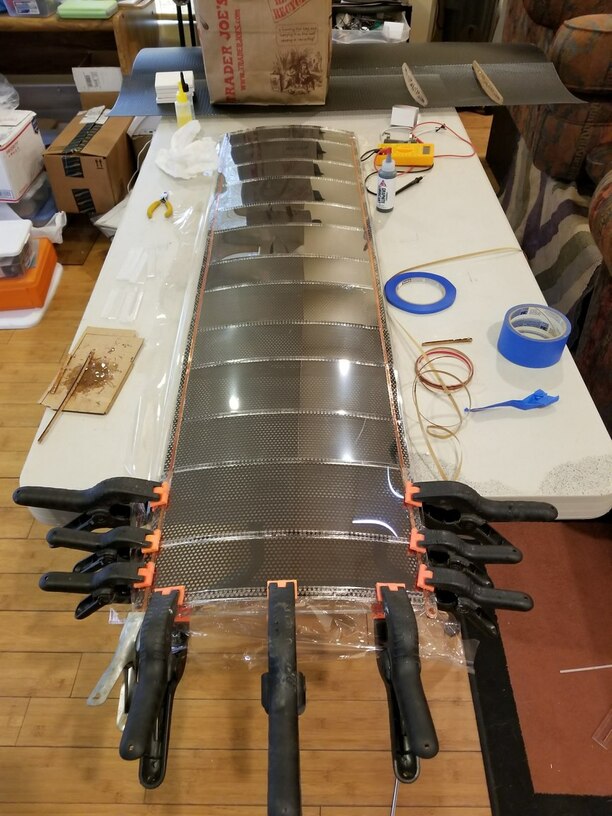
Finished and ready for the top stator.
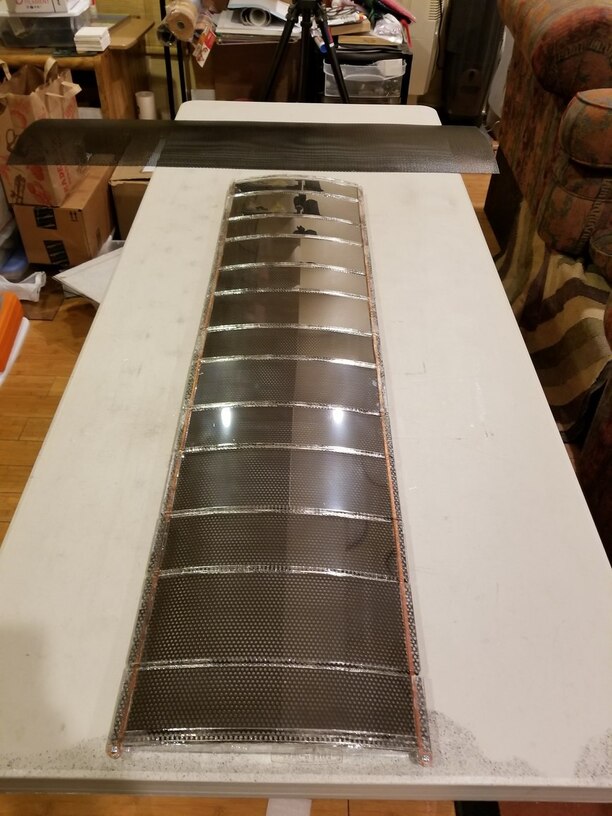
Testing the first panel bare here. I was able to scrap that large gray high voltage transformer I had used in past builds (scavenged from old laser copiers) for a pair of high voltage generators about the size of a standard thumb drive. (Side note: At 7000v and full current I was able to get nice ½” sparks out of these units. They might make good HV drivers for a cheap Jacob’s Ladder. https://smile.amazon.com/gp/product/B00XDTB03G/ref=oh_aui_search_detailpage?ie=UTF8&psc=1) I found that 4200v was where my ESL was most happy. Below that and the volume would drop off, too much above and the panel would arc. I was also playing around with various passive crossovers and was pleased to find out that with my small panel segment size I could run basically full range without issue even at high volume. These panels have a pretty steep natural roll-off at about 140Hz. I am now running an active crossover that cuts off everything below 90hz to the panel and the subwoofer is set to pick up from 140Hz on down.
Here is the simple circuit to drive the ESLs once I was happy with the testing. I have current limiting resistors on both the audio input and the bias high voltage circuits. Should be no worse than a typical static shock, although I hear the AC on the stators is still quite uncomfortable feeling. I am hoping the Plastidip provides enough of an insulator that no voltage is transferred, I have yet to physically test yet.

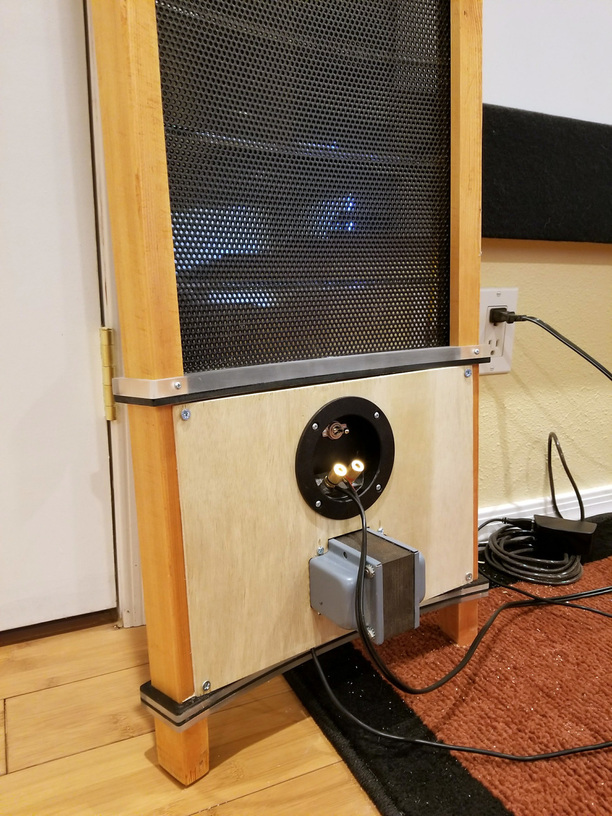
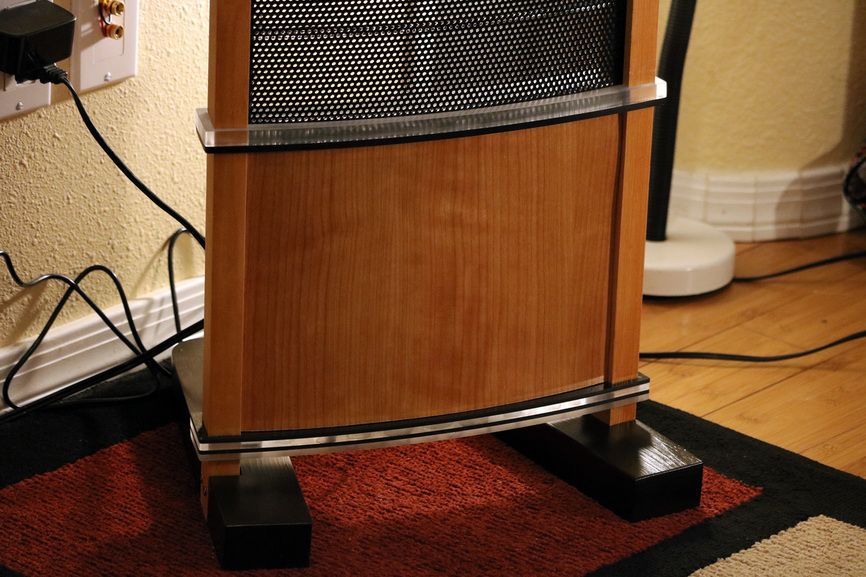
Back panel installed. The hole for the audio transformer as well as the terminal plate were cut on the Glowforge. I mounted a switch in the terminal plate to toggle the bias voltage on and off. I am running the high voltage generators off two old USB wall adapters. I have a DC to DC converter input set to 2.2v, that gets me the 4200v bias I liked best.
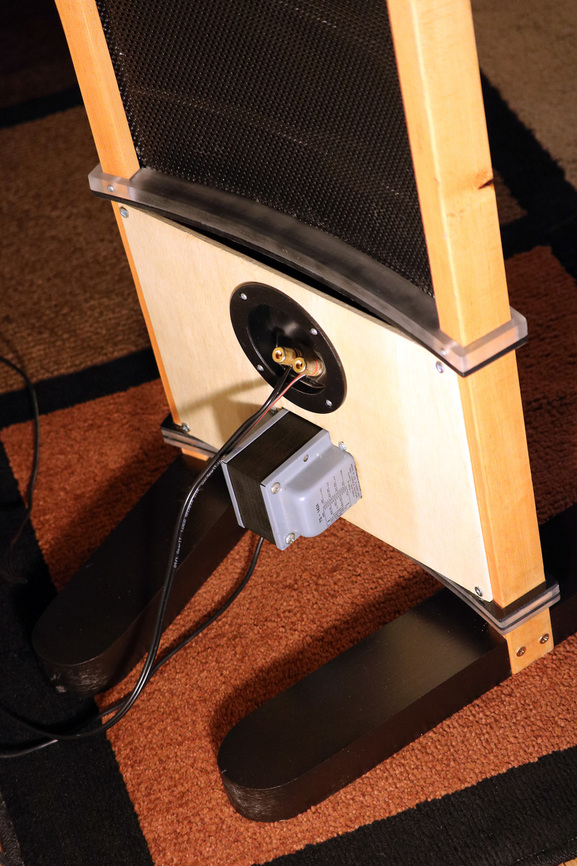
Shot of the back of the panel. You will notice I removed the laser cut support ribs. After assembly I decided the panels were holding shape without, so for a cleaner look and less audio reflectivity they came off.
Detail shot of lower acrylic trim. Laminate of clear and black sanded to a matte finish.
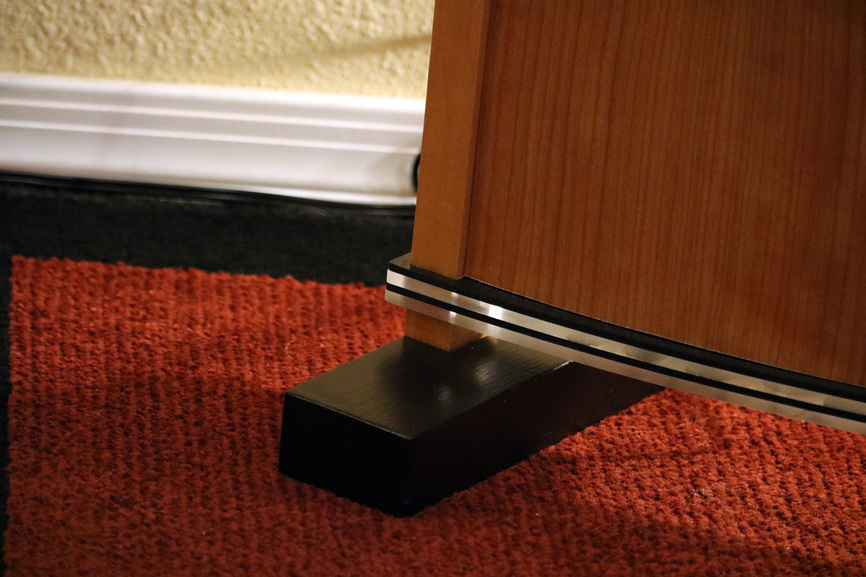
Bottom panel support acrylic. That is ½” laser cut acrylic to provide a nice slot for the panel.

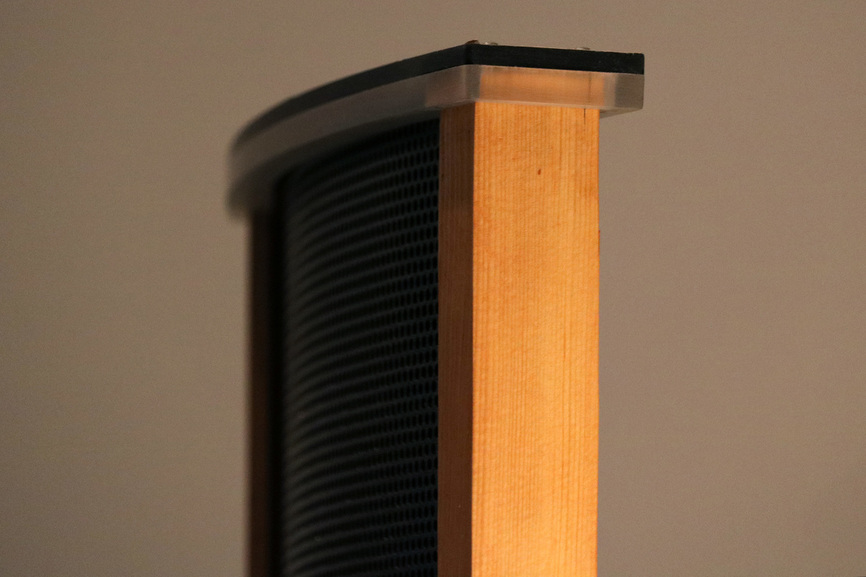
Notice that nice sheet of Proofgrade cherry veneer?!
Top acrylic cap.
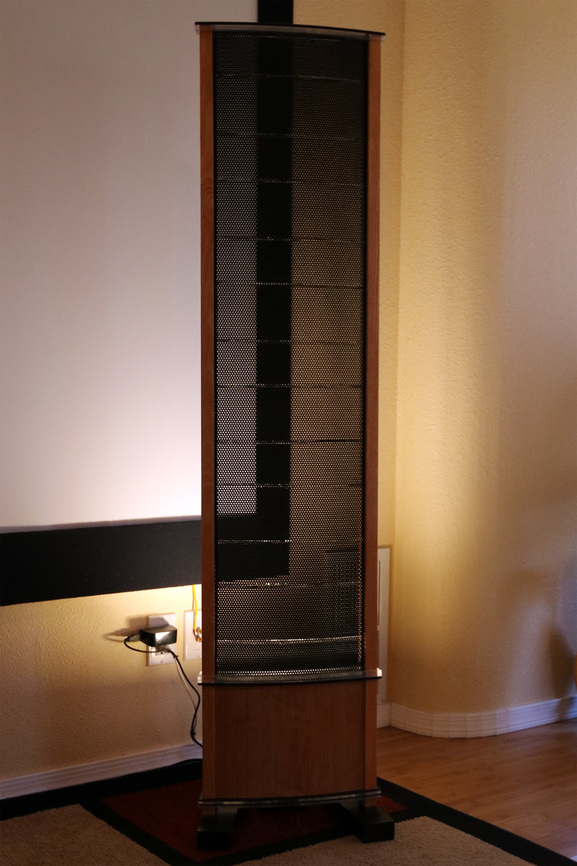
I guess “small” is relative. Standing 5.5’ tall and 13" wide, these are the smallest I have made by far.
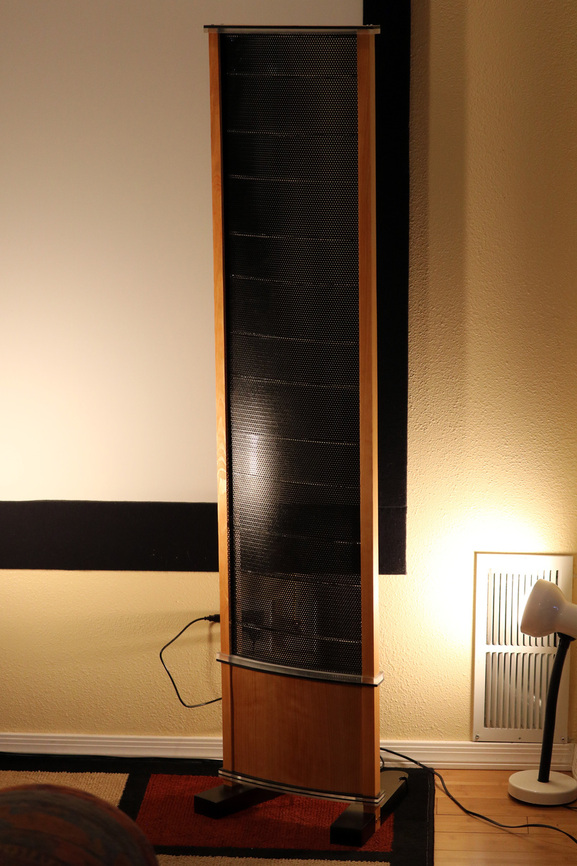
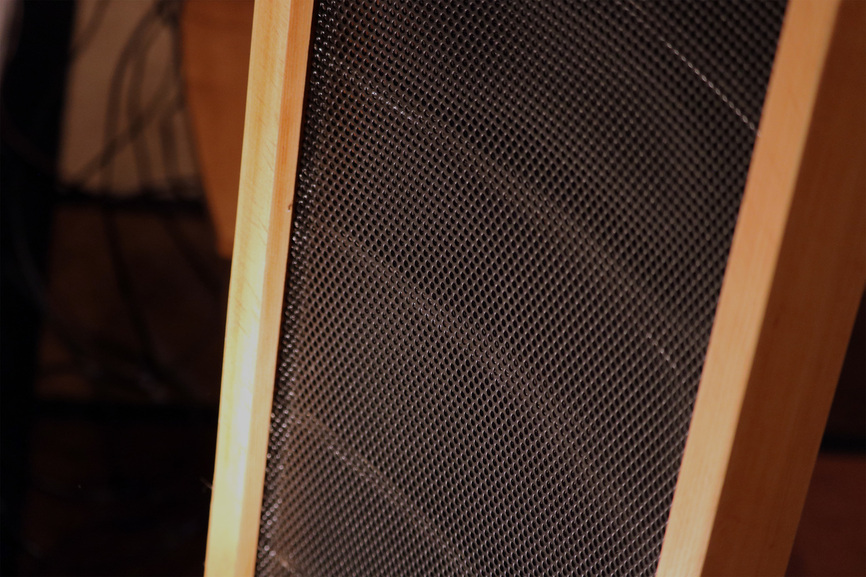
Still cool to hear sound come out of a transparent speaker!
I liked the rear lighting so much that I whipped up some pot lights on the Glowforge and painted them the same black as the ESL feet.
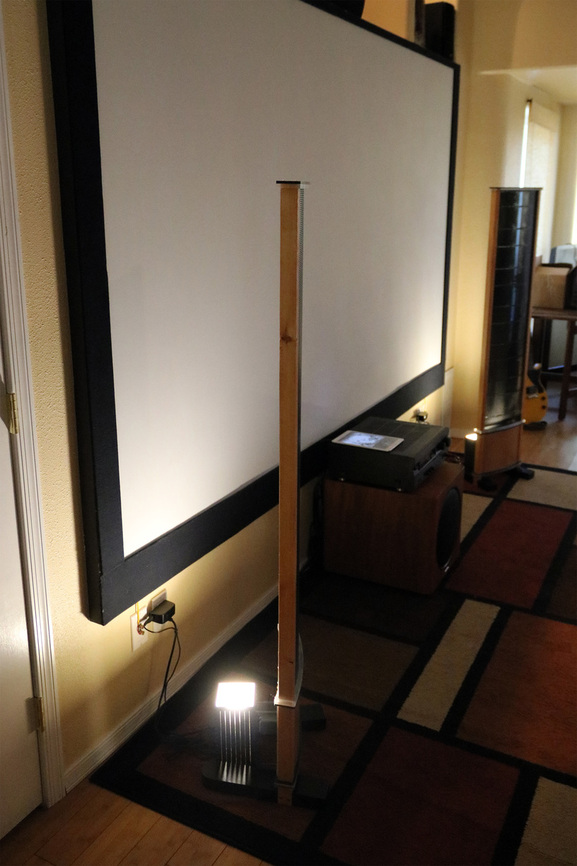
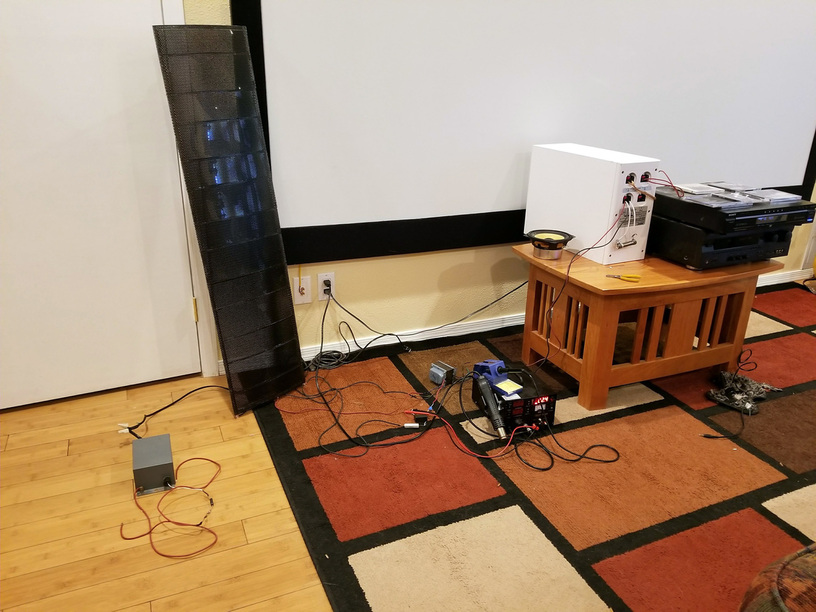
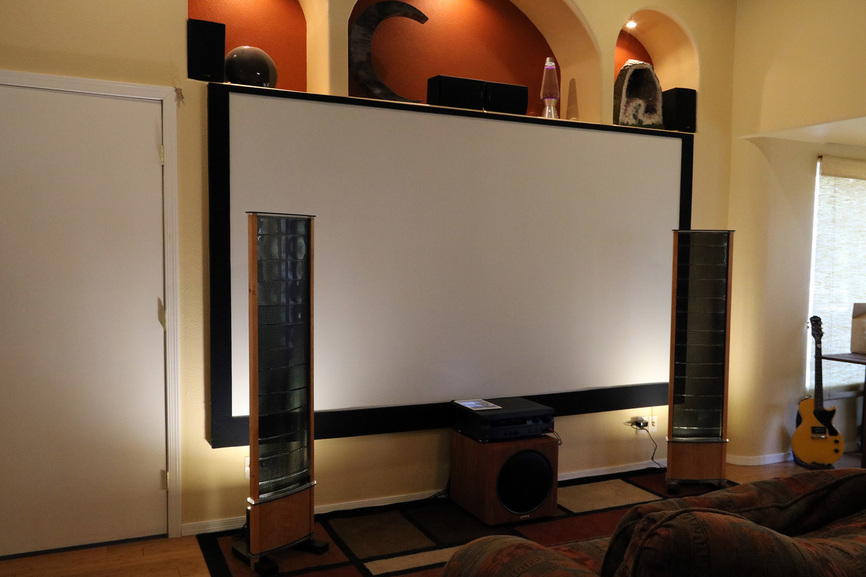
I might eventually build some transmission line woofers with beam splitters to go behind them, but for now the off the shelf sub is doing fine. The ESLs do need to be moved off to the sides when watching a movie, but this setup is optimal for music listening.
The only items I ended up recycling from my previous builds were the tube amp output transformers. These are quite costly now days, but cheaper toroidal transformers can be sourced. Total investment was about $250. Not bad considering the price of an entry level set of Martin Logans is $2500 and their premium run all the way up to $80k.