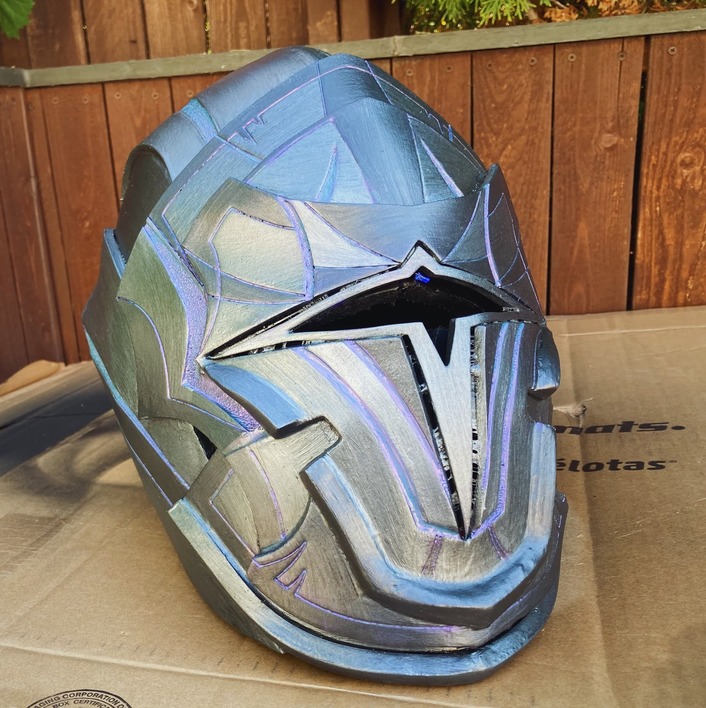
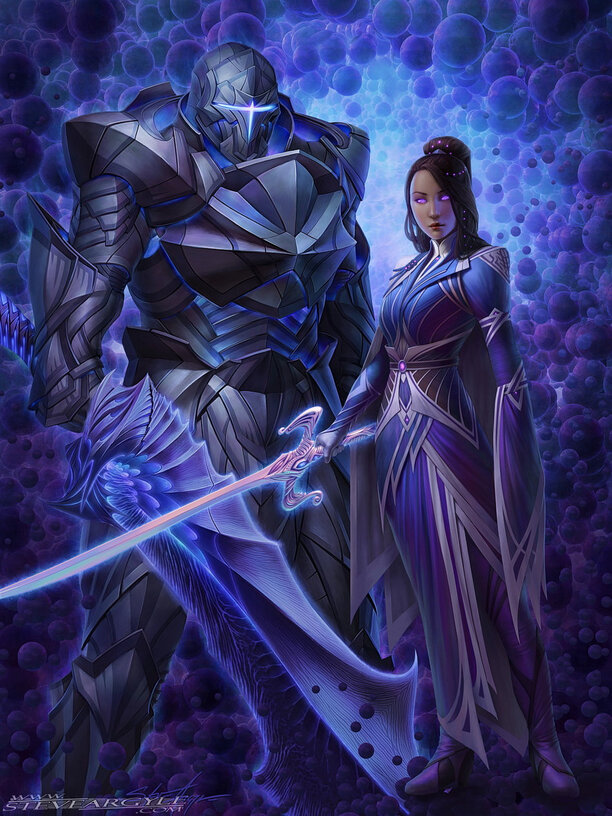
This was my first cosplay costume piece EVER so it was a big learning curve and there are definitely things I would do differently next time, but overall I’m really pleased with how it turned out. A lot of people at FanX recognized the helmet and Brandon Sanderson himself liked it! We used Steve Argyle’s art as the inspiration for this piece so big shout-out to Steve.
I used a template I bought online from Kamui Cosplay for the base, which I cut by hand from 1/2" EVA foam gym mats with a box cutter. Then, I added on detailed layers of 5 and 6mm EVA foam which I cut with the Glowforge. I did two tests of the face shield on 2mm foam before the final cuts so I could make adjustments to the shapes, but it was all based on measurements from the base layer.
I engraved the groves (which I later filled with color-shifting paint) and scored the remainder of the design. Then we primed with Plasti-dip, painted with acrylic paint, and put on a seal coat of varnish.
The last part to do is the eye piece. You can see there is a temporary piece on the helmet now and the glue is showing. Blech! I wired a battery, switch, and set of six small LEDs in between the layers of the face shield so the eyes light up, but I am still waiting for the LED light dispursing foam (curse you Amazon!) to finish the eye piece. After that we will be done and move onto the rest of the armor for next year’s convention.
It was really so fun to take on a project outside my comfort zone like this. I am not a seasoned Glowforge user (I’ve only had mine for three months) and this was the first BIG project I have done. It was a lot of trial and error so it took some patience. But i’m glad I stuck with it and I’m really grateful for my Glowforge because there is no way I could have gotten these results without it.
@JimmyWayneWestie
Oh, I know! The things we do for family. I would never have tried this on my own. But it does help that I have some experience with the Adobe Illustrator, so that part was at least semi-familiar. The hardest part was figuring out the proper settings and getting the shapes right so they work 3-dimensionally.
@sqw Oh, I have never heard of those. I’ll have to check them out. The finish on the paint is one of the things I will do differently in the future. I would love a smoother finish. Maybe i’ll try airbrushing?
@cynd11 Thank you! The scale was a bit tricky so that’s really nice to hear.
@djfb That’s a great question! I have never tried the rigid foam in a Glowforge but that would be cool. Maybe consider posting that on the “Beyond the Manual” thread so people with more experience can weigh in. I know EVA foam is safe to cut but be sure to check labels! Some products call themselves EVA or craft foam but are really made of different materials.
Great job on this! So glad to hear that EVA can be used in the Glowforge. I just bought mine last week, and await it’s arrival. I plan on doing this, too, for my kids. Up until this point, everything I have created was hand cut.
My son wants to be Taskmaster - so I KNOW the GF is going to speed things up and be more accurate.
Any tips on the Glowforge part? I am experienced with the woes of patterns, etc. I am just unsure about what settings to use for the GF. Any problems you ran into, etc?
Fantastic work for your first helmet (they are not easy!).
Thanks in advance for any help with settings.
Oh, a taskmaster! How fun! You will love the even cuts you get on the GlowForge. It makes gluing so much easier and more seamless.
Yes! I did a fair bit of experimenting with the settings. I used several different thicknesses and will share what I have. Though I noticed there was a slight difference between brands so you may need to experiment. One thing I learned is that it can be helpful to slow the laser down a bit when cutting to give the beam more time to heat the foam. This acts as if you’re bumping up the power and helps avoid a second pass which melts the material a bit.
2mm
Cut: 50-60 power, 400 speed
Engrave: 20-30 power, full speed
Score: 10 power, full speed.
4-6mm
Cut: Full power, speed 400
Engrave: 40 power, full speed
Score: 20 power, full speed
1/2": When I used the gym matts, the glowforge did not work. The textured part on the back didn’t cut well. However, when I used the 1/2" foam rolls, I did full power with 2 passes for the cuts. I didn’t engrave on that thickness.
Just make sure to enter the right thickness in with your “uncertified material” so it can account for the slight changes in power.
Glowforge requires us to confine discussion of manual settings in their forums to the Beyond the Manual category. The current preferred practice is to either move the entire thread to Beyond the Manual or, to start a new thread there and, link to it from this one.
Let us know if you would like assistance with the former.
I would not recommend it, from experience in model making alone, this material can be cut with a simple hot wire. It melts, and the fumes are nauseating.