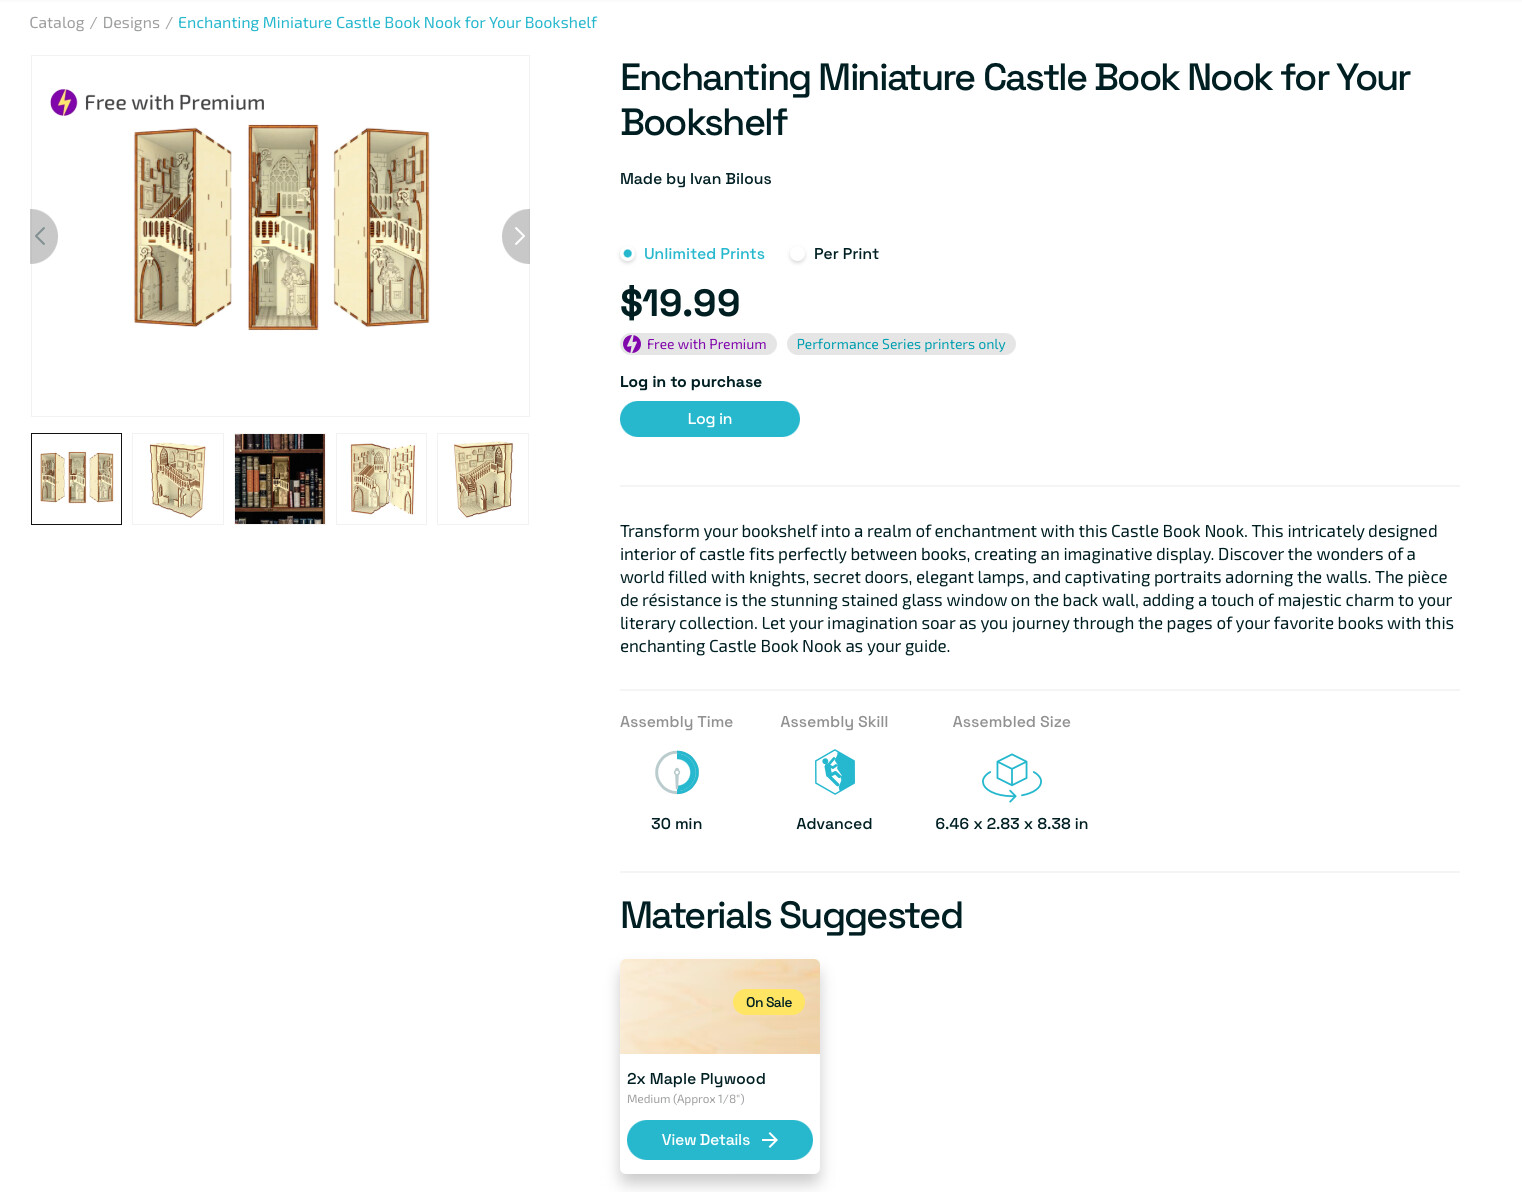
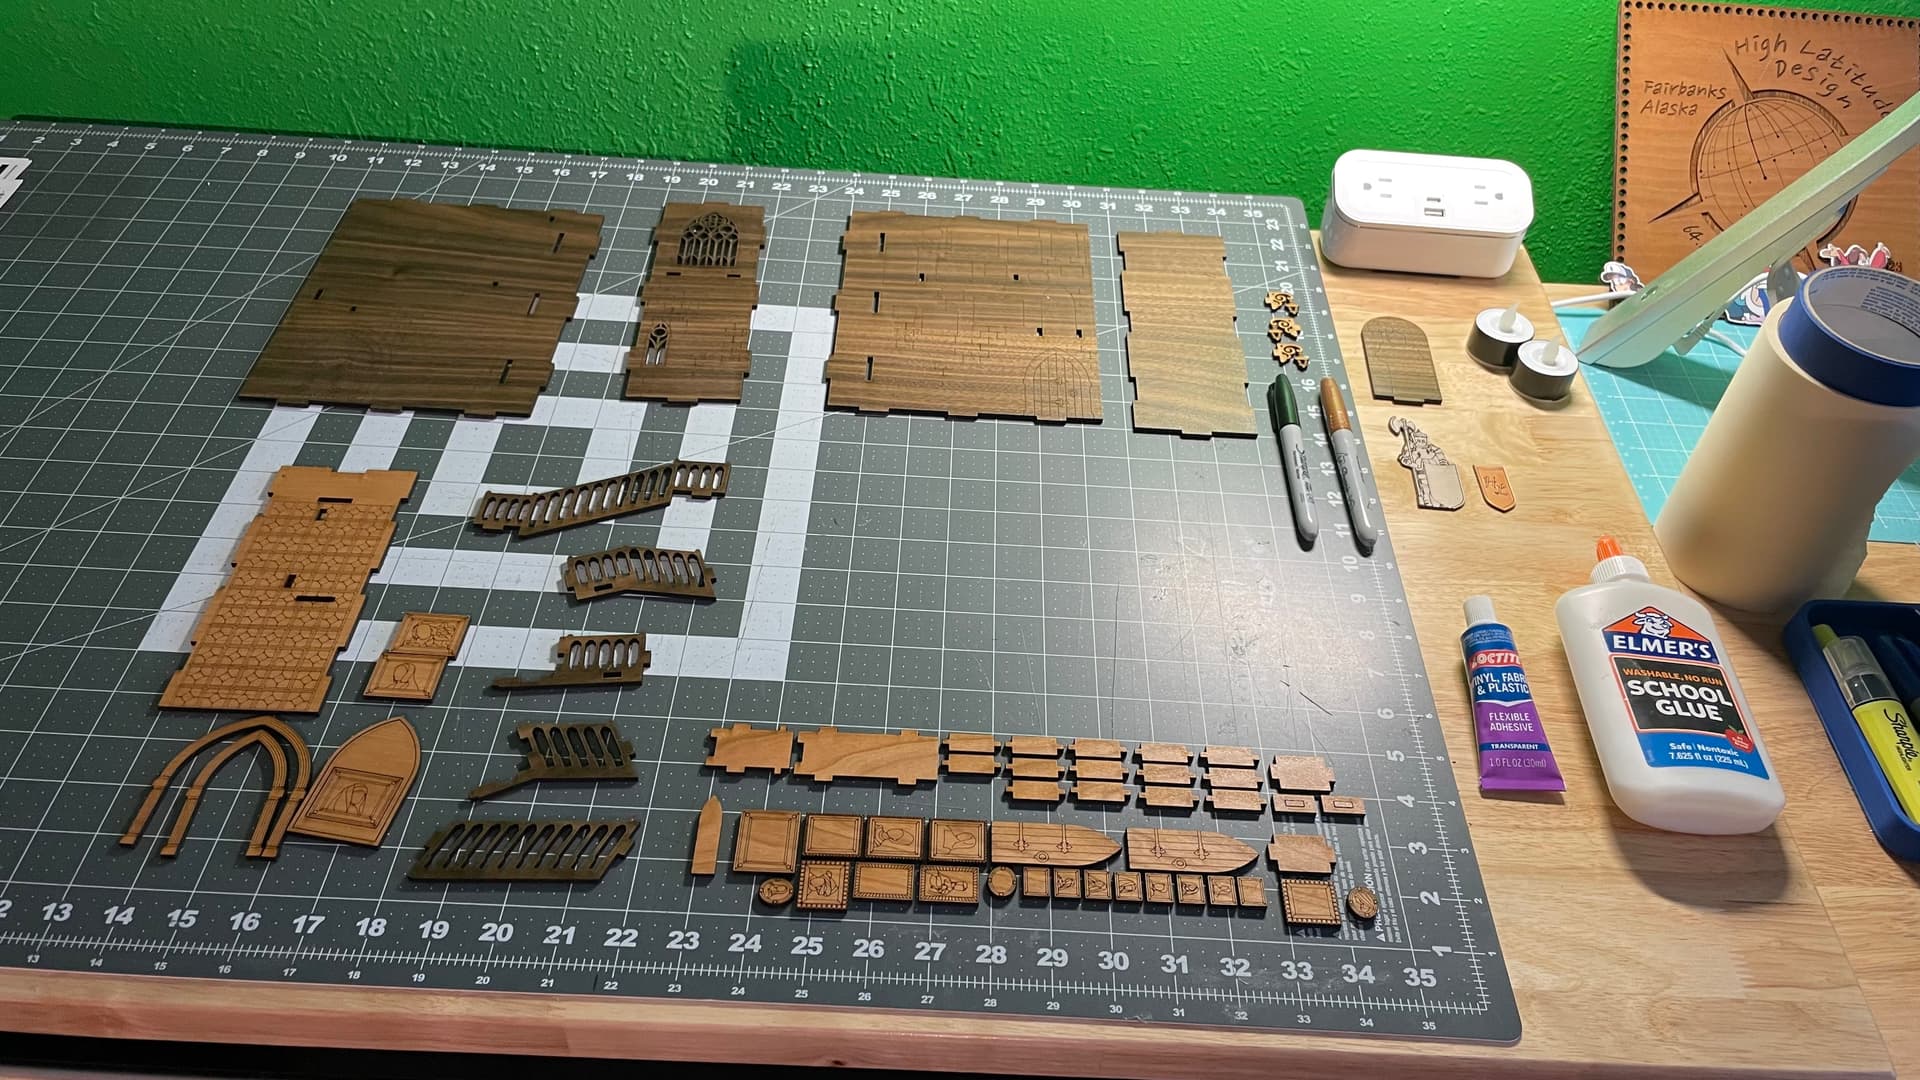
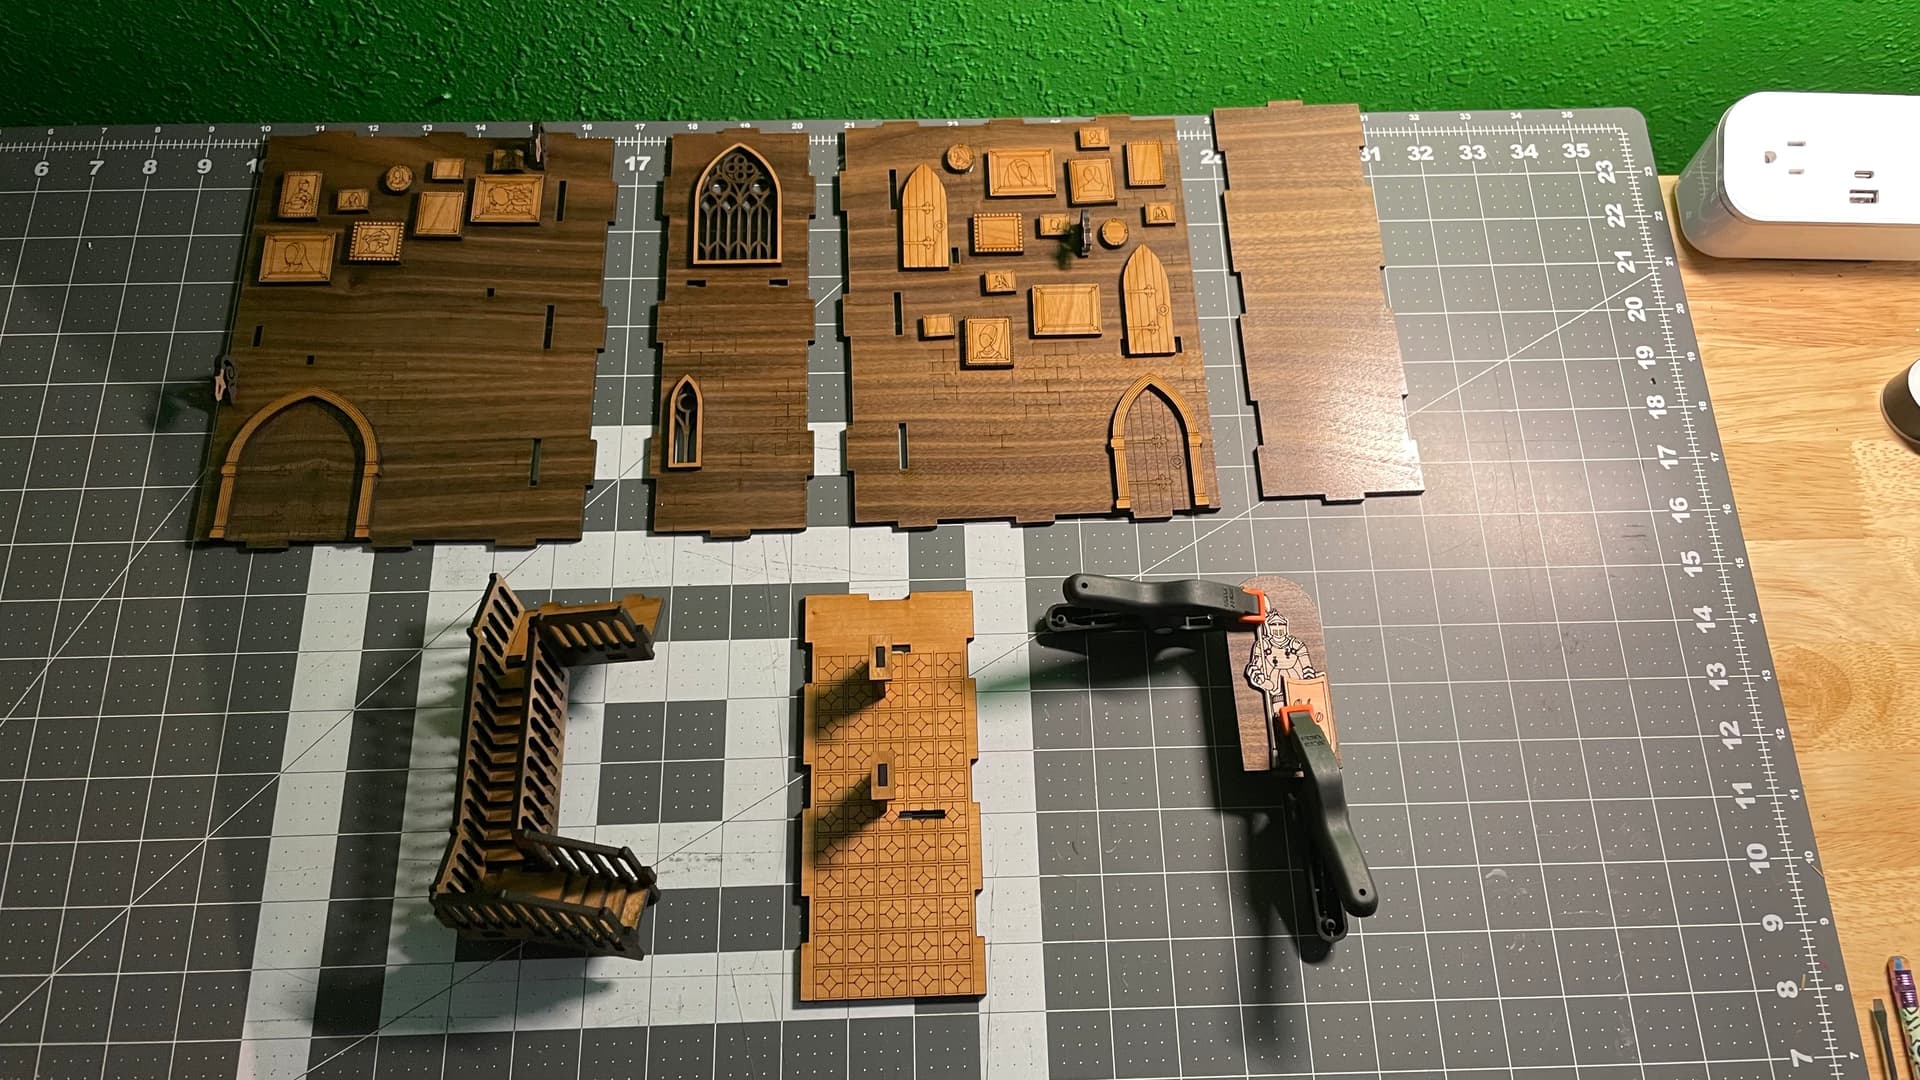
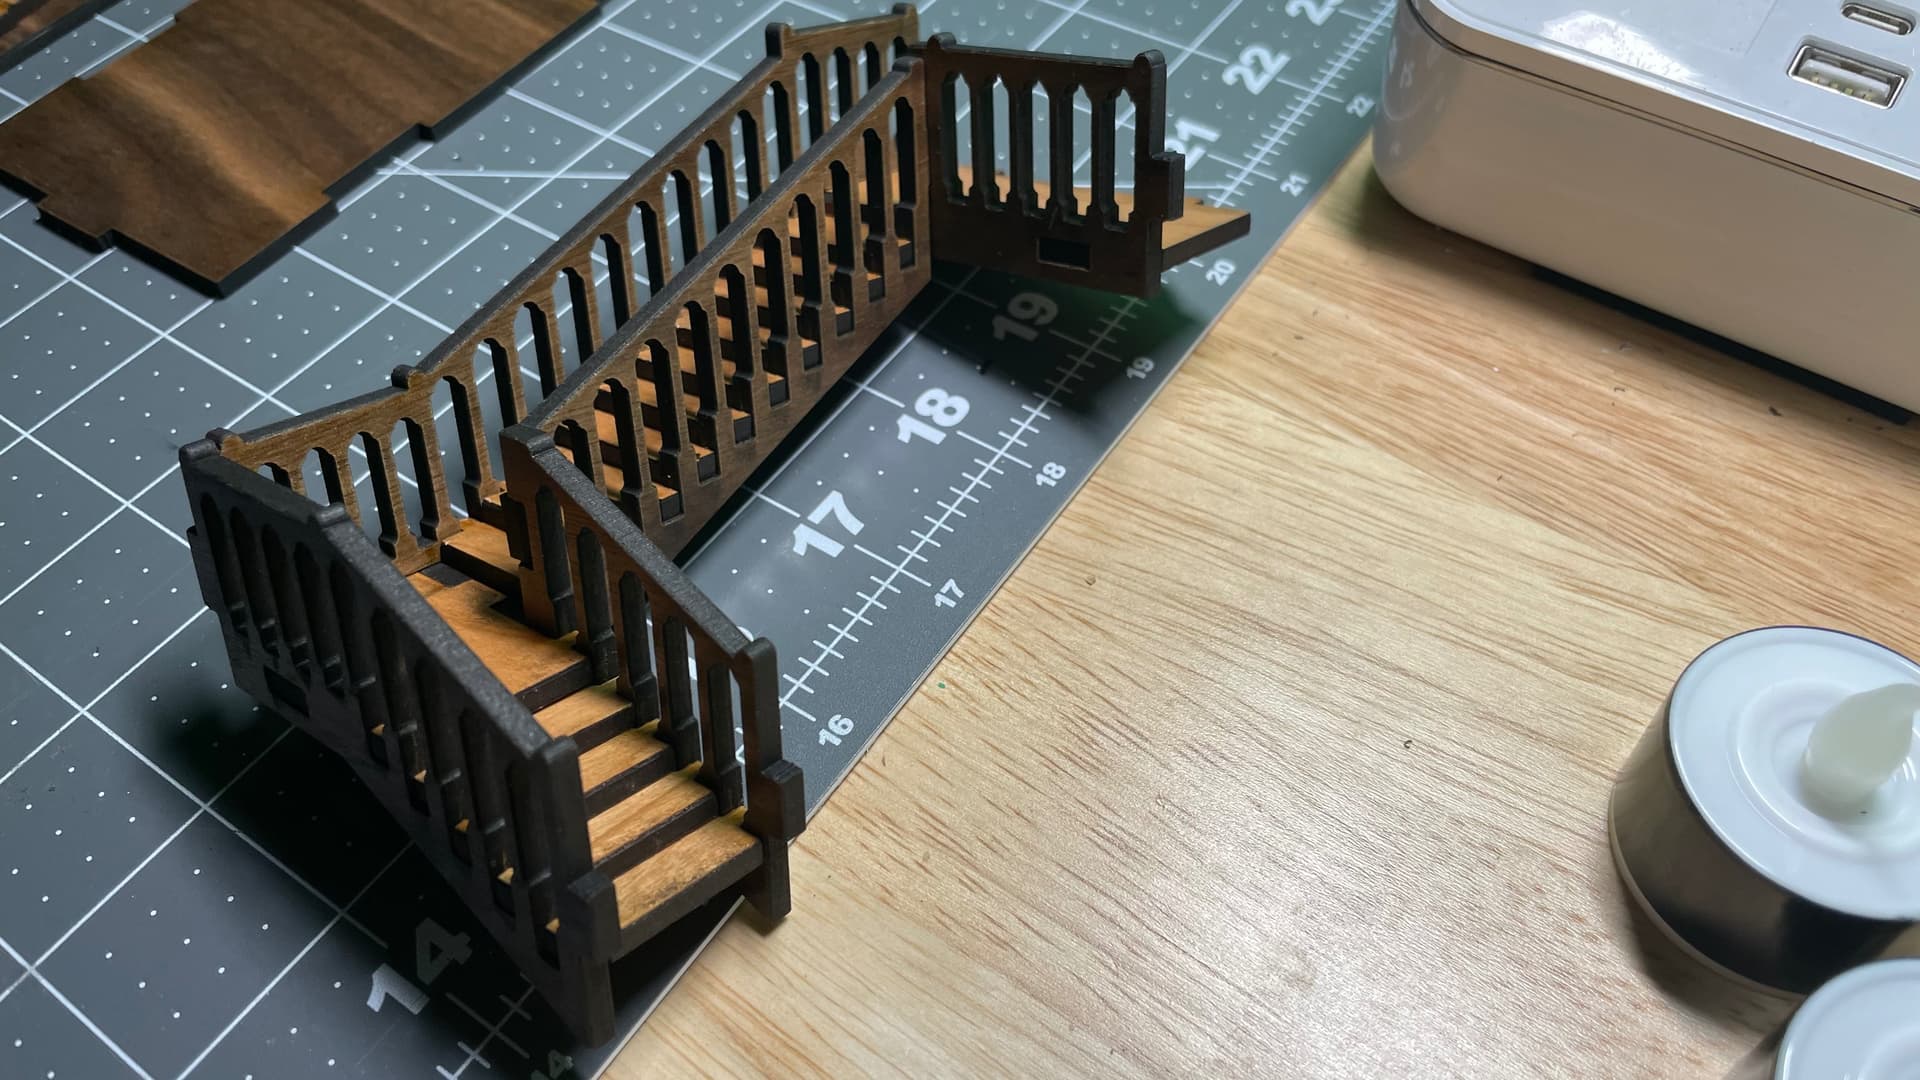
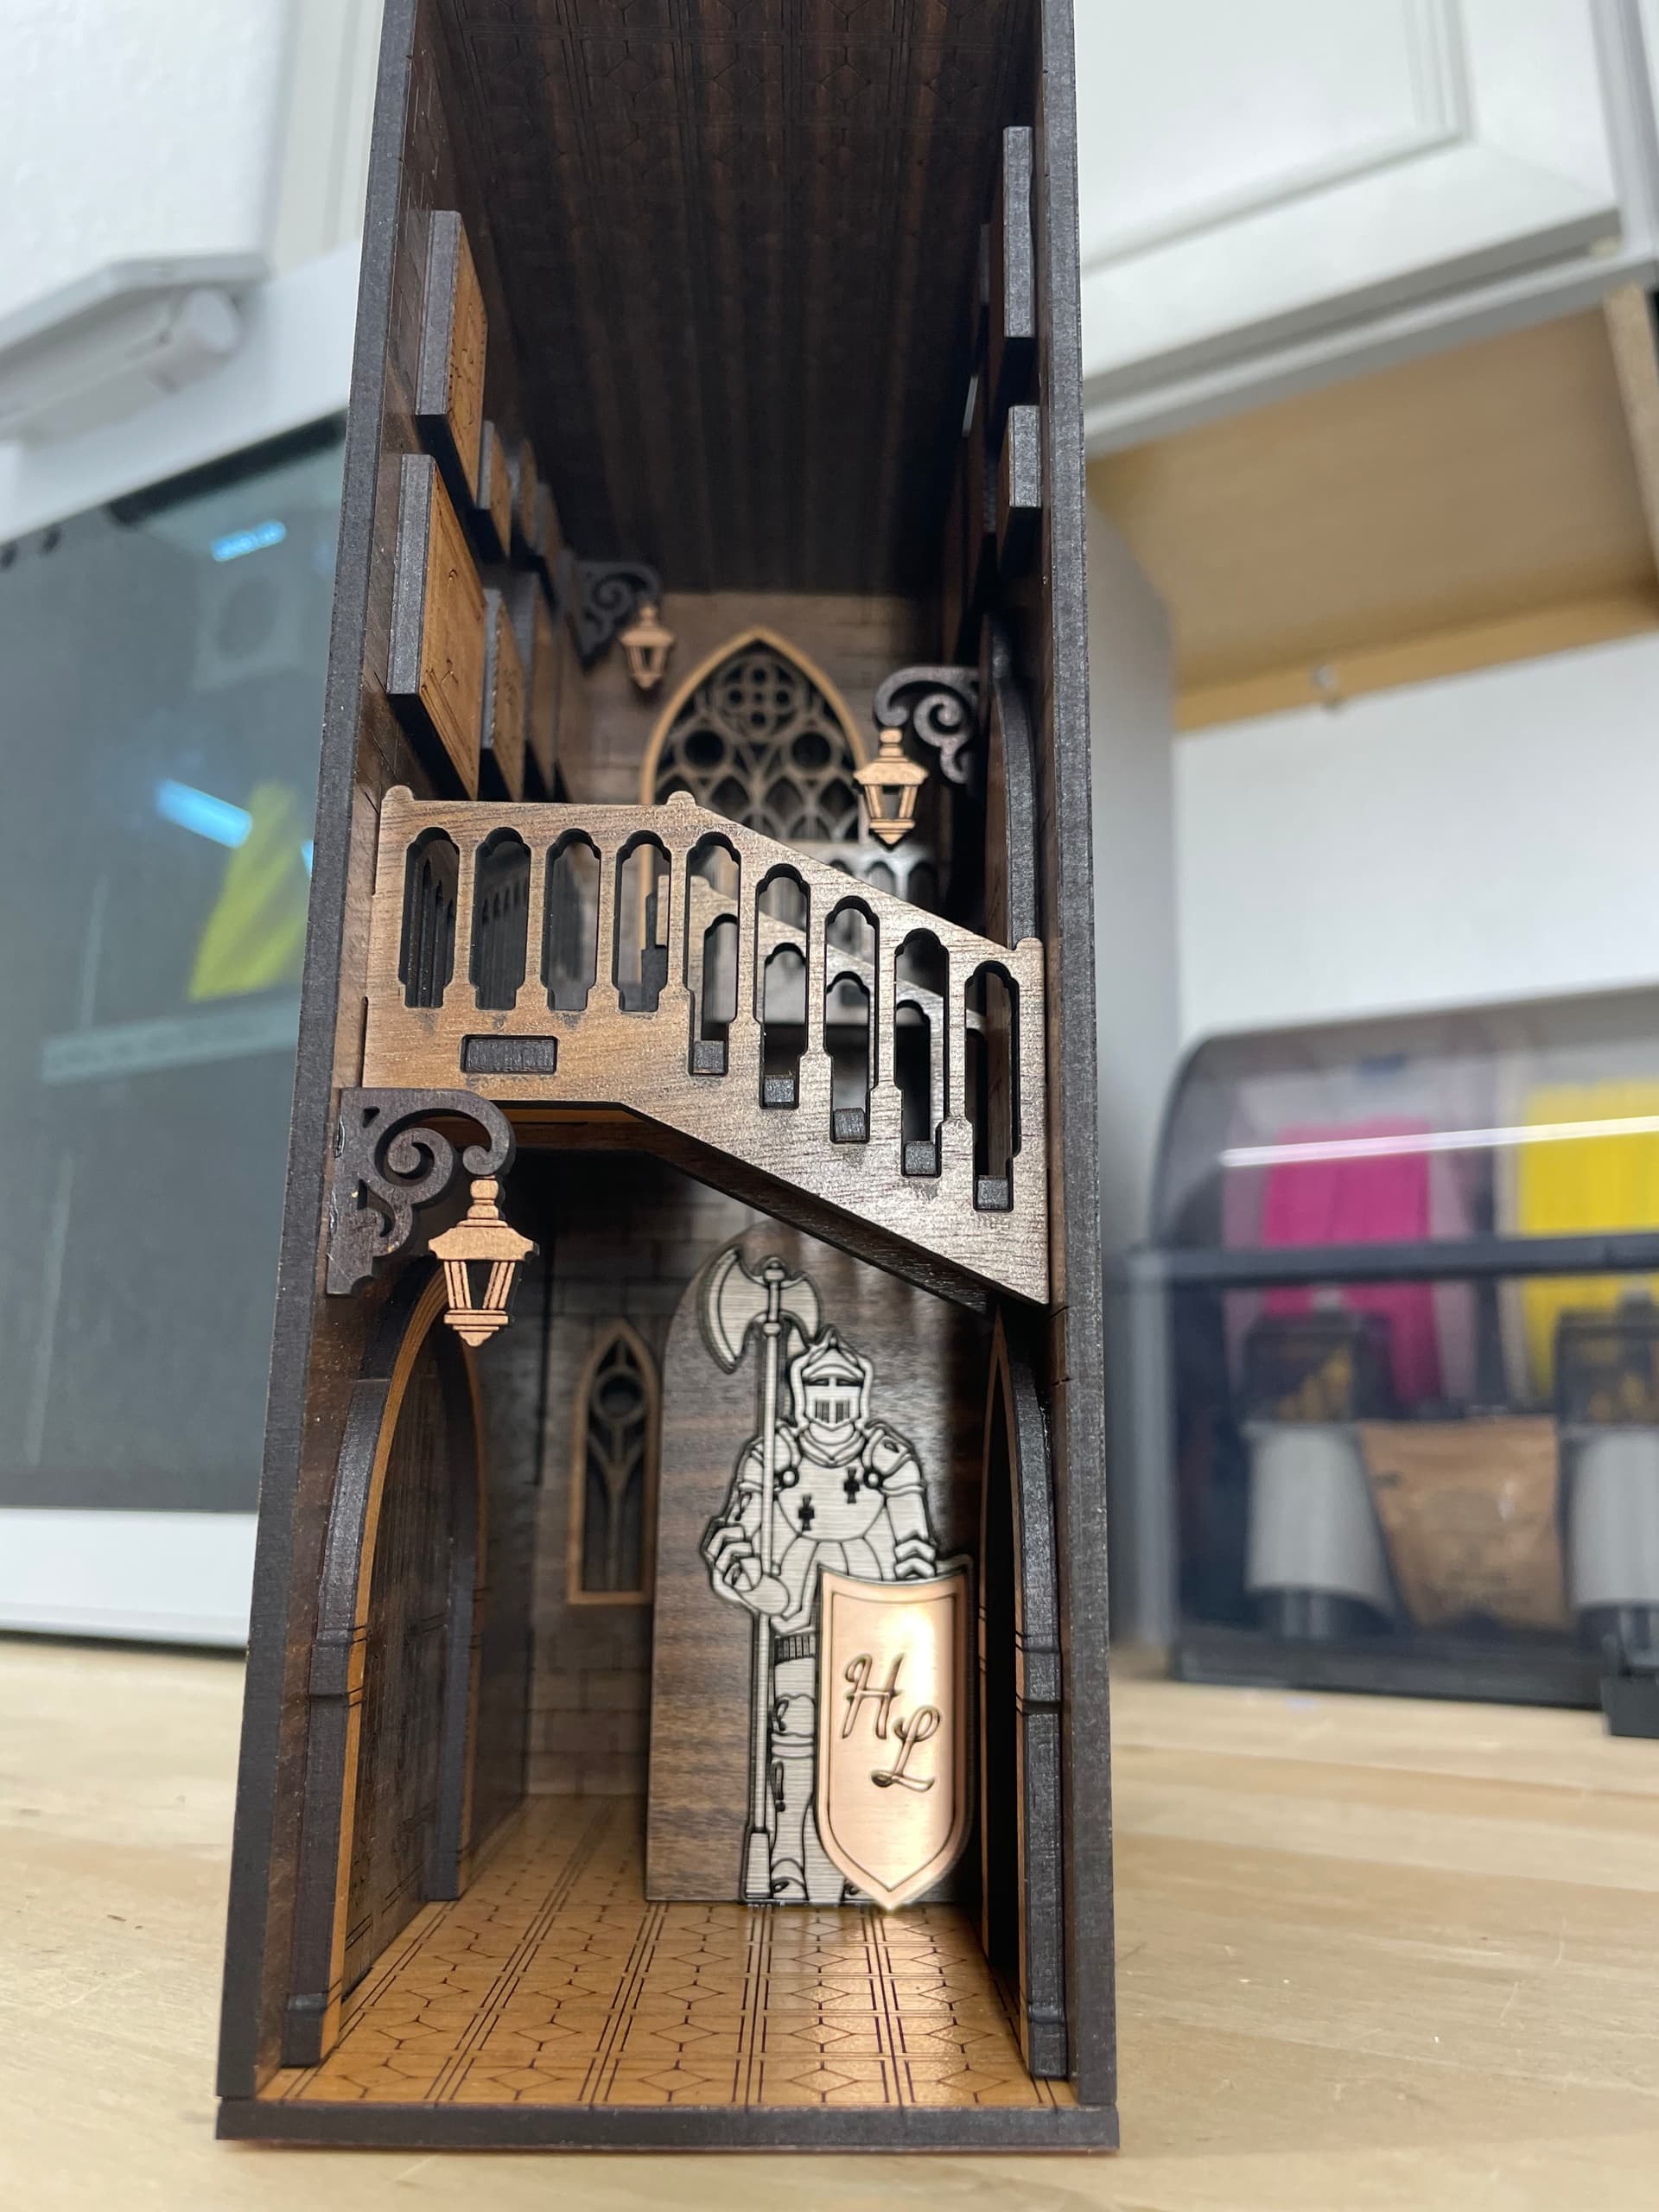
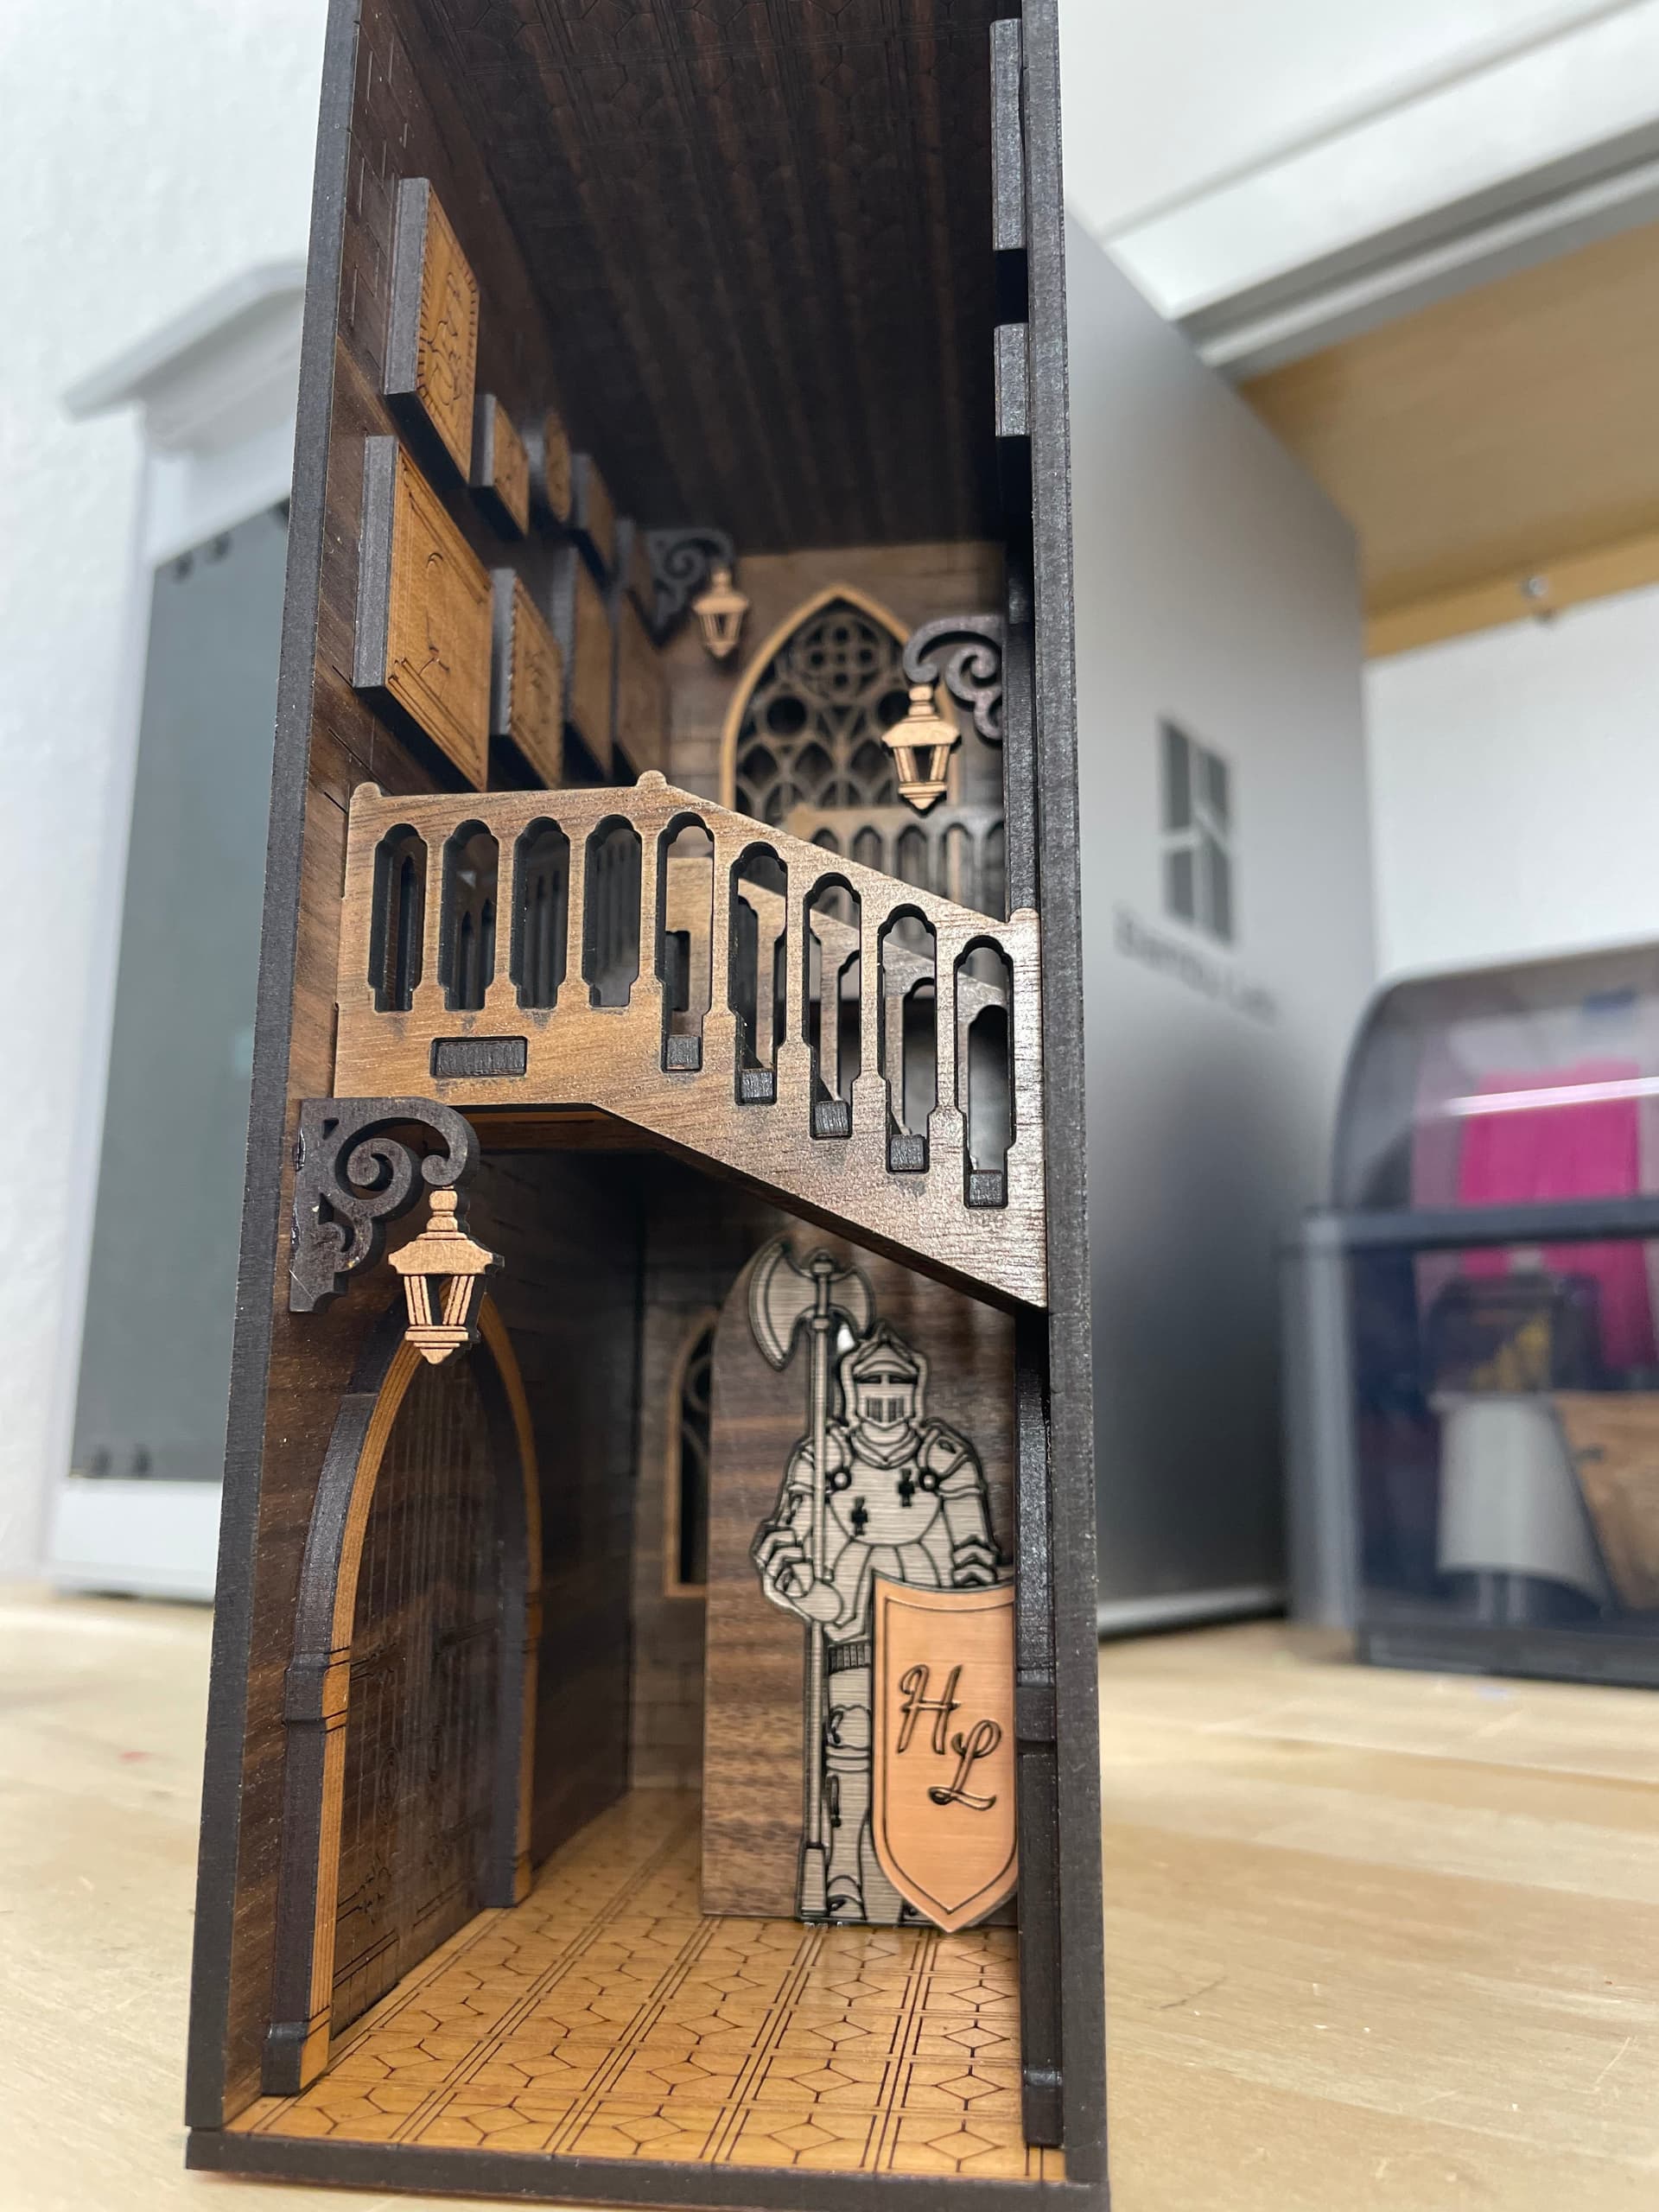
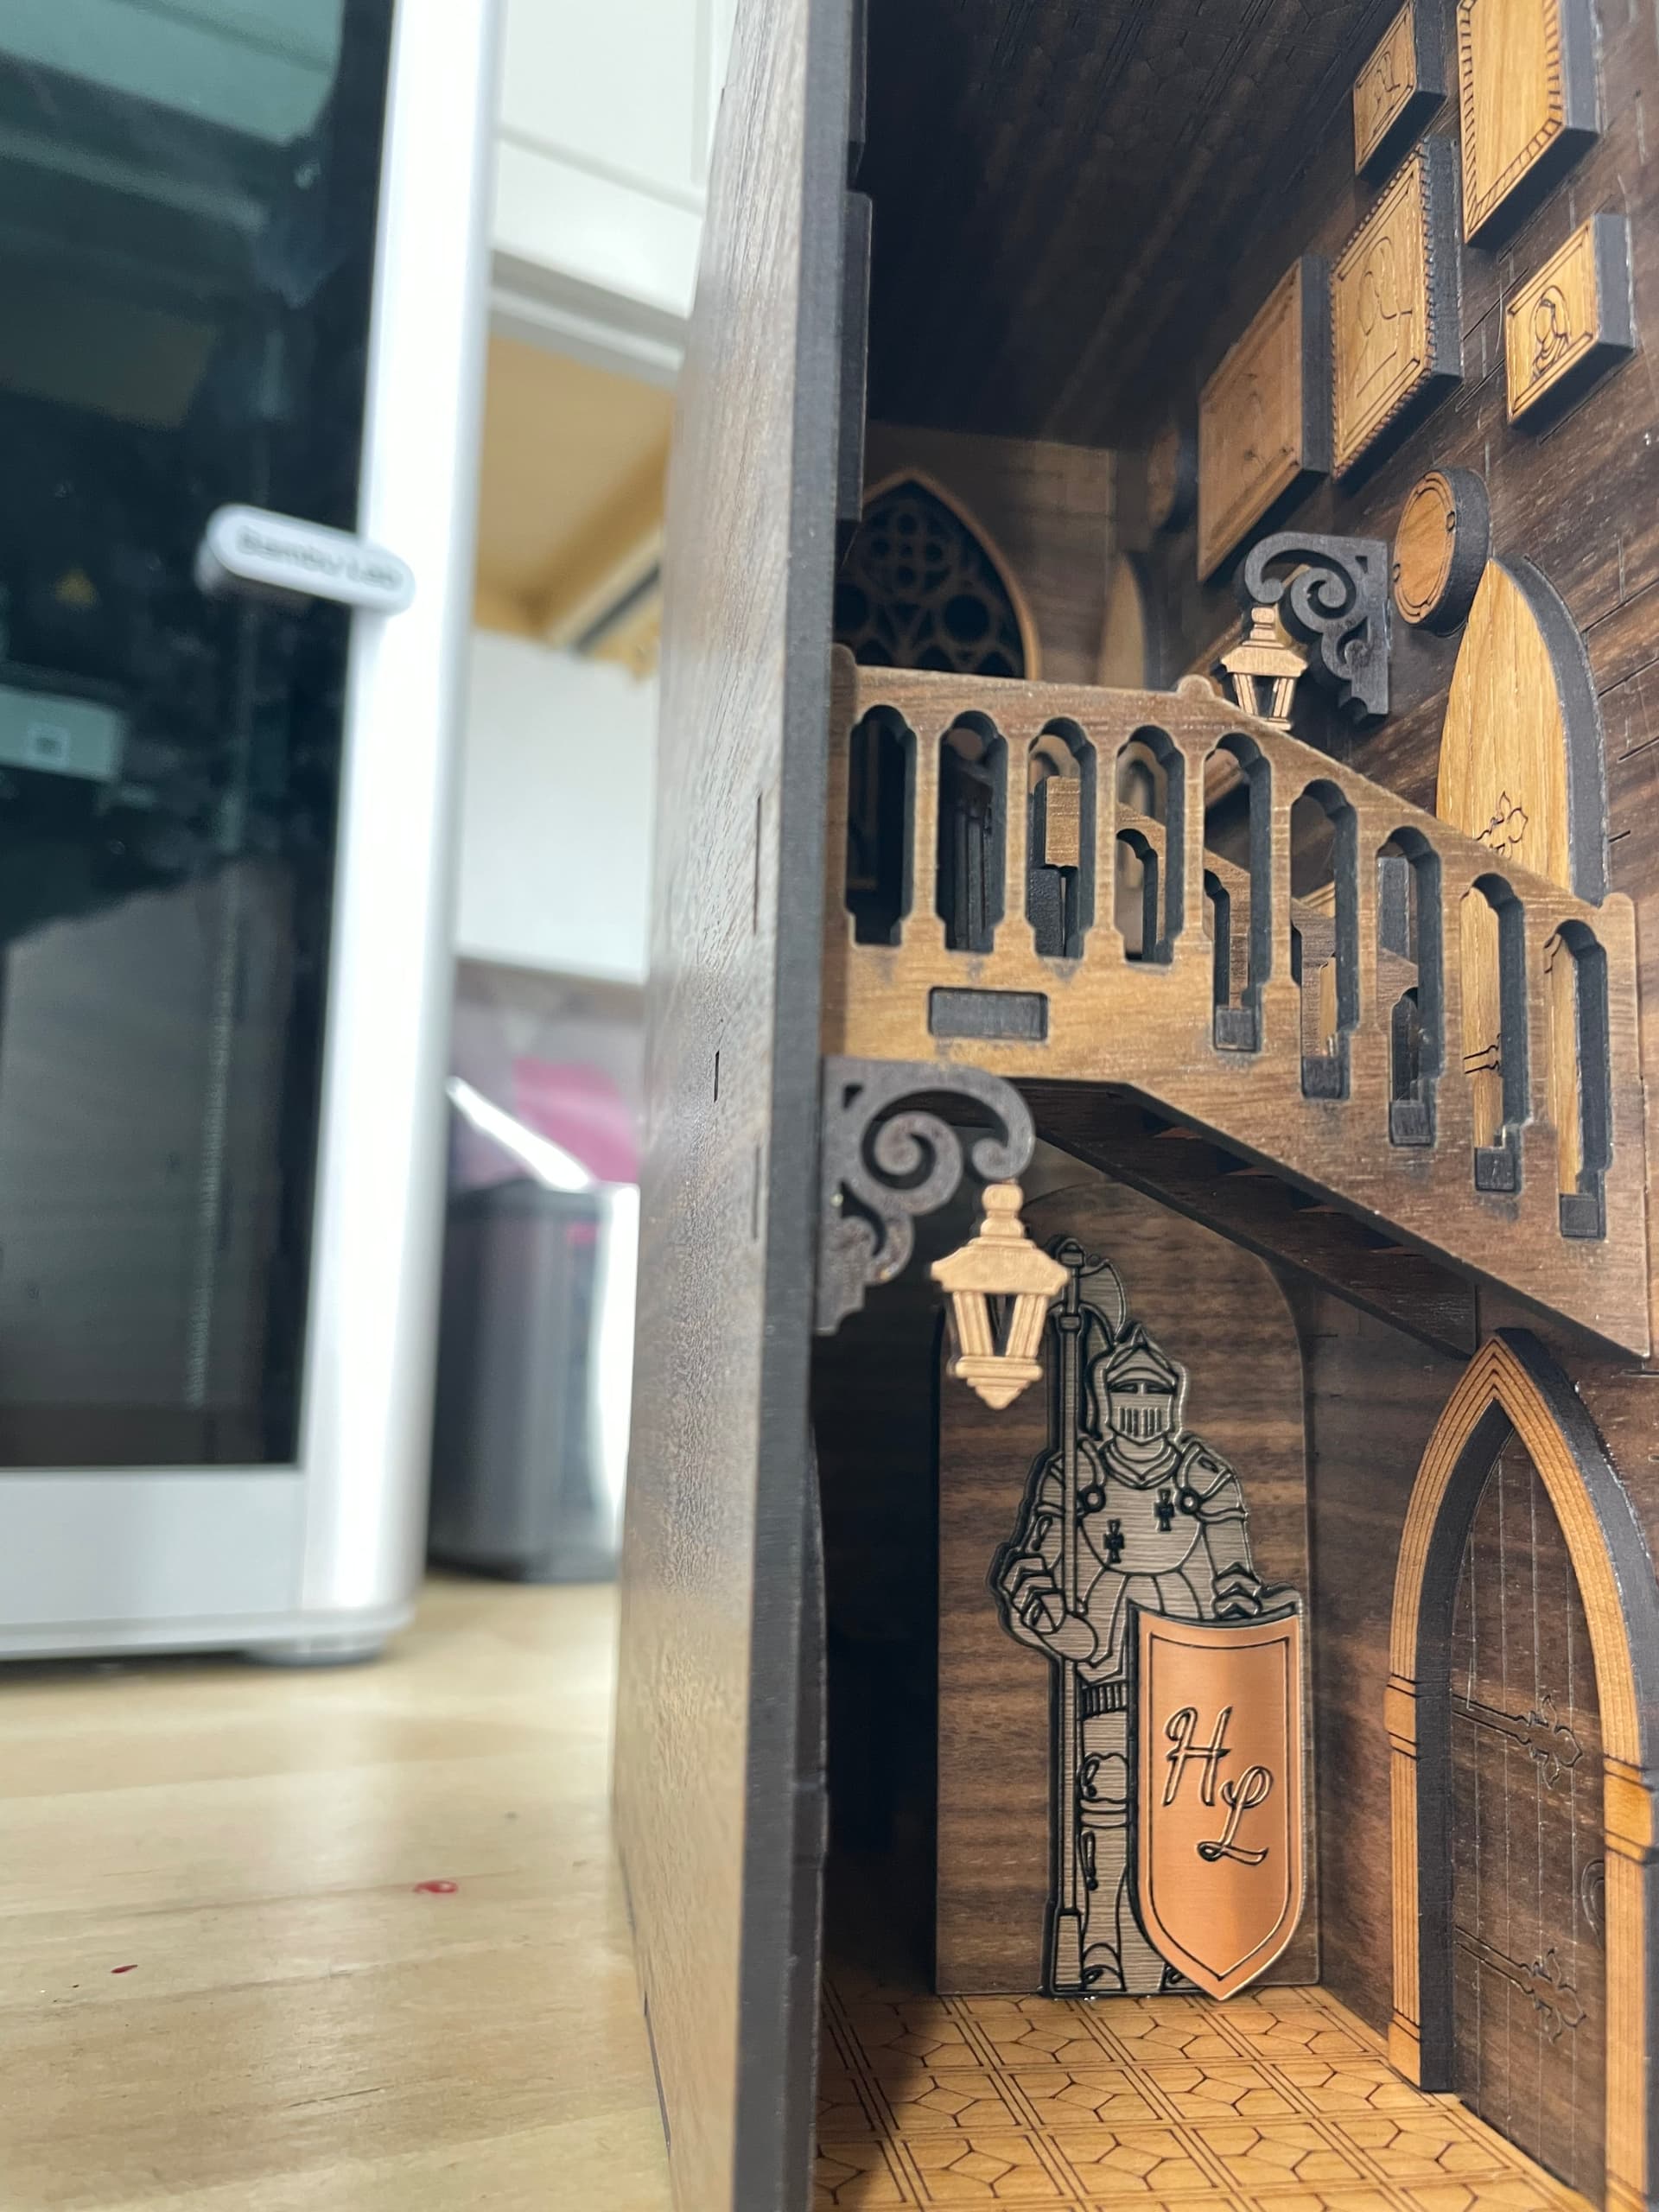
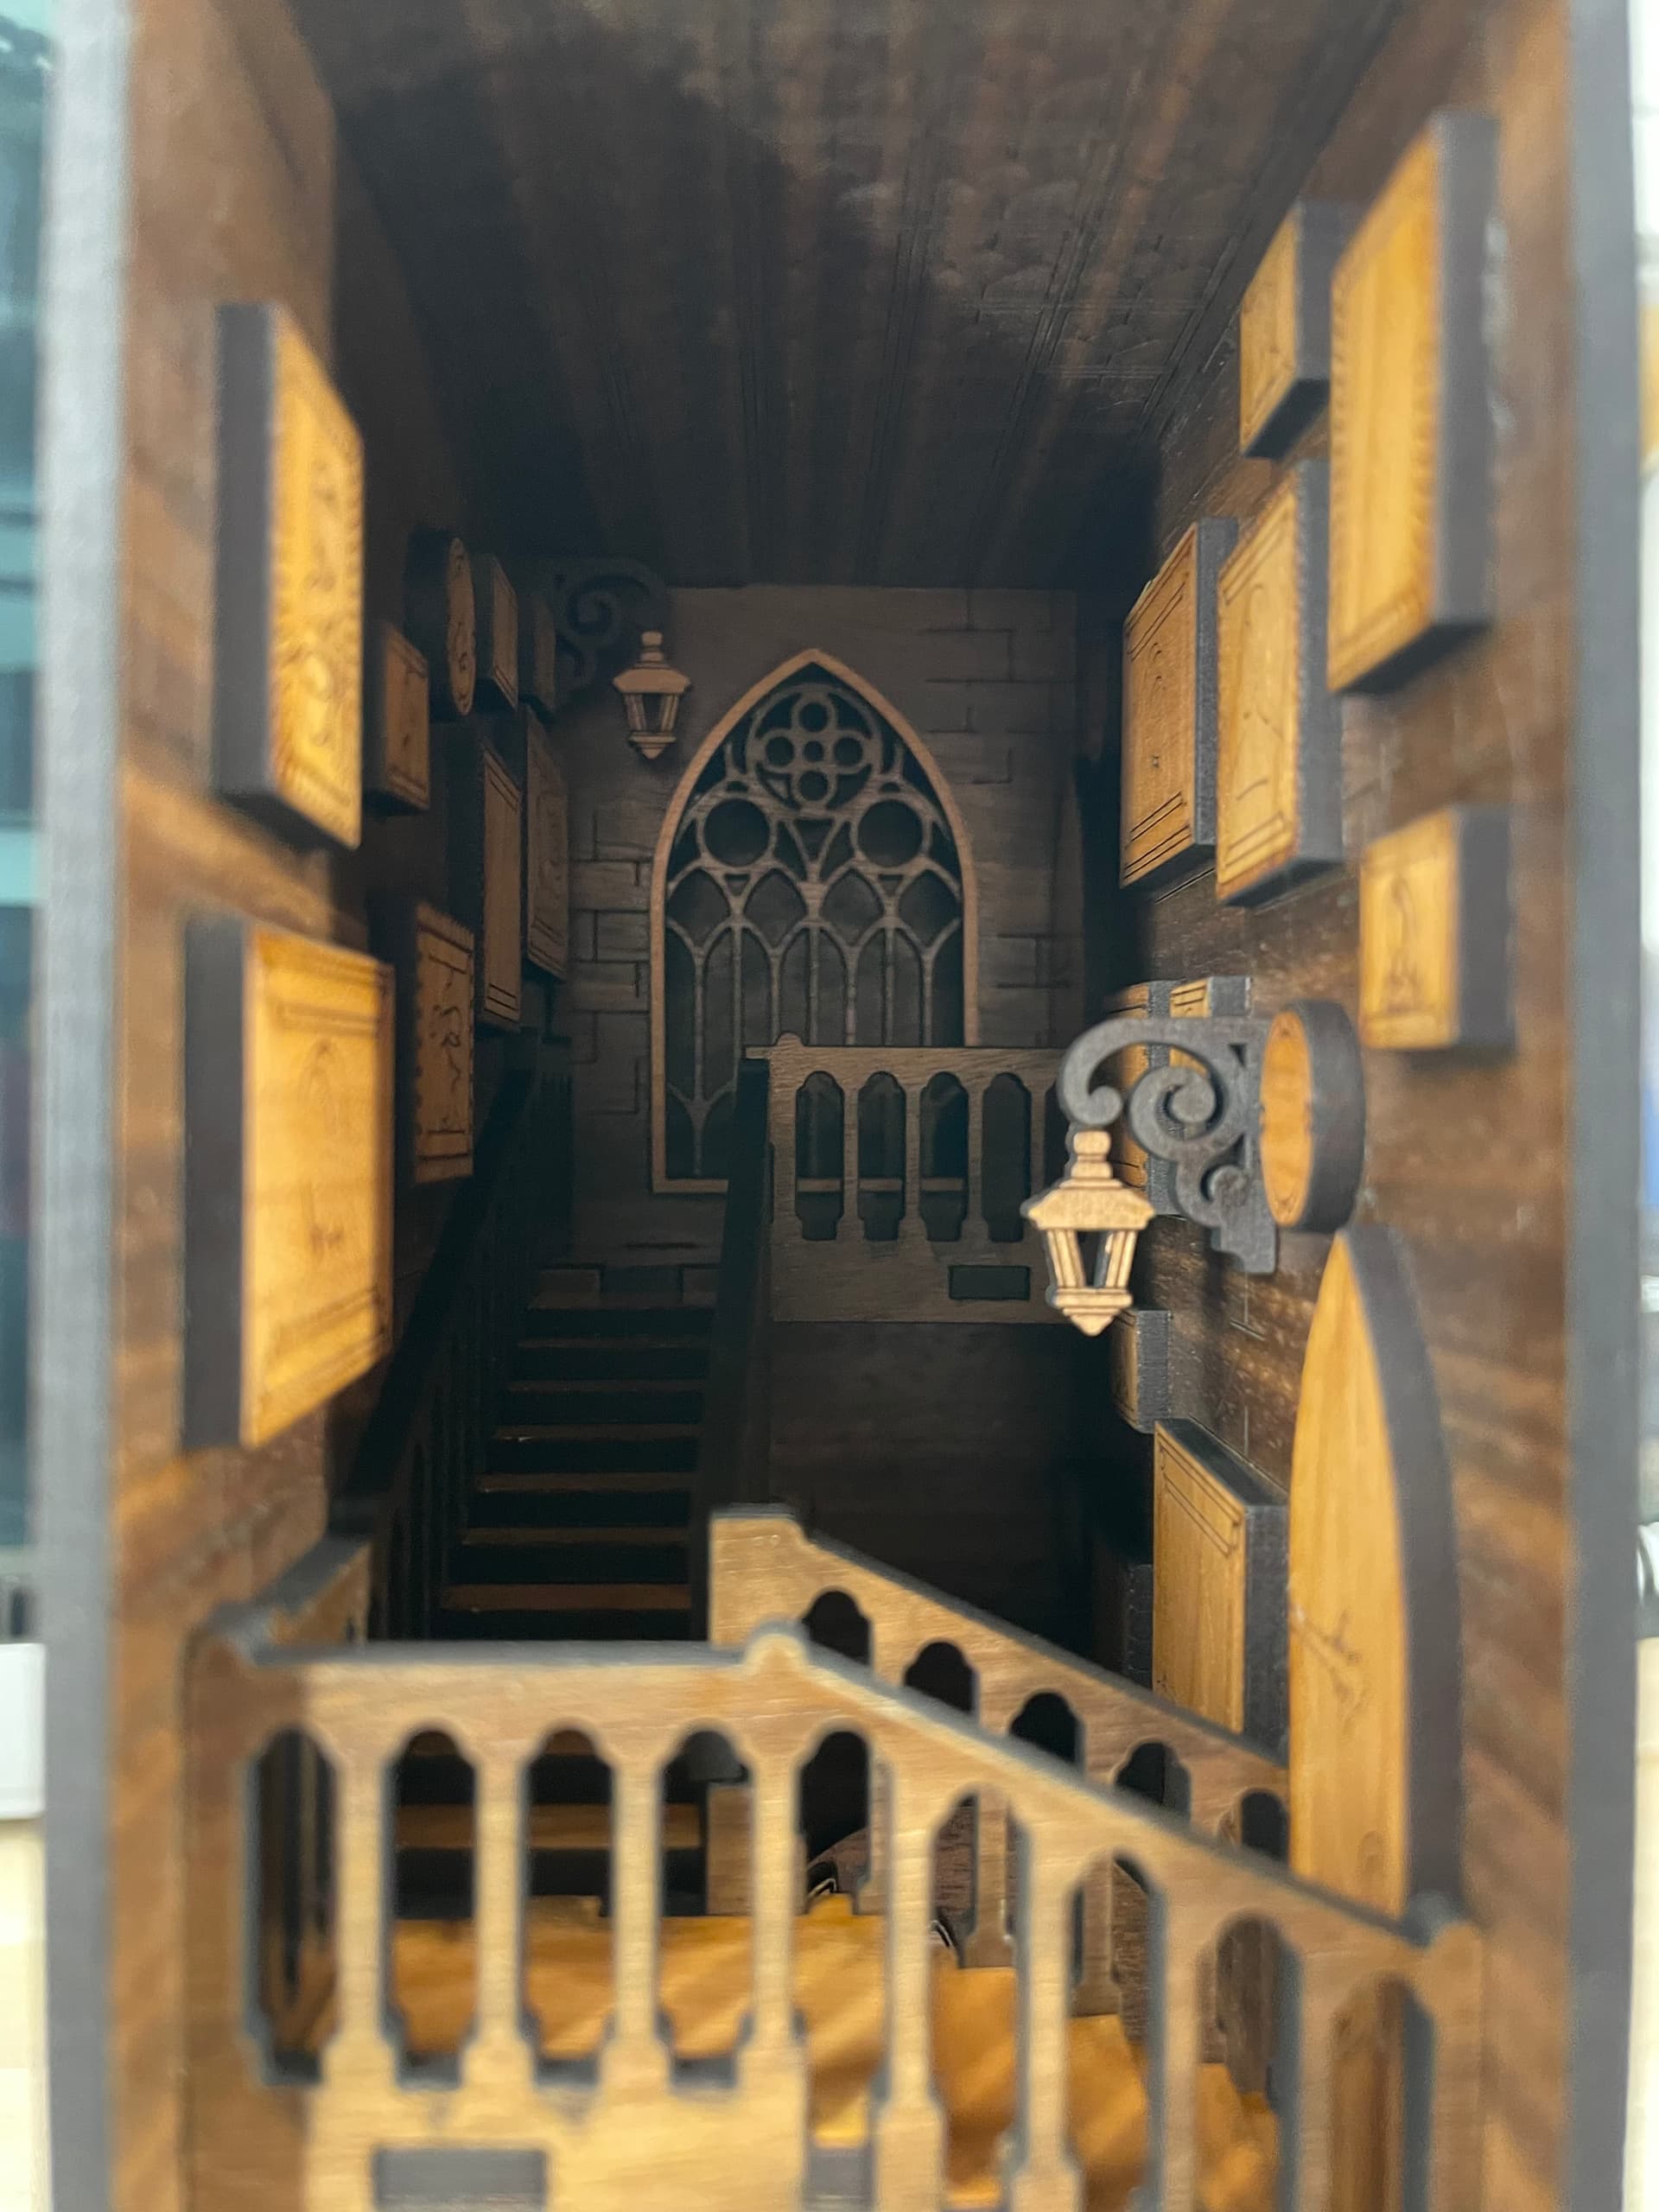
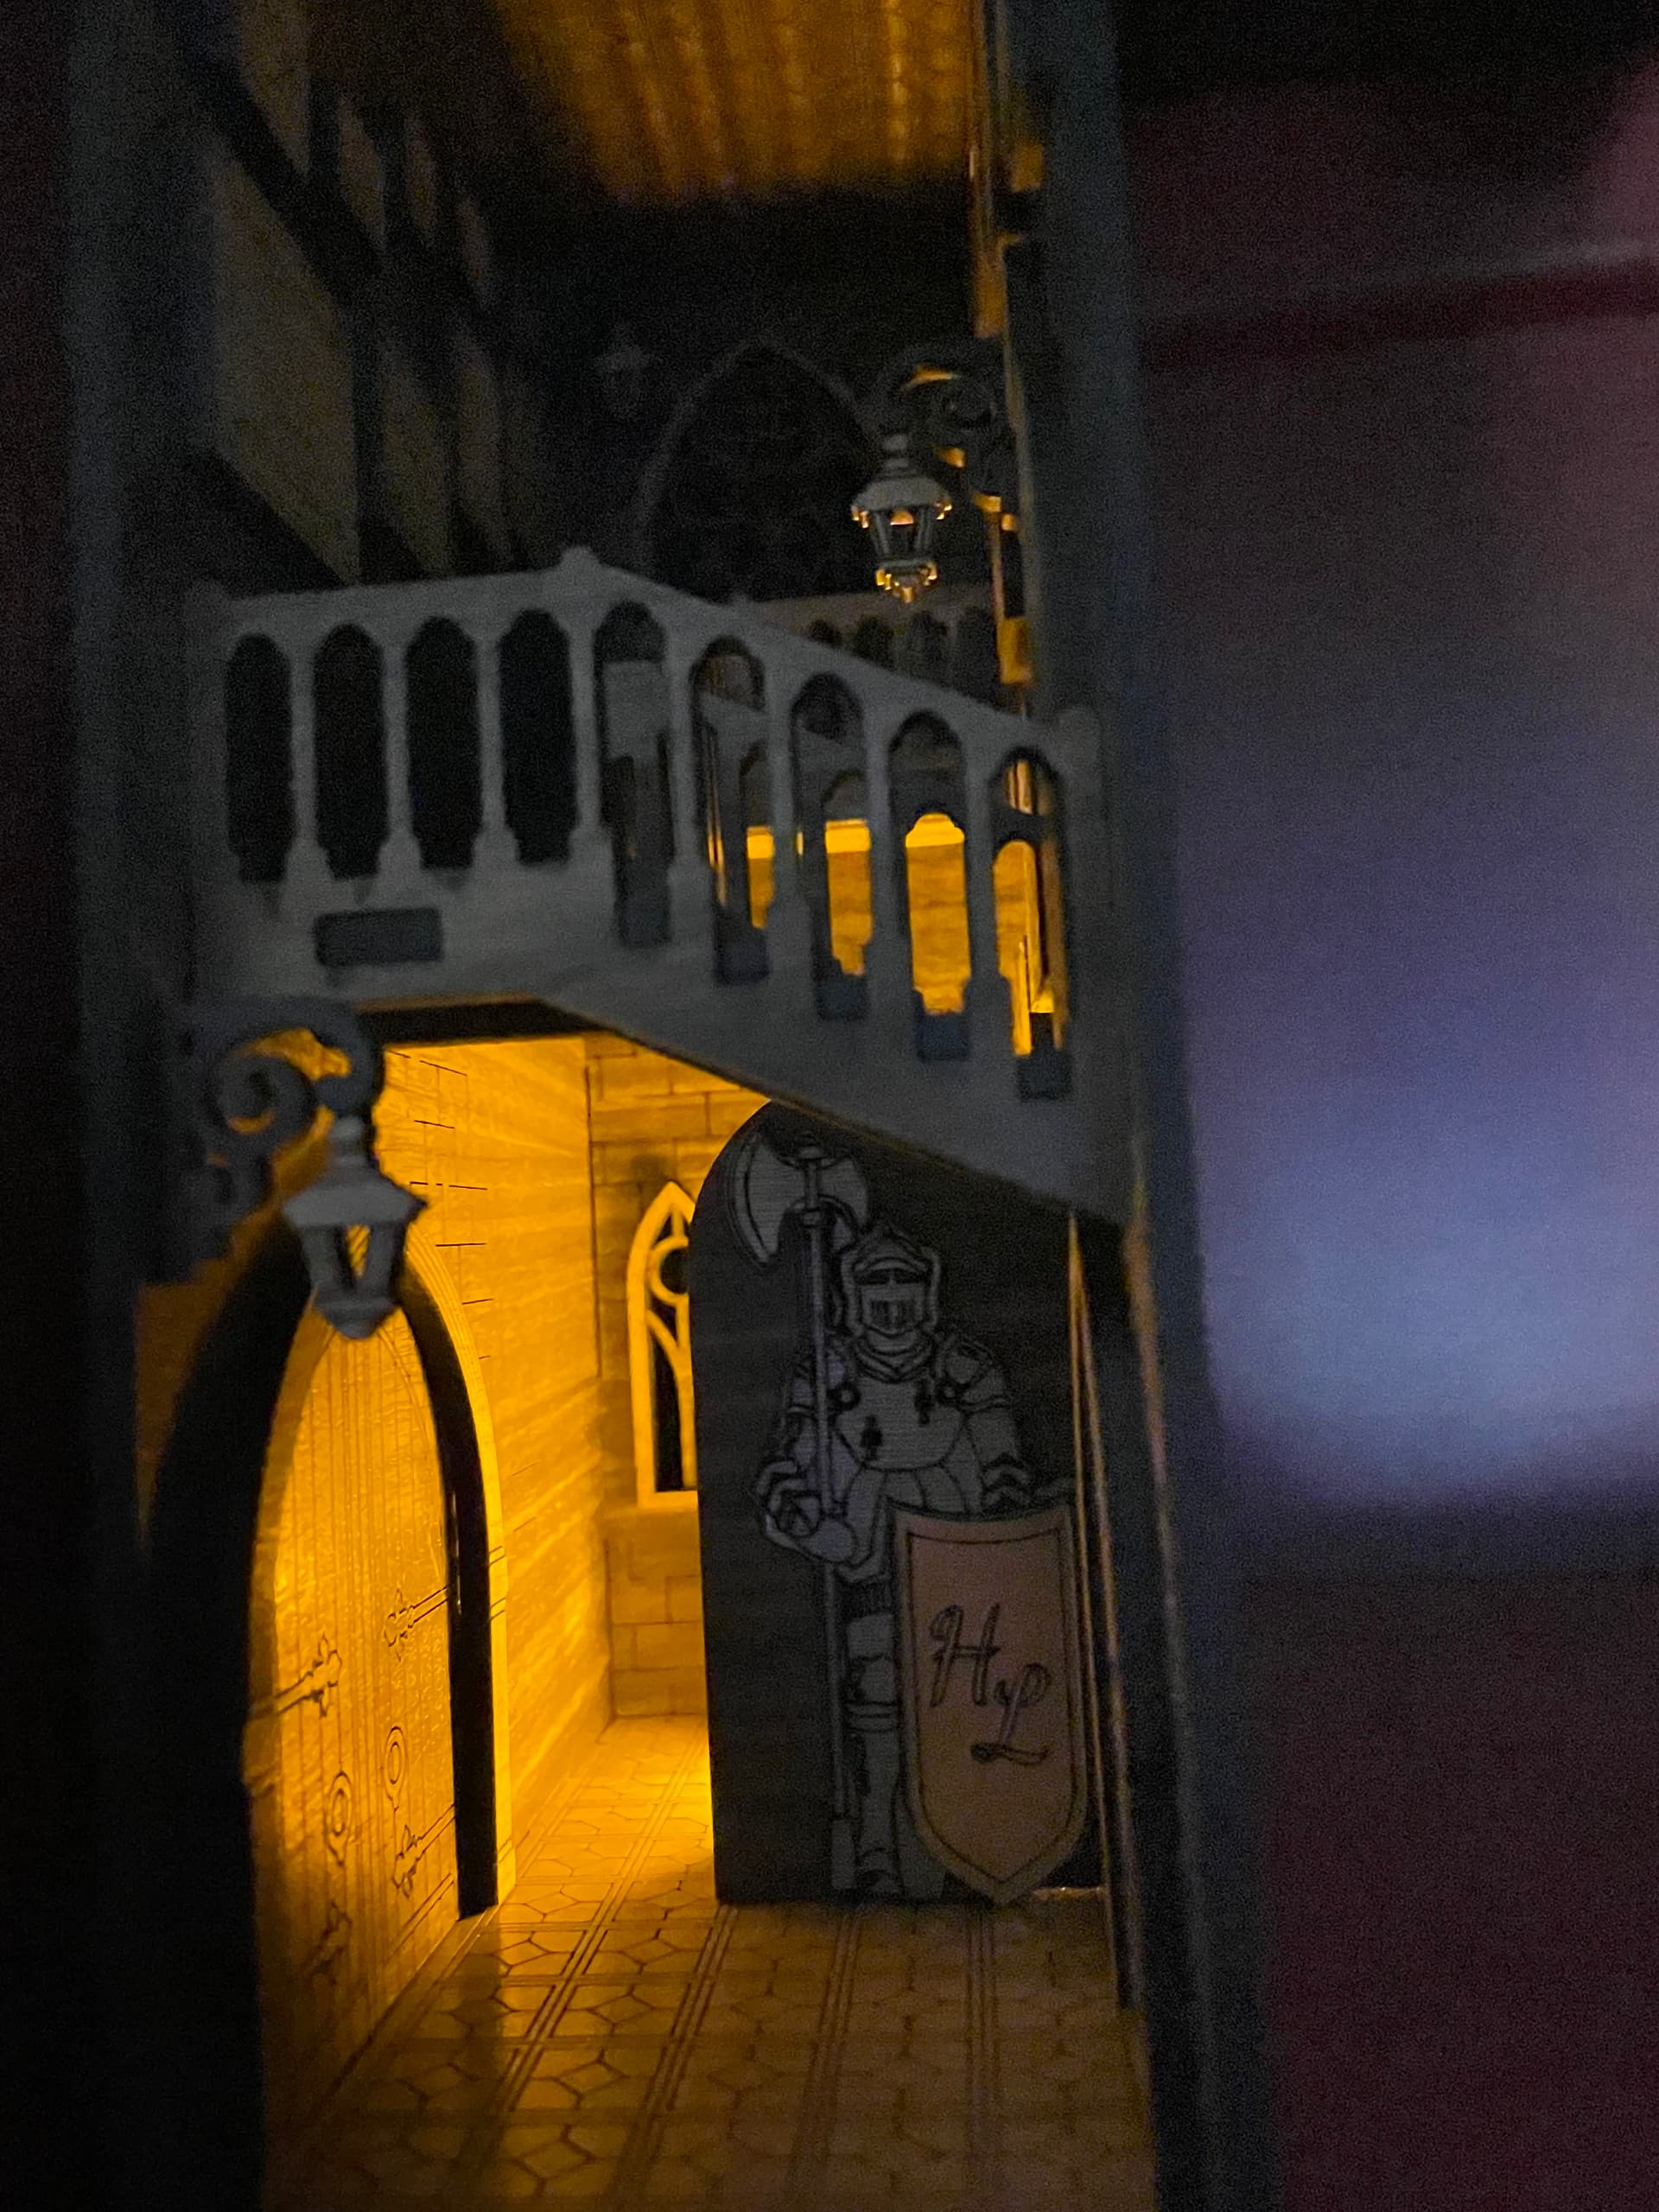
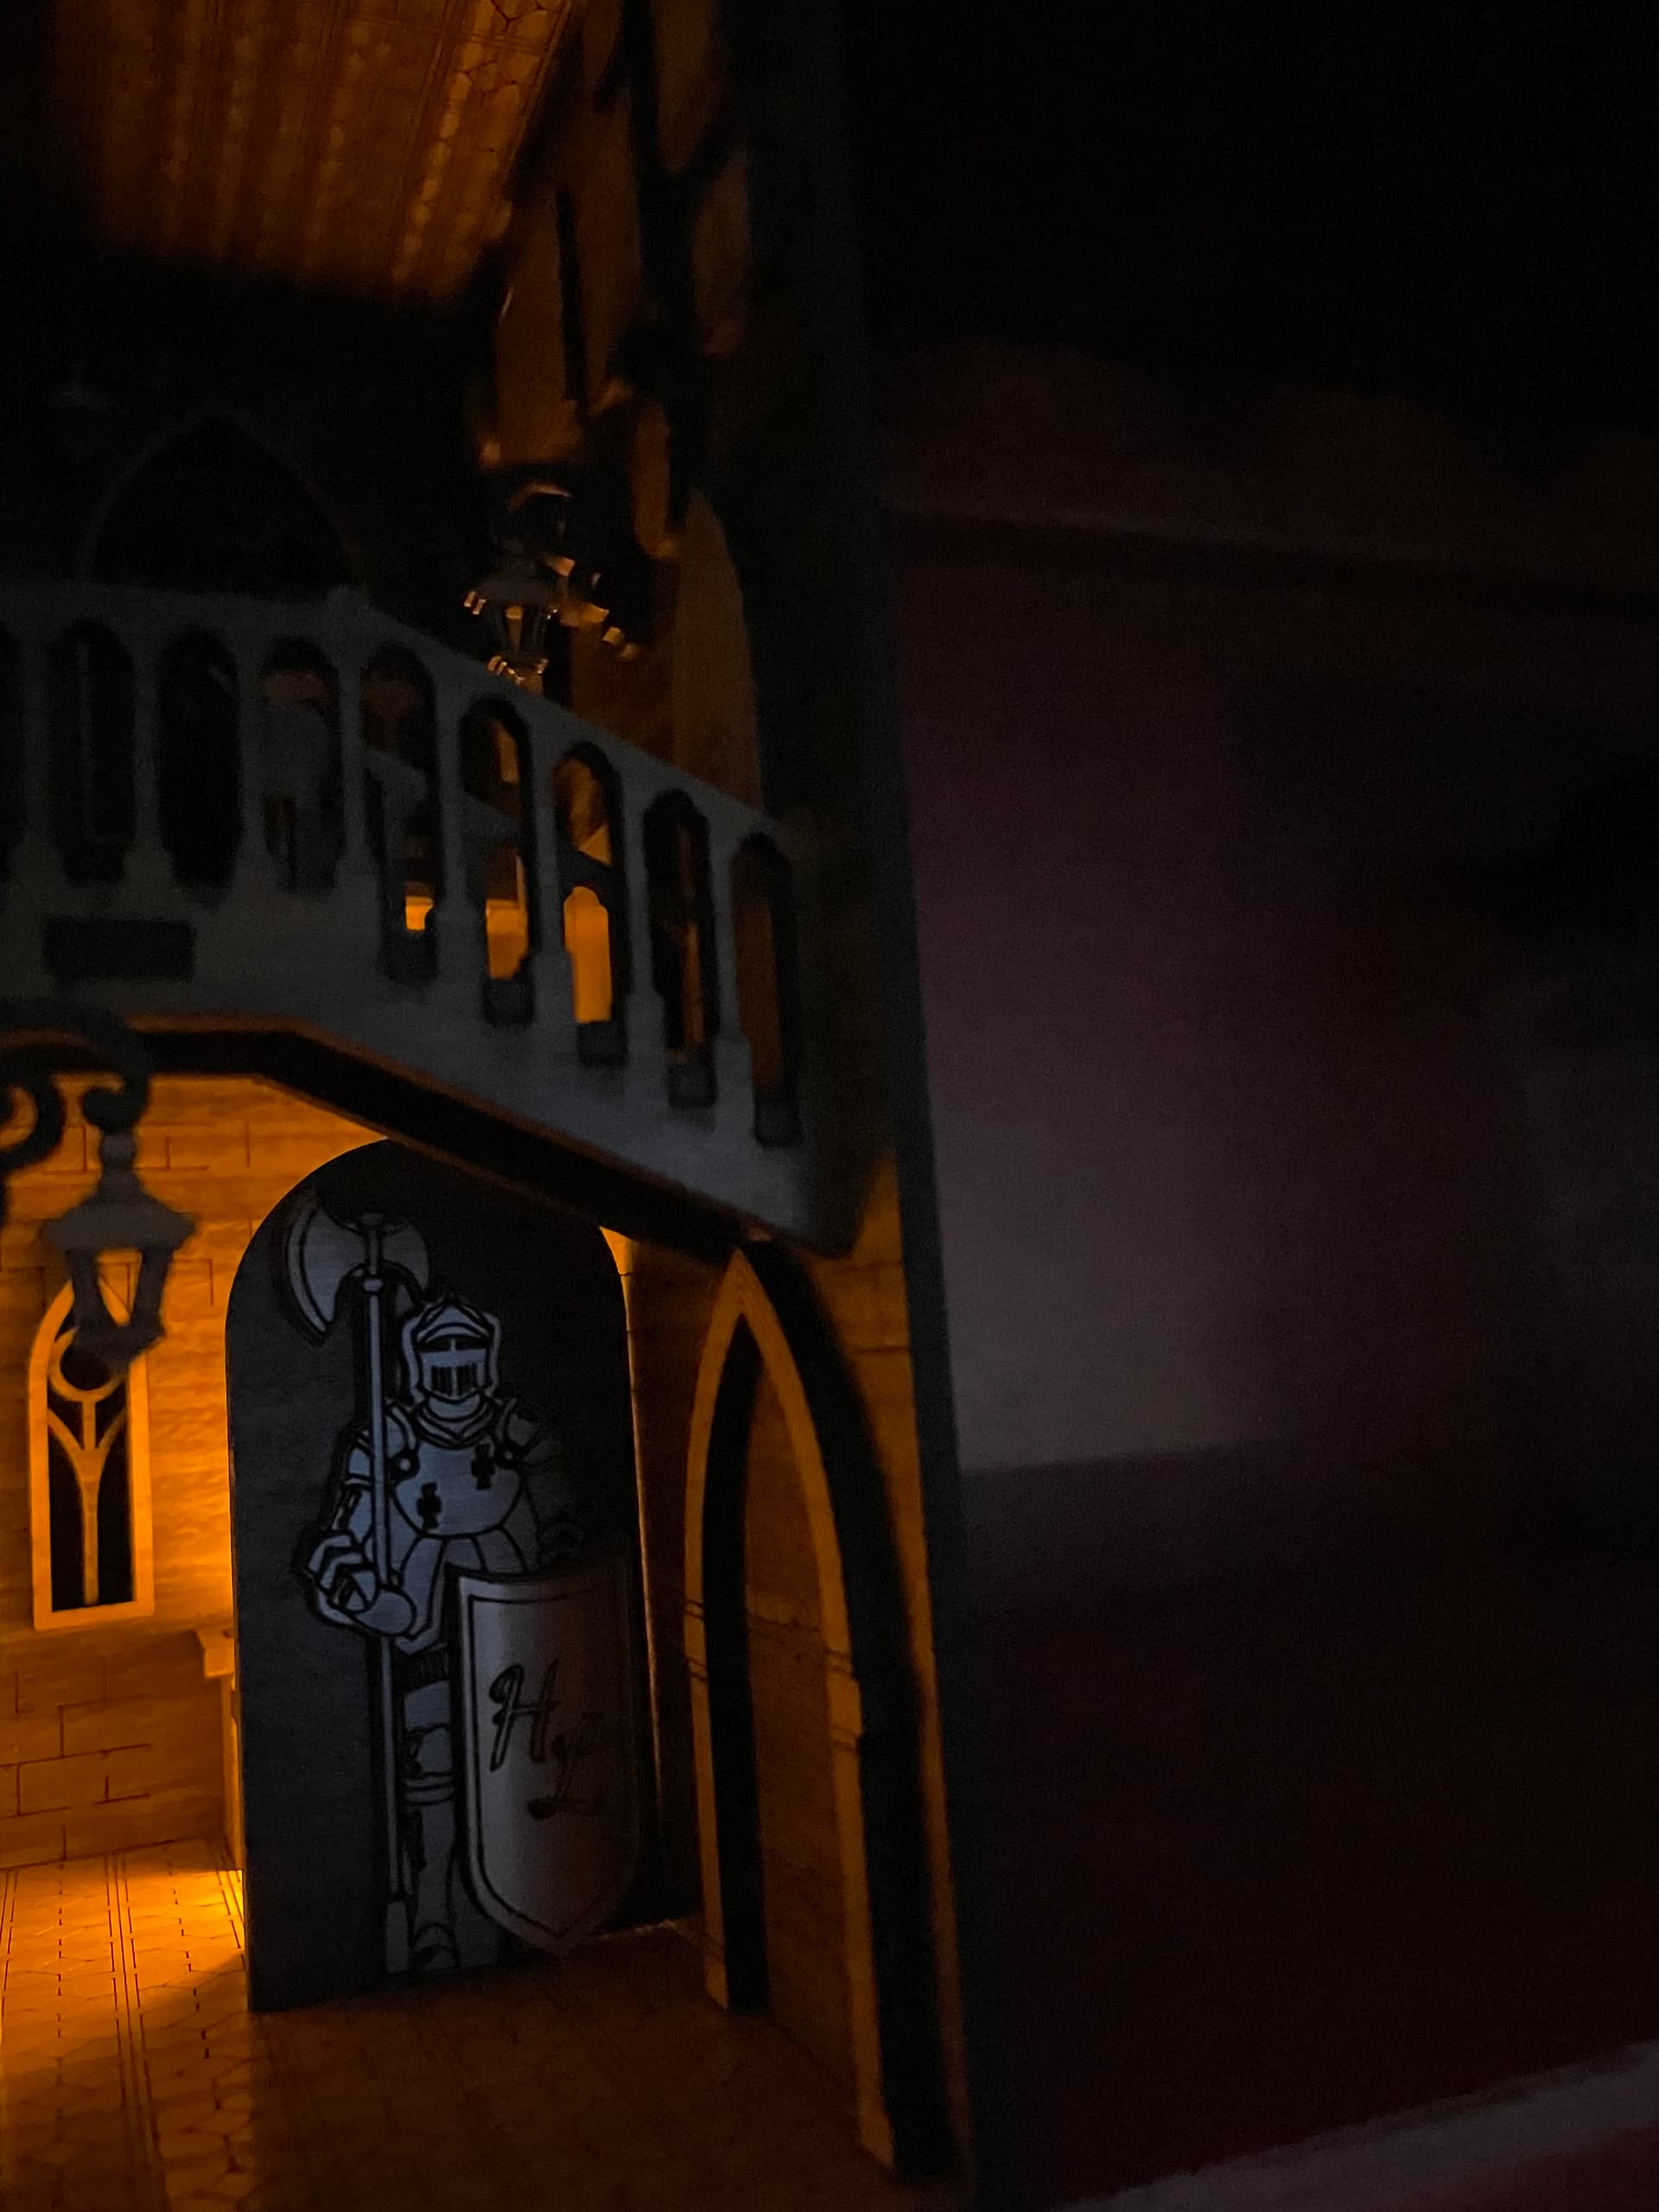
I have the Premium Subscription, so no charge. I downloaded it sometime ago, and after thinking about it, I wanted to give it more depth of colors. It requires two sheets, so I went with one Walnut, and one Cherry. And got cutting…
Snap it all together and what have you got… Also did pictures, floor, window and door frames in cherry. Wall lamps were cut in draft board and colored with black and copper sharpies.
Oooh, nice!!! I grabbed the catalog patterns for the book nooks also, but I just haven’t done any of them yet. I really need to get them done! Think I’ve just been too afraid to try!
Thank you for doing this! For me, it can sometimes be hard to imagine the potential of designs that are presented uncolored. You’ve really brought out how great this design is.
That turned out so nice. I want to do something similar (maybe modify this one) for my granddaughters. They read so much and have so many books I want it to be like a library where I can put tiny pics of them on the wall and books they especially like. This allowed me to ‘see’ into it better!
Welcome to the community. You really wouldn’t need to ‘mod’ the files…just fit as many pieces as you can into the Aura interface, drag the rest out of bounds, cut the ones you’ve put in the UI, then put new material in and cut the rest…repeat, repeat until you’ve cut all the pieces. Caveat; you’ll have to make sure you use Aura accepted material.
Yup - the largest piece is ~6.5x8.5" so it’ll fit easily into the Aura.
I drag everything off to the side, and then move things in as they fit - and when they’re cut I move them off the other side of the board - so you always can tell what you’ve done and what still needs cutting