Oh not a stupid question at all. There are various tools to draw your shapes and lines. Any line drawn in illustrator with polygon tools, line tools, etc will register on the glowforge UI as cuts if no fill is chosen and engraves if you put a fill. So for abnormal shapes I use the pencil tool. I have a touchscreen computer too so I can zoom in and physically trace what I’m working on.
Thank you again! I get my Ipad today and it is touch screen so I am hoping that it makes it a little easier!!
Awesome! I have that pen that is compatible with the windows surface, so I would recommend something similar. I’ve done it without before I had that pen and trust me that it’s tremendously easier with a pen or stylus.
Hi - I know that this is an old thread, but I’m brand new to glowforge and would really like to learn how to do inlays like this, so I’m hoping you can answer another question. Your instructions are great for adjusting for kerf, etc., but there’s one more thing I’m a little unclear about - how do you get the depth of the engrave to be the exact thickness of the material you’re inlaying? Is it just trial and error, or is there a better way? Also, once you have everything cut and engraved, do you need to add glue or adhesive before inserting the inlay, or are there additional finishing steps afterward? Thanks so much!
2 Likes
Welcome to the forum, robert.l.burger! This is a question I’ll have once I start working with inlay, but in the meantime, play around with whatever material you have on hand and see what happens. Someone with more knowledge than I have will eventually answer; for now, anything you do today is ‘learning mode’, even if you think you’ve made a mistake.
I have a lot of “oops, won’t do that again!” moments. Some of them turn into, “oh, that mistake I made a week ago is exactly what I need to do now.”
1 Like
Hi!
So I actually try to keep my engraves as shallow as possible while still maintaining good contrast. The reason is that the lighter shades on the photo will be unengraved, so if you use too much power, it will engrave too deep on the dark parts leaving taller unengraved parts if that makes sense. This will make those lighter parts of the engrave weaker. I don’t remember my exact settings for photo engraves on pg maple, but I will share them when I get to my computer. As far as using adhesives, if you experiment with kerf sizes and stay within the range I detailed above you should get comfortable with finding a snug fit with your inlay. Then what I do to make it permanent is cut the same shape as my sign in pg draftboard and spread my glue over the surface. I use gorilla clear in a thin layer and then clamp it down for at least 2 hours after getting it placed just right. Then you will have a permanent inlay that should never come out.
Hi - thanks so much for the reply! Could I trouble you for a follow up? I think I’m missing something here, probably something fundamental since I’m such a noob. Anyway, I wasn’t referring to the engrave pf the photo, but the engrave to make the void for the inlay. Does that make sense? For example, say I want to do an inlay of a star shape inside a circle. To my understanding, I’d draw the star and circle in Illustrator, adjust either the inlay piece or the void shape for kerf, import to glowforge, cut the star inlay, and then cut the circle and engrave the star void. What I don’t quite understand is how to make that star engrave - say the inlay piece is 1/8" thick and the circle is 1/4" thick. How to you engrave the star shape to be exactly 1/8" deep so the inlay will be flush when it’s inserted? I realize I may well have some of this wrong - any advice you have would be welcome. Thanks for your help!
Oh I see what you are saying. I actually don’t do my inlays like that. I think it would take a lot of time to engrave the star shape. I like to make my signs with nothing but the 1/8” material so that when I attach the draftboard on the back it is 1/4” thick total. So I have one layer draftboard and 1 layer walnut with a maple inlay. I cut my 1/8” walnut sign with my inlay shape cut all the way through adjusted for kerf and then I cut the same shape in maple after engraving my photo. The photo is the same thickness as the walnut it will be inlayed into. I just press the photo into the void I cut out and it should be flush top and bottom.
1 Like
When engraving into 1/4 inch material to place 1/8 inch material it is not necessary to cut exactly 1/8 inch deep but as close as possible, When engraving the “Kerf” is different than when cutting. All you need is to sand down till the levels align.
2 Likes
Great write up & follow ups. And great work, too!
I’ve only done one project that involved inlays, and the function was different from your purpose. But I ran into an issue (albeit rather minor) and wondering your thoughts on it, with your more vast experience with inlays …
As anyone that has used a GF (or any laser, for that matter?) has come to notice – kerf allowance is slightly complicated by the fact that a cut edge is not 90 deg from top material surface to bottom surface. There is a “bevel” or slant to the cut. Obviously, it’s not much. But it is noticeable to the naked eye – especially on thicker material.
Now on my project, I was cutting small circles (about 1/3" dia) in 1/8" acrylic. I then cut corresponding circles in a different color of 1/8" acrylic to be the inlays (or “plugs”). A limiting factor and design challenge for me was that the inlayed plugs couldn’t be glued in place – the end user needed to be able to remove the plugs and place in different holes as needed/desired. So no glue and no rigid backing. Instead I affixed felt fabric as backing which allowed users to press on the felt and pop out the inlay plug. Obviously, this design feature meant that I was working with very strict fit tolerances and had to nail the kerf just right – too loose and the plugs would fall out (this was for a vertically mounted sign); too tight and the user would struggle to pop the plugs out! Needless to say, I spent WAY too much time perfecting the kerf & fit.
I assumed the resulting bevel was part of my struggle to get a perfect fit. And I was right! Since my plugs were symmetrical in geometry (circles), I really didn’t think about whether I was inserting the plugs top-face or bottom-face up. But quickly noticed it made a difference in the fit which way they were inserted. Once I realized this, I inspected each plug to determine which was the top and proceeded to insert them upside-down into my base material. Basically, I was assuring the bevel on the plug complimented (i.e. was parallel to) the bevel on the base for a better fit.
Ok. So this was really just a long-winded way of asking: in your inlay work, do you compensate for the bevel? Assuming an inlay piece is not symmetrical (like the letter “F” vs. an “O” for instance), do you mirror your inlay piece’s design before cutting so when you insert you are inserting upside-down to better align the bevels? OR, is this really a non-issue when you are gluing and backing your project? Hoping for the latter, especially in projects like yours where you are also engraving – having to engrave on one side, then flip the piece and cut on the other would get old fast!
Yes you are correct on the second one. I engrave and cut on one side only and I do end up with an extremely thin black border around my inlay which I do like. I guess if someone wanted a perfect fit, they could adjust the kerf for a tighter fit and then sand all of the edges, but I don’t want to go through all that trouble lol. It seems like it would be very difficult to get the cut to align exactly with the photo engrave as well if I flip it over. Something I don’t think I mentioned is that the kerf adjustments I detailed are mainly for the pg plywoods only though. When I have inlayed with draftboard and acrylic, those kerf adjustments don’t work as well and require their own experimentation as you have done with your acrylic.
1 Like
That has been the standard practice discussed extensively when the pieces are each cut completely through. However, I have discovered that when engraved, the size of the hole has less or even negative kerf, and usually find I have to use a clamp or rubber hammer to get them together.
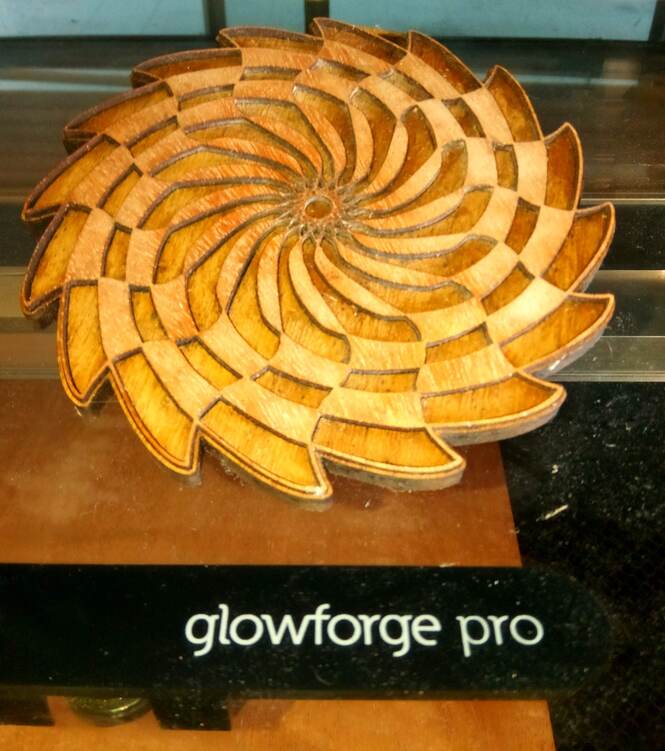
This was my first test of the process that was not thick enough but it will never come apart and I just left the difference in height alone…
2 Likes
Again these amaze me! I tried 10000 times to do this with the directions you gave me and can’t get it right…Do you know of any video tutorial that can assist me to do this?
1 Like
I am not sure if there are any good videos since I kind of experiments with photoshop and then with laser settings until I got these results. If you’re stuck on a specific part I would be happy to help. I am also thinking about adding some of my photo engraves as downloads on our Etsy store. Do you all think that would be a good idea?
1 Like
Maybe your editing is good but your laser settings need to be changed? Did I share my photo engrave settings on this thread? If not I would be happy to share them when I get to my computer!
I would suggest selling some of these settings on etsy! It is super complicated for a novice like me. Definitely wouldn’t hurt having it out there.
I have the pro so I have been trying my best to make things without needing photoshop but I want to get better.
I would even pay for a video, being able to watch your process from photoshop to illustrator to the forge with directions.
2 Likes
I think it would be a great idea. People like me would pay for somehting like this; it’s outside my time/skill range but it would make a dynamite gift.
3 Likes
I am very impressed by this, looks absolutely great!
2 Likes
Very nice, love it!
2 Likes
I would be so nervous on camera! Lol I think I am going to put some of these files on Etsy though and will probably open a listing for customized draft requests as well!