That worked perfectly for me.
10 Likes
Looks great! These settings are a bit different than the ones I’ve been using, looking forward to giving them a try.
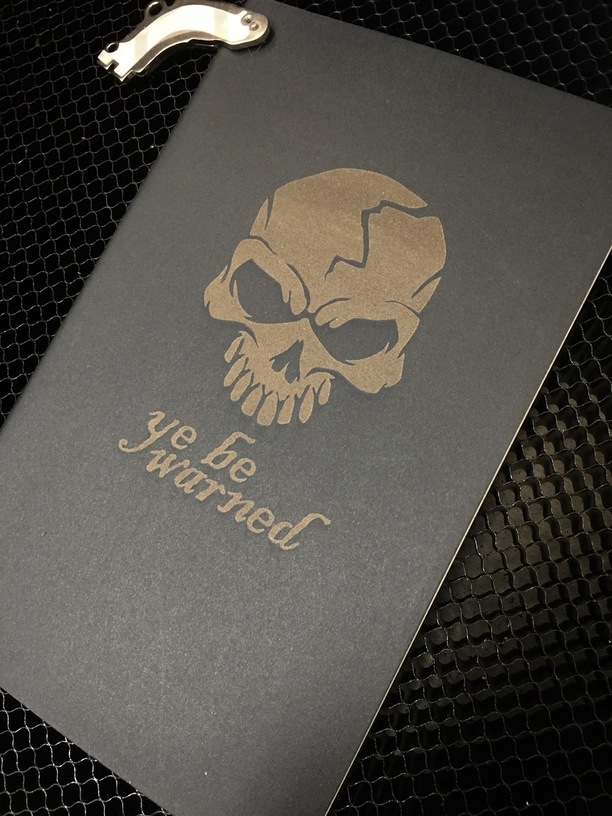
It doesn’t look like much, but it feels so nice… almost like its etched in leather.
I didn’t account for the alignment issue. Perhaps a good way to print this is to put a piece of paper in, print on that, then carefully place the notebook over the paper?
3 Likes
I would suggest that you make a bounding box the size of your notebook, make it a different color and center your lettering in that.
Then put your paper in, secure it WELL, ignore the engrave and lightly score the bounding box (1power, 500 speed). Then set your notebook on the paper and line it up with the scored outline (MAKING SURE NOT TO MOVE THE PAPER OR THE IMAGE IN THE GFUI). change the thickness of the material, ignore the bounding box and add settings to the image or text or whatever is in the center and you’re good to go.
5 Likes
If I was doing any kind of production of the same design, I’d add a jig cut to the design file, cut it out of cardboard (ignoring the design) and drop the notebooks in for engraving (ignoring the cut line).
Since I’ve been doing one-off designs, I’ve just been putting a piece of low-tack washi tape on the notebook cover, using a sharpie to mark the center of the notebook on the tape, and then lining up the center handle of the design bounding box with my mark in the GFUI.
1 Like
I love this idea, and so had to shamelessly copy it ![]()
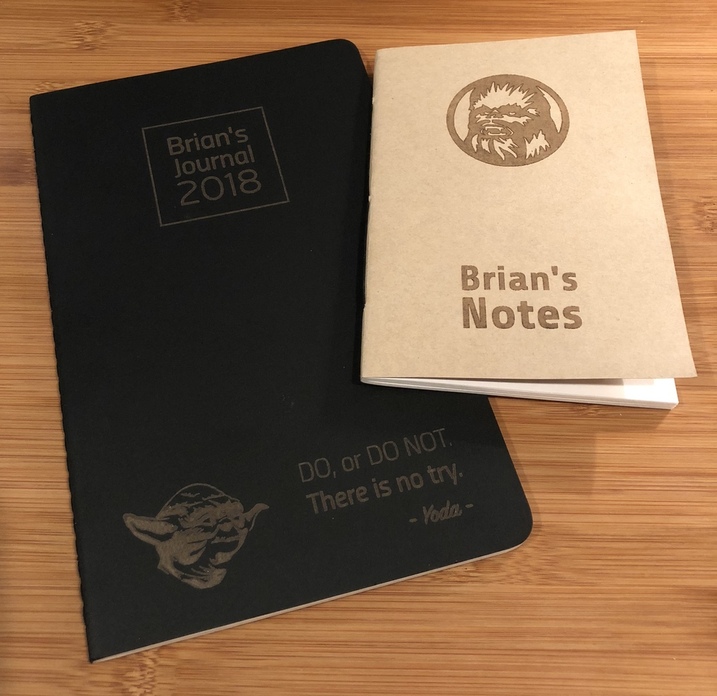
The dark book is the black 5 x 8.25" Square Cahier Journal. This is my new favorite everyday notebook for note-taking!
The lighter book is the 4 x 5.75" Samut Kraft Notebook. This is the perfect compact size for keeping in my pocket all day to jot down quick notes and ideas.
Settings I used:
- Speed 1000
- Power 15
- LPI 450
- 1 pass
- Focus height .130
On the thinner cover of the Samut, it just started to bleed through at 15 power, but you can only tell if you hold the back side up to light. I think it’s worth it for the nice dark effect though.
I ended up making multiple copies, and used a simple masking tape layout guide with cheapo magnets to do it quickly and consistetly:
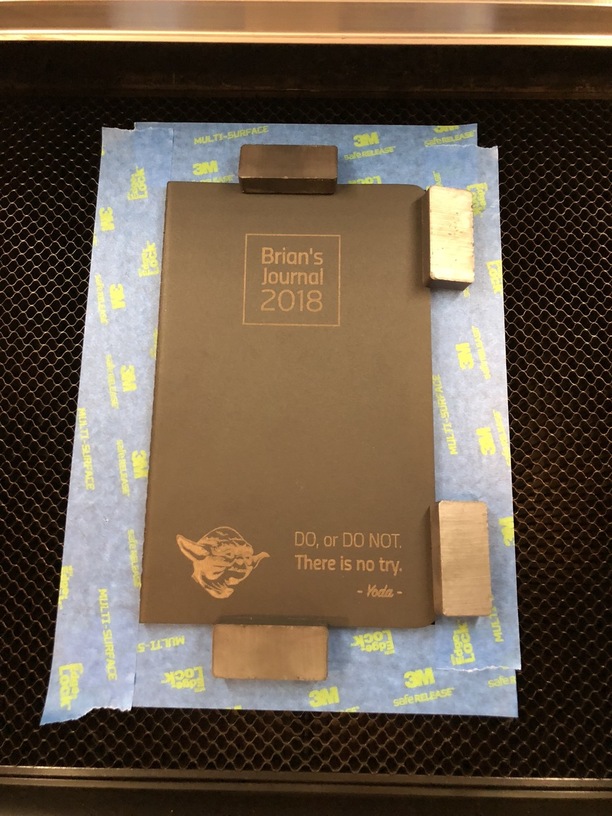
Cheers to the OP for this amazing idea. I’ll be making many more of these in the future!
10 Likes
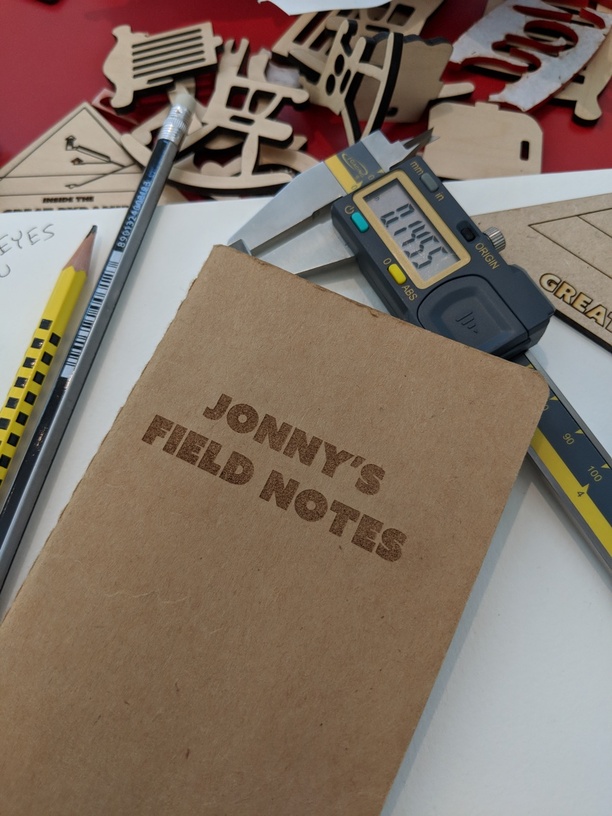
Hey! What were the setting did you end up using for this field notes book i really like the contrast. i have a similar notebook i would like to test this on. Thanks
IS that the same material as their soft covers?
That’s the only notebook I use for work and I’d LOVE to engrave it. But worried about the material giving off harsh fumes.
the cahiers is a different material.
Bummer. Ok - research and then a test later.
not saying it won’t work on that book, just that the settings could be different if it does.
Yup - I have LOTS of these (I take a lot of notes) I’ll test on the one I just filled up.
Funny thing - I only write on the right side of the notebook and never on the back / left side of the notebook. So in theory I only use 1/2 of the notebook, but I’m also quirky.
1 Like
Spin it 180*. A whole new book! But some weirdo wrote upside-down on the left side…and from back to front for some reason…
2 Likes
I thought about that! But then the cover elastic is on the wrong side.
Like I said, I’m quirky.
Have you ever read House of Leaves? ![]()
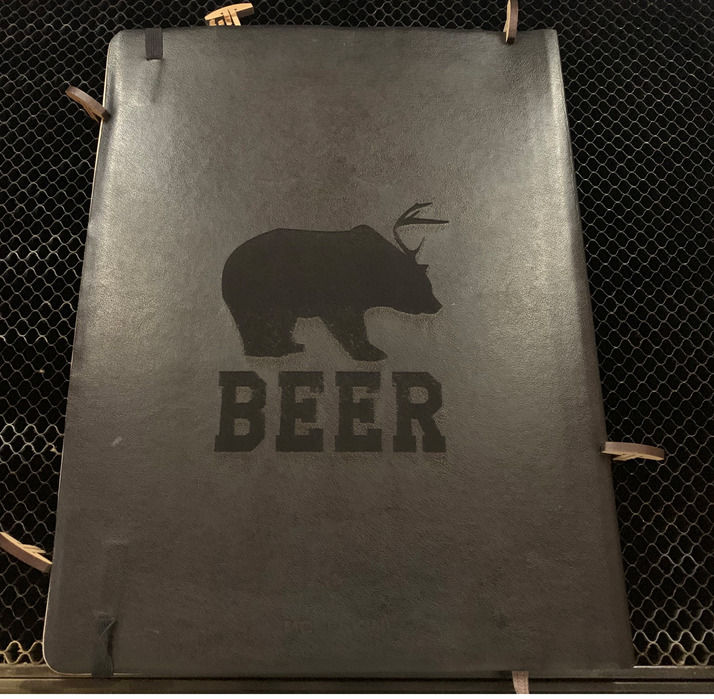
Ok - totally worked but didn’t. Tried it at power level 5, 10 and 20. 5 and 10 etched the cover, but once done you could take your finger, rub it over the engrave and it disappeared (kind of like a self healing mat). I engraved above and below the main “Beer” logo - you can’t tell where I did because of the self healing properties of the Moleskine notebook.
At 20 it worked perfectly - BUT - if you touch the area of engrave you get sticky black goo all over your fingers. NOT what we want, so apparently the soft cover Moleskines are NOT a candidate for engraving. Which is a bummer. I was hoping it just melted and would re-harden, but nope. At least this one has 1 page left to write in so I won’t be using it much other than going back and researching notes.
Here’s a pic - don’t touch the bear or he’ll blacken your fingers. And yes that’s a sheared pin at the top - apparently it was too tall!
4 Likes
What happens if you clean the area with alcohol? Maybe you can get rid of the sticky black goo without damaging the engrave.
1 Like
Good point - I’ll try that.
So interesting follow up. I went plan B and bought 6 of the Moleskine Cahiers so I can at least get the engraves done on notebooks that I know will work. I’ll do these for Christmas presents and hopefully they’ll be appreciated! 
However, this morning when I pulled out the one shown above (it was in my work bag since I engraved it on Saturday) the engraved area was not sticky. It seemed to have “dried” out and now was absolutely fine. So I guess it just needs time to dry and get to a fixed state.
We’re incredibly dry here in Denver this winter, so maybe that’s something to do with it.
4 Likes
If you’re looking for a place that has these, you might try T.J. Maxx. They tend to have the larger notebooks in multi-packs for about $15. Over the last month or so, I’ve picked up a couple of special packs that had six each(with a variety of colors in the pack), and a few XXL packs that had 4 each.
4 Likes