Very silly and newbie question here, but when engraving on a cahiers, I know I need to enter the thickness of the material, but is that referring to the thickness of the cahiers book itself of JUST the cover? If the cahiers book is 1/8" thick, do I enter that value and GF just knows that for an engraving to only go X deep? Thanks, all.
1 Like
The thickness of material is the distance between the surface to be engraved and the surface of the honeycomb tray. (If the tray is out, it’s the distance to where its surface would have been.)
1 Like
To add to @geek2nurse’s excellent advice, the material thickness setting has no bearing on engraving depth. That’s entirely governed by the speed and power settings no matter the material thickness.
2 Likes
Is there some chart or math that helps determine both speed and power when it comes to engraving? I’ve noticed that the darkness varies from notebook to notebook, and I suspect this has to do with the distance between laser and top of cover, but not sure.
Basically the more laser energy hitting one spot the more burning there will be. More energy can be higher power, slower speed or both. More burning can be deeper, darker or both. Sometimes deeper but cleanly vaporizing and no dark. There’s too much much variation between possible materials, or even a single piece of material, to have a master chart or formula. Just look at most of the posts on bamboo engraving.
Your best best is to find a testing method you like, there are lots of suggestions in the forum, and create your own chart for the specific materials you are using.
2 Likes
thank you!
This is great information ~ I’m engraving swag for my husband’s law office as we speak. Using the cardstock cover Moleskine cahier notebooks. Wondering if I’m brave enough to engrave the regular XXL notebooks with synthetic covers…
Hey all, GF newbie here.
Been trying to do my homework before making too much kindling in this thing. Was excited about doing journal covers and read this and a few other threads.
I’m not super happy with my results however and I’m not sure what’s going on. I tried a pretty good range of settings across the power / passes / focus / LPI, finding the point of burn through and what felt like a good balance between uniform and speed. Ended up at 1000, 10, 340, .3 (material @ .18) and one pass.
I’m got a good engrave, but crappy contrast. Nothing like the “Gatt” or “A” results shown above. I have theories, but interested in comments from folks that have done this. For fun I tried a forest green one as well, and similarly, poor contrast. By “poor” I mean that at an angle, in ambient light, it’s difficult to see. By tilting the book, you can see more contrast, but it definitely doesn’t “pop” like I’d like it to.
My theories.
-
Mention of dupex stock in the thread above. My covers are the same color inside and out. Perhaps Moleskine produces covers that are black outside, brown inside?
-
Photography / lighting. I can photograph it to look better than it (generally) looks IRL. This could explain the difference in contrast.
-
Still not finding the right setting for maximum contrast. Maybe my defocusing is backfiring somehow? Weirdly, the green (which I expected to be light contrast based on the “A” design above) darkened in the core engrave area (however the perimeter lines appear lighter…)
Love any thoughts from those of you that have gotten better results than I have. And for that matter, any experience with other journal types. I personally prefer the Moleskine softcovers. Interested to hear if @mrinken or anyone else has spent more time in perfecting these. Seems from the photo above that while there’s not a lot of color contrast, there’s more texture contrast which might be more what I’m after.
Thanks in advance for any thoughts
This is even more contrast than what I see in most ambient light situations:
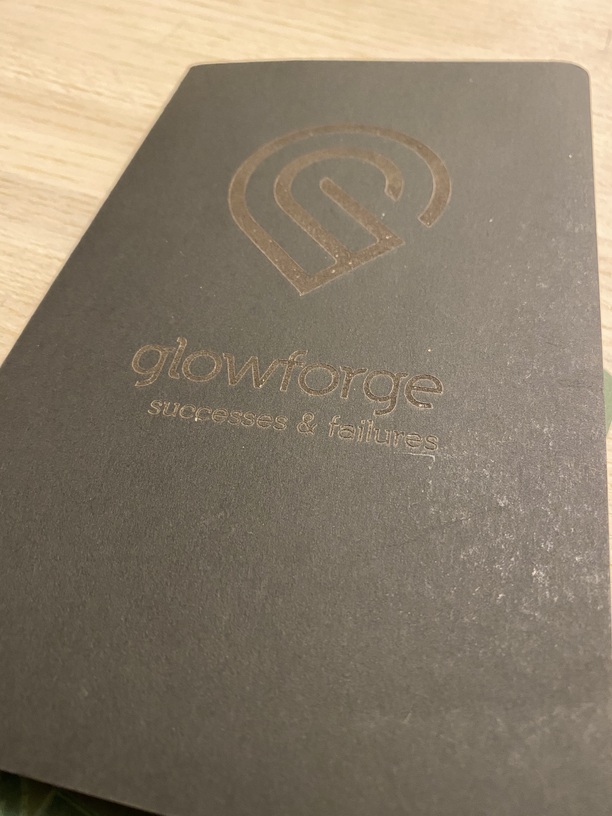
This is head-on and the camera definitely picks up more contrast. I’d be very happy if this is what it looked like IRL (same book as above)

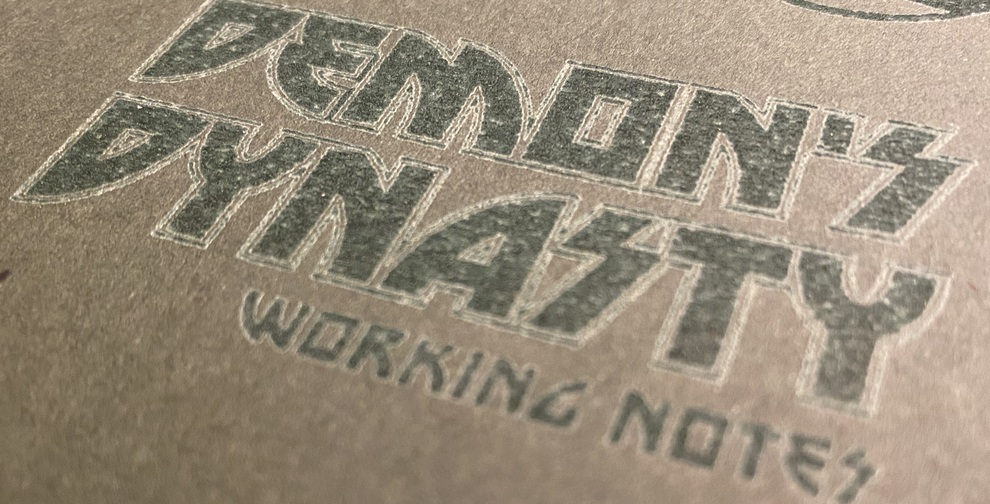
Here’s a green one to see if there was a material difference between black and green. Odd (to me) that the engrave appears “more green” since I was expecting more craft color… not the best photo, but… each of the letters have an offset outline and you can see that these appear “lighter”. What I think might be happening is that the edge of the engrave catches light differently and looks lighter and by virtue of having 3 proximate edges in tight space, it appears lighter to the casual glance.
1 Like
Your results on the ones you’ve done are pretty much what I got as well. Everyone who got an engraved notebook loved it, and it is a very light engrave.
On the soft covers - I’ve done several of these now and waiting for it to “dry” makes all of the difference in the end. It isn’t very noticeable head on but at an angle it makes a difference and looks pretty snazzy.
In the end, it’s not the greatest engrave but it does look cool and it’s neat to be able to engrave something like this.
I’m on to metal now - been doing a ton with Dry Moly Lube for Christmas gifts!
3 Likes