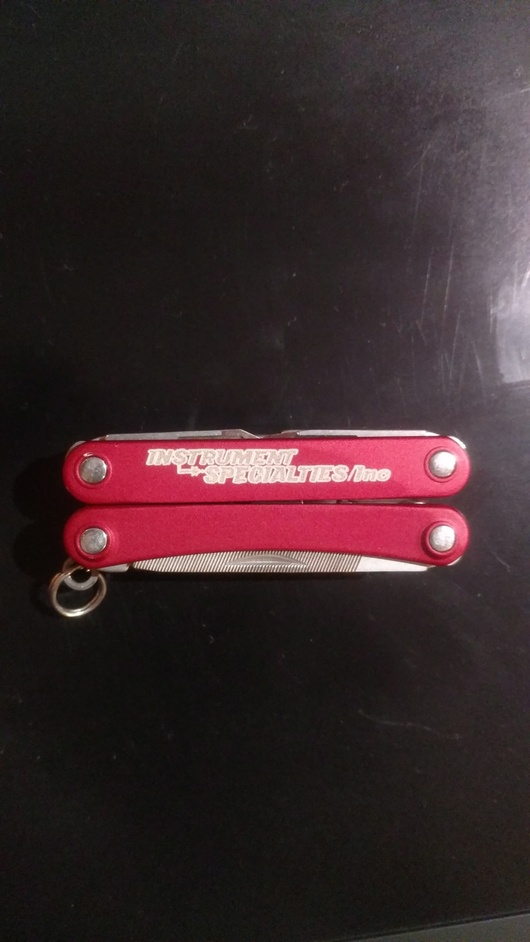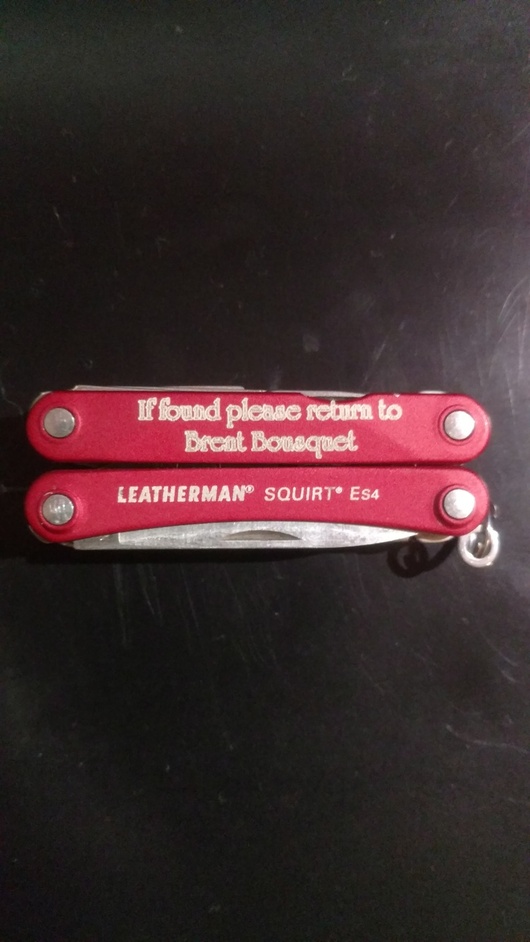
Tested to see how the pro would do on my Letherman squirt. It did pretty good but I wish it was a bit more clear, any tips? Heres the svg I used

What settings did you use?
I’ve used 1000/Full/340 on all of my anodized aluminum and gotten crystal clear results even with very thin lines. That said, not all coatings are created equal. Also, what was your source? Vector? Bitmap?
I made it in photoshop and converted to svg in illustrator. Im a little confused about your settings. 1000 is obviously speed but what is the full/340? are you saying speed 1000 full power and lines per inch is 340?I was on 500 speed so maybe a bit to slow.
Looks like the font came through as an outline. There are tutorials about fonts and using single stroke fonts somewhere. I am sure someone who has received their GF will reply with a better answer shortly 
Another option is just to increase the spacing between the letters.
Yep!
I think so. I think you blasted it a bit that way. Generally you want to always go as fast as possible while getting your desired result. Takes some testing. Also you begin to develop a skill for better starting speeds/powers/LPI. But you’ll likely always want to play a little to get the settings just right. Then document that for the future. ![]()
Thanks! Ill try again on the other side. My boss wants me to engrave our company name on them and hand them out as christmas gifts so this is the test for when that happens.
Sure! Try again. Maybe don’t use the whole body of it so you can test again if you need to.
So this was a raster image saved as an svg, yeah? And it doesn’t look like that normally? Hmmm… I mean… There’d be no real fill or stroke as such. It’s just an image. Would you like to share the file with us?
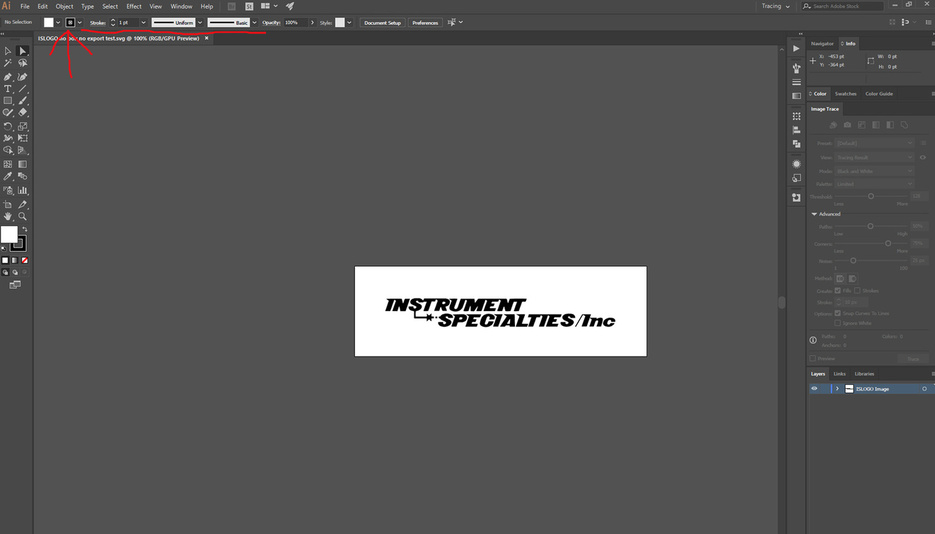
it wont let me upload a photoshop file. This is the svg thought so you can see what it should look like. I image traced it in illustrator then exported that as an svg.

I’m at work right now with no Illustrator on this machine. But instead of tracing it, try just saving it as an svg as-is.
I think I figured it out. For some reason there was a stroke being applied when I load the image into illustrator so no matter if it was traced or exported or just saved it still applied the stroke. I will just need to be more careful to make sure that isnt happening. funny how it gives the stroke a different color even though it was set to black.
Interesting! Wonder what that’s all about. That’d actually be really useful for cutting images out of other materials. Any idea how you did it?! (I’m a complete Illustrator novice!)
me too thats probably why it happened lol. In the upper left corner there is a box to set the stroke and somehow it was always on. But after I set it to nothing I cant figure out how to get it back haha
How to put the stroke back, you mean?
Click on the logo to select it. Then, down in the bottom of the toolbar on the left, those are your fill and stroke colors. You can click on each one to set the color. And the little white one beneath it and to the right lets you clear one or the other. (Or both! But then it’s invisible, which is probably not what you want.)
You haven’t mentioned how you’re generating your Photoshop bits (raster or vector) but FYI - since the October 2014 update of Photoshop CC, Photoshop can natively export SVG. ![]()
Are you sure that’s anodized aluminum and not powder coated/painted?
I learned this workflow for milling on my cnc router and for some reason it had no problems with the SVG from illustrator but wouldnt read the SVG from photoshop. Idk why but it didnt really matter since I had illustrator anyway. I raster the image before tracing it.
Ah I see.
Tip about Illustrator’s trace: there’s always some loss of detail going from raster to trace. For large things you likely wouldn’t notice. For smaller things those little details will tend took show up (unstraight lines, funky corners, etc.)
If you’re creating your text in PS (As opposed to cleaning up a scan) it’s super easy to generate clean vectors. Just right click on the text layer in the layers palette, and select “Convert to Shape.” Your text will now be in vector format and perfect. To get that out of of Photoshop and into Illustrator all you need to do is File > Export > Paths to Illustrator. To skip straight to SVG you’d go File> Export > Export as… and select SVG in the file settings.