Engraved wedding photo

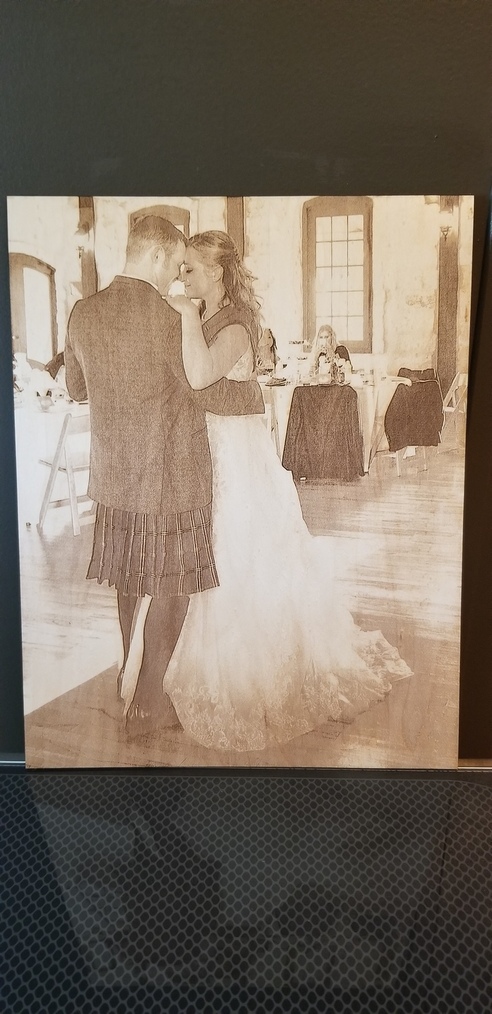
I am just SO pleased how this came out! The details on the dress are amazing. I photographed my friends wedding and wanted to engrave my favorite photo for them. They were thrilled!


micah%20and%20heidi
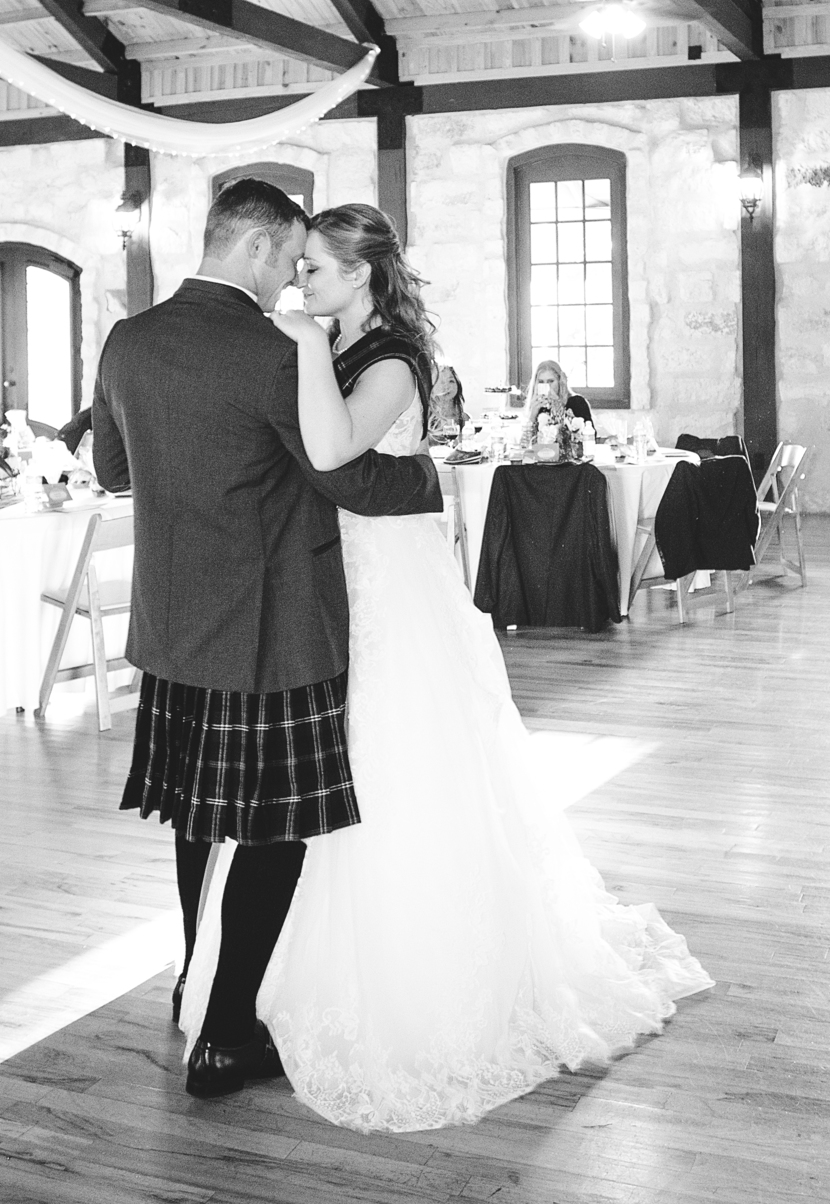
This is what the photo looked like before editing in grayscale
micah%20and%20heidi%2011x14
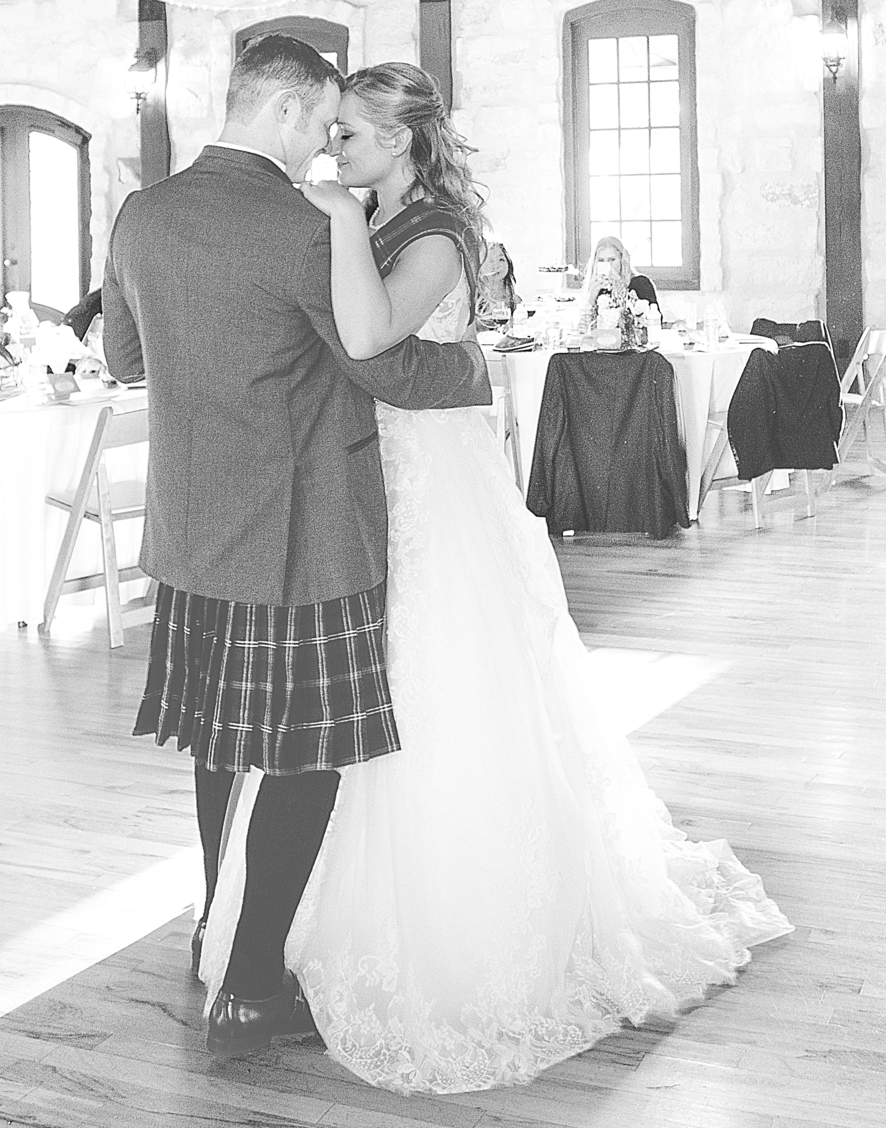
This is the edited photo I used. I didn’t want the black to engrave too much since there was so much. So I lightened a lot of the major black areas so the groom especially wasn’t too sunken in compared to the bride.

39 Likes

Turned out beautiful! :grinning:

2 Likes

Very nice. May I ask what settings you used? I am trying to engrave a photo and have not been pleased with the results so far.

1 Like

I will look it up when I get home :slight_smile:

As well as the Kilt :smile: Great engrave!

2 Likes

Stunning engrave and photo!

1 Like

keep in mind that the engraving settings are only part of the equation. a lot of the time when we see poor engraving results, it’s because the picture is either not a good candidate or has not been properly prepared to engrave. mid-range grey tones, especially if you have a lot of them, engrave very muddily. you need a high contrast image to get a good engrave.

3 Likes

Really a stellar result. They will be thrilled!

1 Like

Would you post the picture you used to engrave? Would be helpful to see the colors/contrast/etc in it since the engrave came out so great. Thanks!!

1 Like

When you have a chance please if you could post original picture, if you then altered it the altered image used to forge. Also what material did you use and settings if not PG and did you bleed the image away from the cut?

Really love your results.

1 Like

I used proofgrade medium maple plywood. And it was a JPEG used with the SD graphic settings.

this is very true!

What does bleeding the image from the cut mean? and I used Proofgrade medium maple plywood with a jpeg image. And I posted the edited photo :slight_smile:

I posted it :slight_smile:

Basically, engraving beyond the cut line so that you can be sure it extends all the way to the edges.

@rserrano7 - I’m not sure how @desireehobart did it, but the easiest way is to embed your engrave image into the SVG along with the cut line. Once it’s aligned in the design, it’s no problem.

2 Likes

yup yup that’s what I did. I just zoomed in to make sure it was right on the edges. :smiley:

Yeah what JB said. And great shot. I was expecting a color to greyscale for forging. Thanks for sharing

1 Like

yeah. I never do any editing to the photo until I switch to grayscale. I find it easier to see what I need to lighten that way :slight_smile:

still could we please know the settings that u used and then we can also play around with the photo editing as well

Sadly I dont know the specific settings. I used glowforge material. Maple plywood on SD setting. I hope this helps.