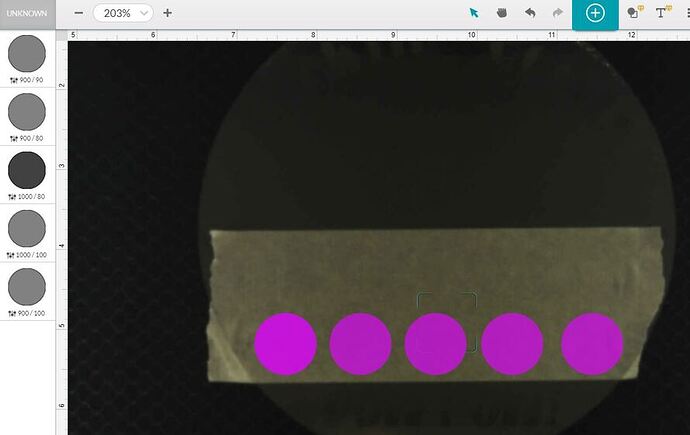
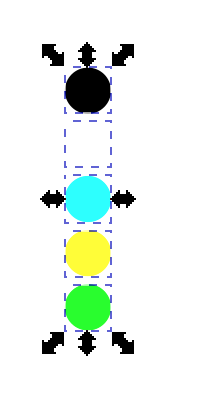
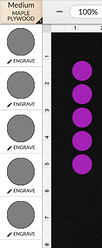
I did some searching and found settings and setup on how to engrave a mirror, and it works pretty well. I decided to give it a go with my Cermark black marking spray as well so I can differ between the standard frosted look and actual black markings (which typically looks great and works well). Here is my issue: I wanted to set up a test run that had 5 circles that I could run them all at once with varying speeds and powers so I utilized 5 different colors to make them separate on the interface. Shown are the 5 colors I used then also the 5 of them on the mirror with their settings. The first circle on the image, light blue in the design, is the 3rd in line in the settings bar and was run at full speed / 80 power and had literally no impact on the mirror. There was no laser emitted that I could see visually, and the masking tape has no scoring at all. These are the settings I used for the wording slightly under the tape in the picture that turned out pretty well but I could tell needed some tweaking hence this test run. I don’t believe the actual color of the circle should have any impact on the engraving as I’m manipulating the settings manually and there is no varying power for lets say a gradient image as there is no gradient. Also, for reference, the yellow circle at 900/100 ended up turning out the best. The mirror is only 6" in diameter and was completely centered on the table as as shown all 5 circles were shown to have settings to be able to engrave them. I removed the mirror and re set up with just that circle with the same settings to try again, because as mentioned I know those settings have worked just 10 minutes prior, granted the color of the wording I previously engraved was saved as black and not this light blue. The circles engraved in the order they show on the settings so the missing circle was the 3rd of 5, even though it’s the first in line (confusing I know), so it wasn’t an issue with the laser just for some reason not wanting to work anymore.
Thoughts? Ideas?
Any help is appreciated.


