For a second project I’ll try to use some shoe polish (I read about it in another post).
And when I have enough time I’ll try to make the casing myself as well.
I’ve just started trying to do work on leather w/my Pro. Would you mind sharing the settings you use on different leathers? [quote=“josephiena, post:1, topic:24211, full:true”]
A few days ago my father stopped by.
He has some 5mm thick oak boards (110cm*12cm) left-overs.
Still, need to think about how to use them.
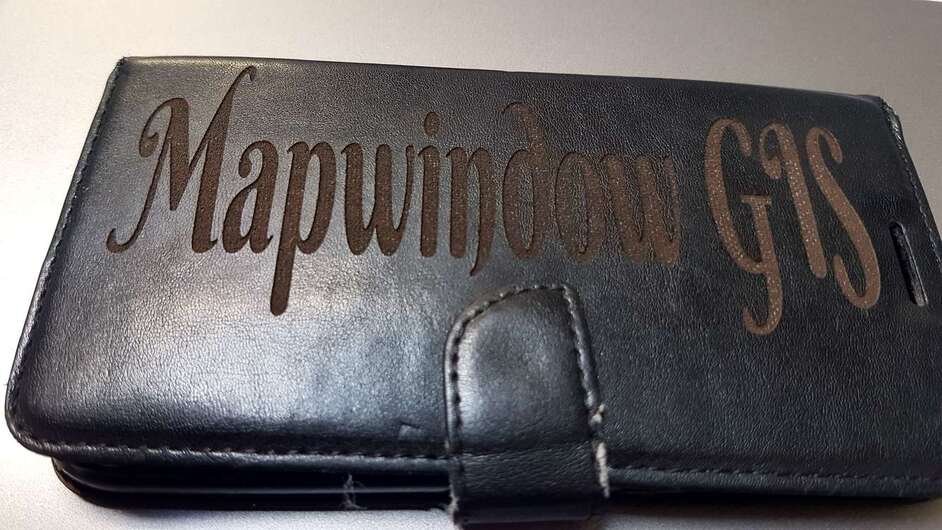
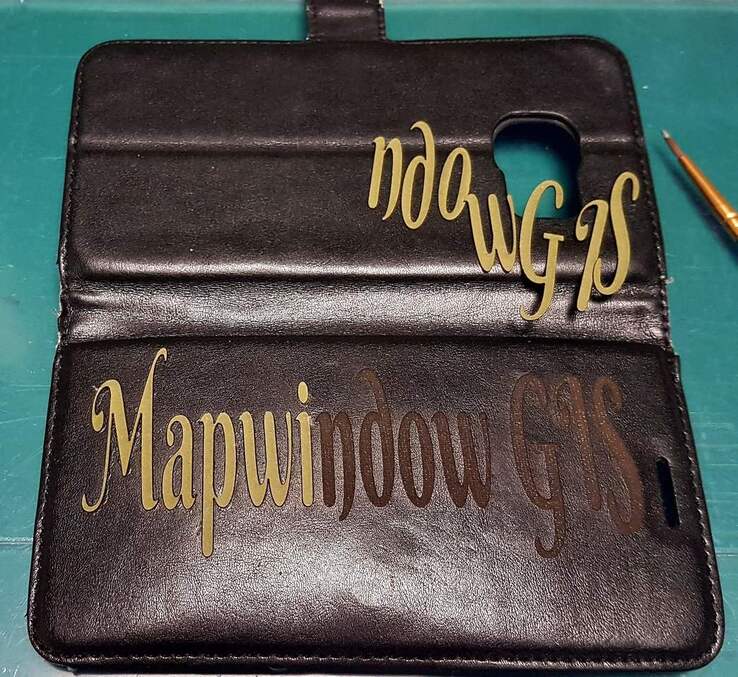
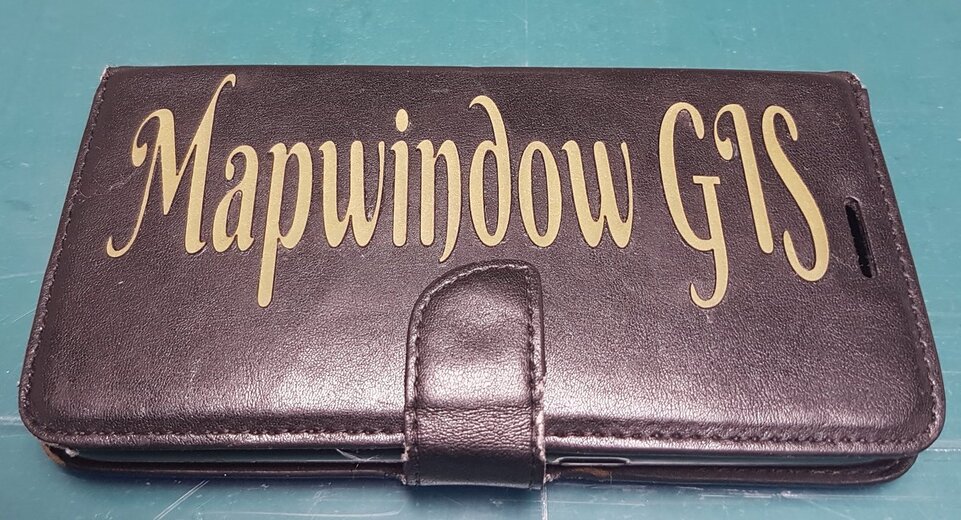
But he also got a new phone and leather casing he wanted to engrave with his initials.
This is our first leather project and it turned out very nice:
For a second project I’ll try to use some shoe polish (I read about it in another post).
And when I have enough time I’ll try to make the casing myself as well.
[/quote]
The default settings will work fine for engraving as long as you have a masking material on the leather.
Without masking, I find that they are too powerful to engrave most unmasked leather without charring it badly.
You can tattoo leather very easily at very low powers and fast speeds, no matter how thick it is, as long as you remove any masking first and set the height correctly.
For cutting, you’ll need to do a search for “settings” and “leather” in the Beyond the Manual category. Thick leathers are tricky to cut through with one pass.
@mrjantz: This was our first leather project. I haven’t done anything else besides engraving with leather yet.
I did engrave my own phone case as well and this time use the same artwork to cut out on leather paper. It’s paper with latex. It cuts very good and is very strong.
Thanks for responding. I’ve been practicing on leather scraps with less than desirable results. I’m getting pin point laser spots around the outer edge of my designs. Don’t know if it is something wrong with my GF or maybe a bad image. I’ve gotten the spots on some of my wood projects but not all of them.
If you are getting the spots at corners, you can try rounding the corners. The laser stops and then starts at corners without decreasing power.
If you are getting spots in the middle of lines, check the file for “extra” nodes. Inkscape likes to add a node where you union two objects. Even if the union should result in one long, straight line, Inkscape likes to place a node wherever the objects met. The glowforge may be pausing at the node resulting in a spot.
If it is neither of the above, well leather is notorious for being slightly different thicknesses from one spot to the next. You could be seeing burn marks in the “low” spots. Adjusting the power down or speed up could help, but could also result in the laser not cutting all the way through. I would also try using a masking on the leather if you are not already. The masking may absorb the pinpoint marks. And finally, if you are not seeing pinpoints or flashback on the backside of the leather, flip it over.