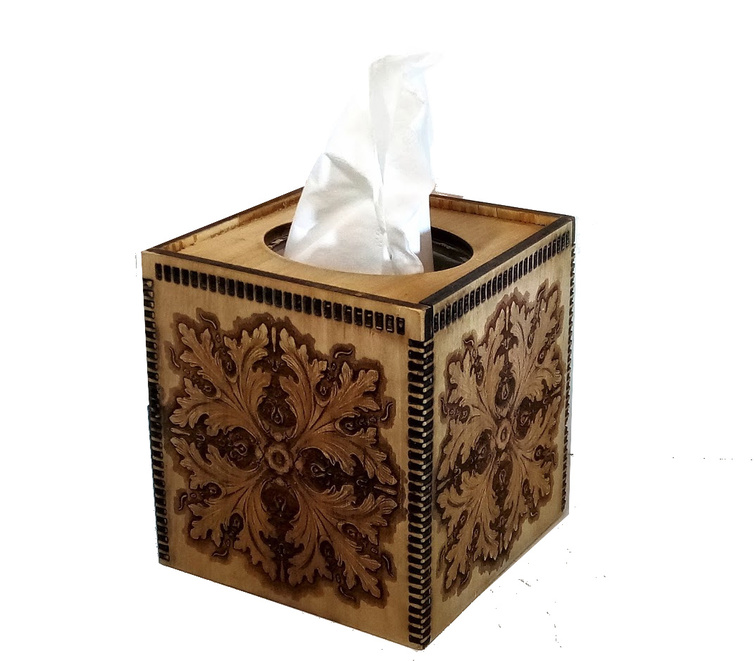
I would like to engrave an image on a serving tray made of acrylic, like this one (happens to be perfectly sized at 20x12):
I know that some acrylic engraves better than others, is there a way to tell which kind this is? And if I could do it in proofgrade, how would I go about attaching the side pieces so that it is sturdy? Proofgrade ends up being cheaper than the one in the link, but not if I mess up three sheets trying to get some kind of assembly to work. Also not sure what to do with the corners if I tried to glue something together. So I am wondering if just buying something like this and engraving it might be better in the long run.
Generally speaking, extruded acrylic is used in fabrication and that’s likely what the tray is. It’ll engrave, it will just engrave more clear that cast. And all acrylic is generally the same and you can use proofgrade setting for it, just make sure to measure it with calipers or use set focus. Just be careful with the height of the tray becasue if it’s too tall the laser head can’t clear it. You could also make one yourself using acrylic solvent to glue it up. There are a couple of box generators that you can use to design the box.
Yes, but it involves cutting or burning it - so not really unless you wanna buy two trays to test!
Per the Amazon listing that is 2” in height - so you can do it, but you’ll need to remove the crumb tray to do so - and you’ll want to put some masking on so the Set Focus can see the surface in order to get a good reading
Acrylic solvent is great stuff - it’s not glue really, it literally melts the acrylic edges together so they are one solid piece. They sell it as a liquid and it totally wicks into the seams, but it easy to spill so if you’re not a glue master watch a video or two to get the knack https://www.tapplastics.com/product/repair_products/plastic_adhesives/tap_acrylic_cement/130
So, if I use a box generator to make some kind of tabbed box, and the acrylic solvent to glue it, it should be sturdy enough to feel confident the bottom won’t fall off if someone puts something heavy-ish on it? Like wine bottles, food, etc.
I am sure I am not brave enough to try putting it in the oven to form some kind of tray like shape and have it come out good. But if I did (lol) would the engraving stand up to the heat in the oven? The examples I have seen were cuts, but not engraved.
Yes - you want to be sure you get a solid connection (it should turn completely clear) but then it’s as strong as if it was a solid piece
Yes - the danger is accidentally smooshing it when you take it out of the oven (ask me how I know ) but the acrylic gets soft enough for bending at between 275-300 degrees F (I set it to 300 and usually pull it out before it gets there but I was only making curves). There’s also a great technique where (if you deal with electrics) you can make a heated wire and bend the acrylic around it leaving the rest of it not at all heated! DIY table based acrylic bender (and there are others if you search for “bend acrylic”)
In addition to the above, mirror your image and engrave the bottom so the top remains smooth. If you mask it first and it’s extruded and doesn’t really engrave with high contrast this will also allow you to hit the engrave with paint or other coloring medium before pulling the masking & weeding.
Yes, I was already thinking for something like this the engraving should be on the bottom so the tray part is smooth. I am going to do a much smaller test print on a scrap of proofgrade acrylic to see how it comes out. And I think I have a scrap of acrylic from Lowe’s that I can try as well to see the difference. That will help me decide which way to go, I think.
If you use the one from Amazon, as opposed to making your own, you’ll have no choice about engraving the bottom - the glowforge won’t focus otherwise (hint: sidewalls.)
And as jamesdhatch said, don’t forget to reverse your engrave. We all forget to do it, but you really don’t want to forget on a purchased object.
That is good to know. I don’t actually think filling in with color would work well either. It’s not a simple design, and a lot of detail would probably get lost. So I guess I’m down to looking for a box generator and figuring out what glue to use and how to use it! Thanks for the feedback!
I know, I have already saved my image in reverse for that very reason. Once I get around to actually printing it, I’m sure I would be too excited to remember to do that
(Not to mention I would hate to waste proofgrade material too, since it isn’t cheap either-- which is why I’m thinking a whole lot before I actually do anything)
It is 12 x 2 x 20 inches so Just barely works upside down with the crumb tray out. You don’t have to start with the big tray but can make many smaller. ones to experiment with and in mixed Acrylic or wood so in the end instead of buying fish you will be able to make your own fish.
I agree. Plus I haven’t done much yet that was good on the first try, so I wouldn’t want to experiment with something I bought like that only to have it not turn out the way I want it. I’ll start with making tiny acrylic boxes to see what happens. Any recommendations on what kind of glue to use? I watched some videos on the tap plastics site and it looks like it might be easier just to cut straight pieces instead of doing the whole tab thing for acrylic.
That works if your solvent bonds are total but becomes a point of weakness if they are not. I did not like them at first until I discovered just how much stronger they are I also found that the smaller they are the better they look and how they are set off from mass-produced stuff.
What do you mean smaller? Isn’t it determined by the thickness of the material? I can’t wait to experiment, I’m still trying to figure out what kind of glue to order.
In one direction they are the thickness of the material. In Plywood I generally make them half the thickness for either space or tab but for solid woods that might split I generally go for twice that, though if grain to grain maybe half that. Other folk get syncopated and I may go there at some time but have not as yet,