Could someone give me pointers on how to engrave on glass? Trying to put some poems on glass plates but having a horrible time figuring out why it won’t engrave. I’ve taken the crumb tray out thinking it was too high, put items under the dish to raise it up some. The plate is curved on the edges so is about 1 1/8" on the outer edge of it. It’s a white glass dish from Ikea. I know it can do glass because the demo shows those spice jars but there doesn’t seem to be any information how to do glass anywhere that I can see. I’m so frustrated. Any help is appreciated! Thank you!
There is actually quite a lot of information on engraving on glass in the forum. Just do a forum search on “glass.”
2 Likes
thank you I’ll keep looking .
I’ve been pretty successful with glass that is all flat. I’ve done it with a thin film of dish soap and with just painters tape over it. The settings I used were Full Power, 400 speed and 225 LPI.
4 Likes
I’ve used 1000 speedicles, 100 powerses, 340 LPI. Albeit very limited, I did some testing and found lower power really affected the resolution negatively. I tried both with and without masking and found no difference at all. I’d read about using dish soap, glass cleaner, damp paper towel, etc. I used nothing at all on the glass I tested with. I imagine all glass is not created equal, however.
2 Likes
Thank you Tom. We’re your glass items flat? Mine are not. They’re serving dishes. they’re higher on the outside edges than the center I’m just trying to put a poem on the dish as a gift for someone whose husband passed away but it’s been three weeks of tears and frustration it’s the main reason I purchased it -to do a business  Patti
Patti
1 Like
They were. I’ve engraved on slightly-curved surfaces (NOT with glass) and get fantastic results.
So what did you measure? The center or edge? As far as how far from the laser.
So what did you measure? The center or edge? As far as how far from the laser.
@pattipie I too was wondering about this. It was my understanding that the camera was supposed to be designed to help aid the laser focal point in the curvature of surfaces. Is this not correct? I realize the fact that the glass is clear may negatively affect this feature but seems that masking tape would resolve this no?
I just keep getting errors with the printer, it says.
That’s a promised but as yet undelivered feature.
When I do this kind of stuff I measure to where the center of whatever I’m engraving is going to end up. That way I get equal drop-off on the design on either side of that.
2 Likes
Thank you!
1 Like
Yes, I’m familiar with this from my 1stGen Epilog days and was hoping to see the promised feature implemented. It’s a shame to hear one more of the “hook” features for me is still “in process”. Hopefully, we’ll see that soon. Thanks for your response though!
1 Like
I hear ya. My “hook” features were direct DXF from AI and 3D engrave. I’ve gotten over the DXF issue and wouldn’t put it on the list if I were making the decision again after using the GF for the past 8 months. The 3D engrave I’d still like to be more capable - get the results a depth map gives them but without having to create a depth map (like let the GFUI do that using a grayscale image). Still appreciate what there is with the current 3D - although I tend to use the map power setting instead, just wish for more graduated results without having to go to Rhino to create a depth map.
But there are enough other things that overall is making the whole process of concept to completion way easier than it ever was on the K40 or RedSail so I’d be happy even if they stopped further development. Ease of use and my altered workflow is just that much better than before.
4 Likes
Good question. I measured the highest point (center). I don’t know what I’m doing or anything, it just made sense at the time. ![]()
That said, again, it was only a slight curve. I’ve seen others take on slight curves with equally nice results. You’re going to want to test your particular use case and see what you can get out of it. It’s kind of a drag to always have to waste some new material, but one you’ve tested it, you’ve got it documented forever, so… ![]()
Thank you for your input. Now if I could get past the constant error printing, maybe I could actually engrave. I’ve written a couple of emails but haven’t heard back.
Let me see if I understand properly what you are trying to accomplish. You have a plate that, sitting on the table, is about 1 1/8” from the top of the table to the outer rim. I think you are trying to engrave something in the bottom of the plate. And the glass is opaque white. Am I correct?
Unfortunately, I don’t think you can do what you want with that plate. Here’s why: in order to concentrate the laser into the tiny spot that makes it possible to engrave, the surface being engraved needs to be within 0.5” of the top of the crumb tray. If you put the plate on the crumb tray, the bottom is probably within that range, and the height measurement it does during “scanning your material” just before “preparing your print” should focus correctly.
However, there is only about 1/2” of clearance between the top of the crumb tray and the air-assist scoop that is a few inches behind the laser head. Since it moves with the laser head, it would hit the edge of your plate.
Taking out the crumb tray allows you to lower the plate to clear the rim of the plate, but that puts the bottom, where you want to engrave, below the lowest spot the laser can focus.
If it were a clear glass plate, you could engrave the bottom using the tutorials on adjusting height without the crumb tray (reversing your design so it would read correctly when read through the plate).
I think your best option (assuming that I understood the problem correctly) is to get a flatter plate so the outer edge does not rise more than 1/2” above the surface to be engraved. If the height from the table to the lip is more than 1/2”, but the relative difference from the inside bottom to the lip is less, then you can take out the crumb tray and raise the plate so it is a proper height.
We’ve seen others try to engrave things that were very far out of focus height display unhelpful error messages, so that may also be what you are running into here.
2 Likes
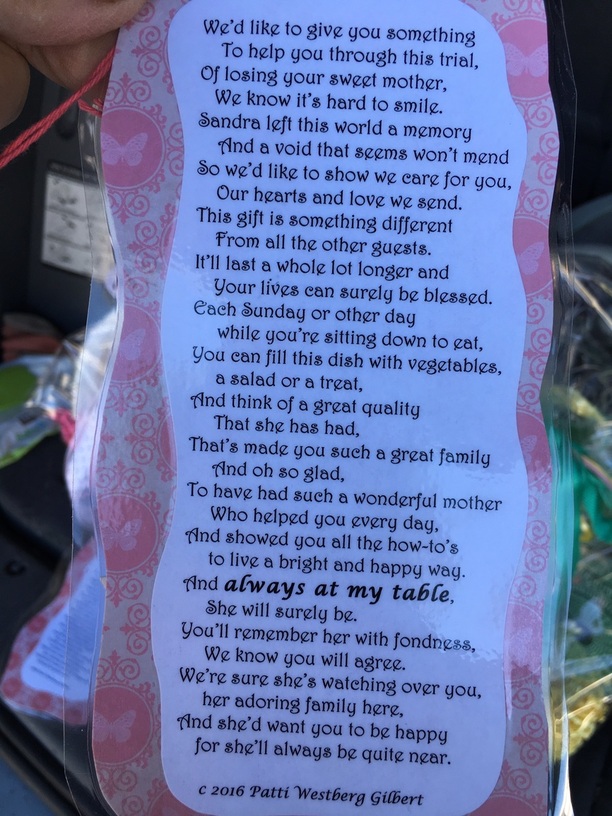
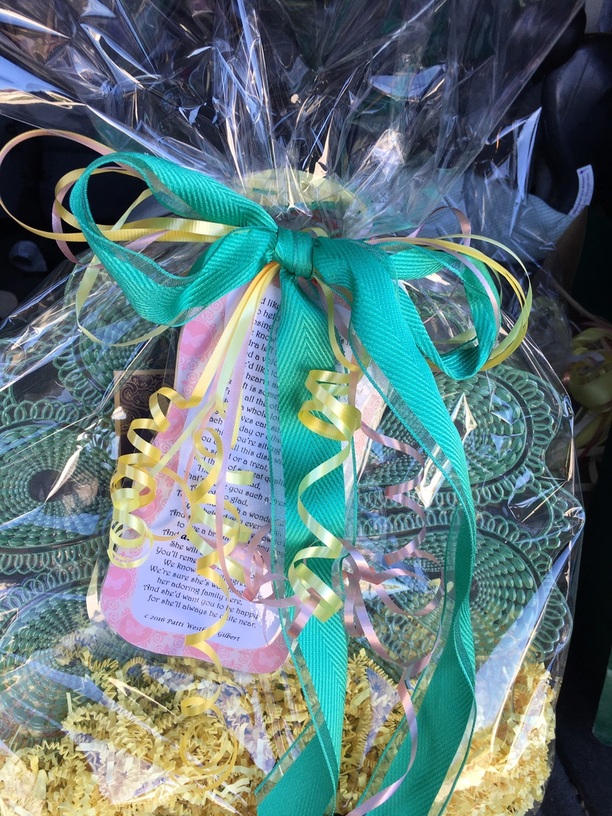
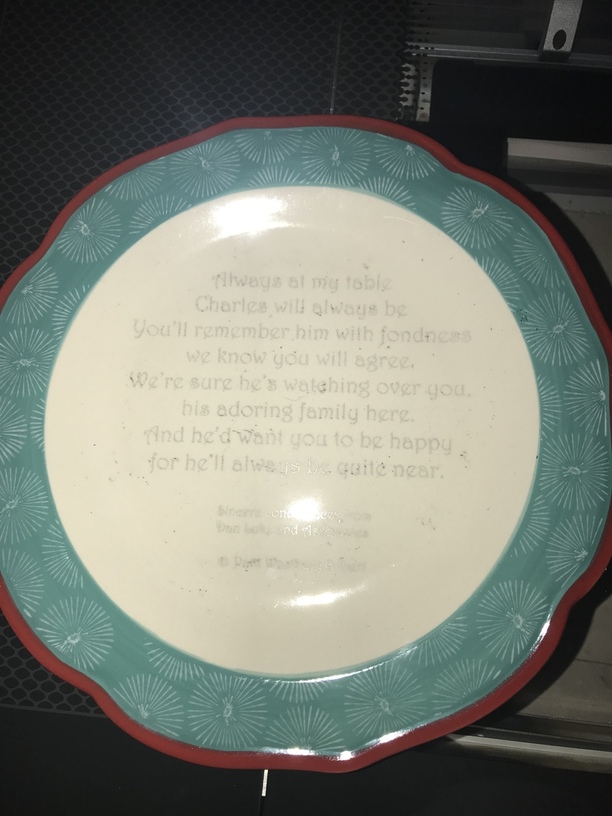
Thank you so much. You hit it right on the nail. It makes sense. I do these poems for people that have passed away and have just put them on pretty scrapbook paper, laminated it and hung it on the plastic wrap that holds the plate which is on a little stand. I’ll show a picture. I have always wanted to somehow put the poem right on the plate so it doesn’t get lost. The whole idea here is that every time the family used that plate, they talk about the good qualities of that person that died. It looks like I’m pretty limited on the type of dish I can use. Thank you again for taking the time to explain it all!
5 Likes
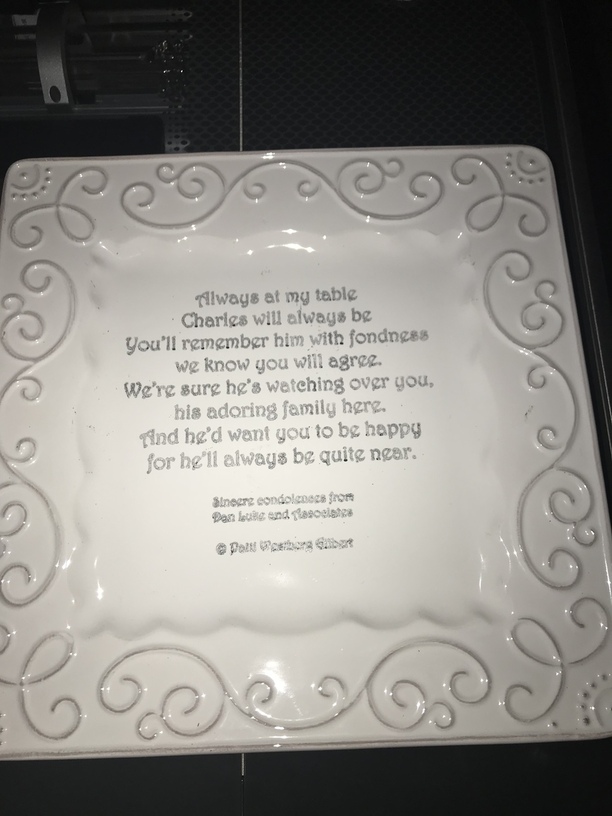
Excited!! Ok here are my results for etching on glass plates. I took out the crumb tray and put a few of the boards we got to raise it. I did have to go with plates that are flatter on the edges.
The first one I only did one pass about 400 on the top setting and 100% on the second(sorry don’t have it up to remember what they’re called) it wasn’t deep enough. Second one same settings but two passes. Third one more block-type font and two passes. I used Rub ‘n Buf to make it black. I’m hoping to add a butterfly in one or two of the corners. Now wondering if there’s a food-safe sealer I can spray on it?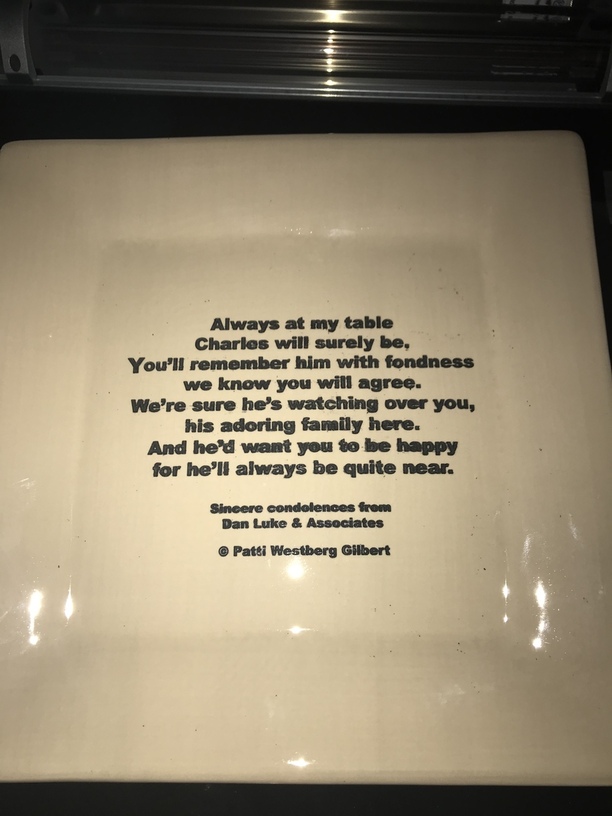
12 Likes
Looks like my photos displayed in the opposite order of my text.