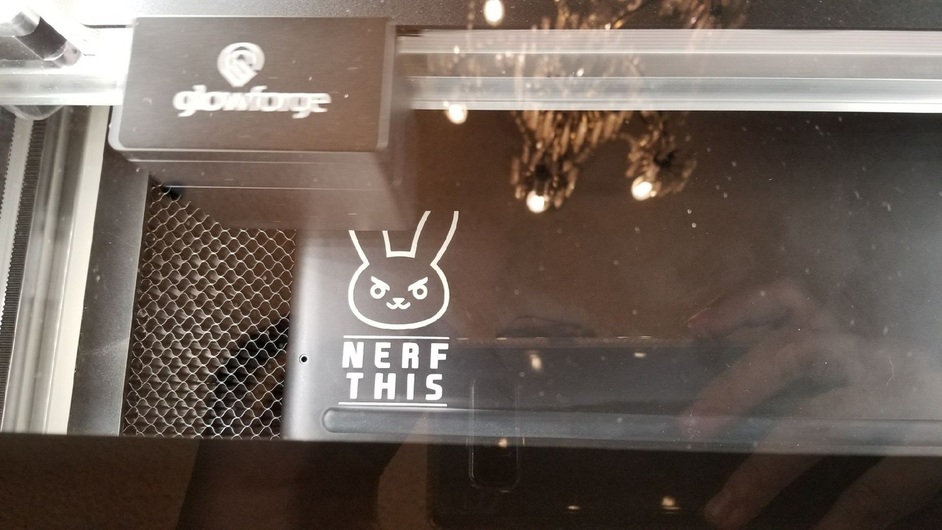
Well I kinda put the bullet and went for it. I got my GF yesterday and decided after 2 years of waiting to engrave my laptop it was long enough. Guessed at the settings and by a miracle it turned out perfect
It won’t I do iphones and ipads all the time and I have a post up of my laptop engrave.
It’s one of those things you intellectually know you can’t hurt the thing because it’s metal and a 40W CO2 laser is the wrong type & power to cut it but you don’t feel that rational in your gut when you push the button to laser your very expensive toy
That’s what I was thinking from all the reading I did. Had a question for you. What power do you use and can you get on to the curve edges without loosing too much detail?
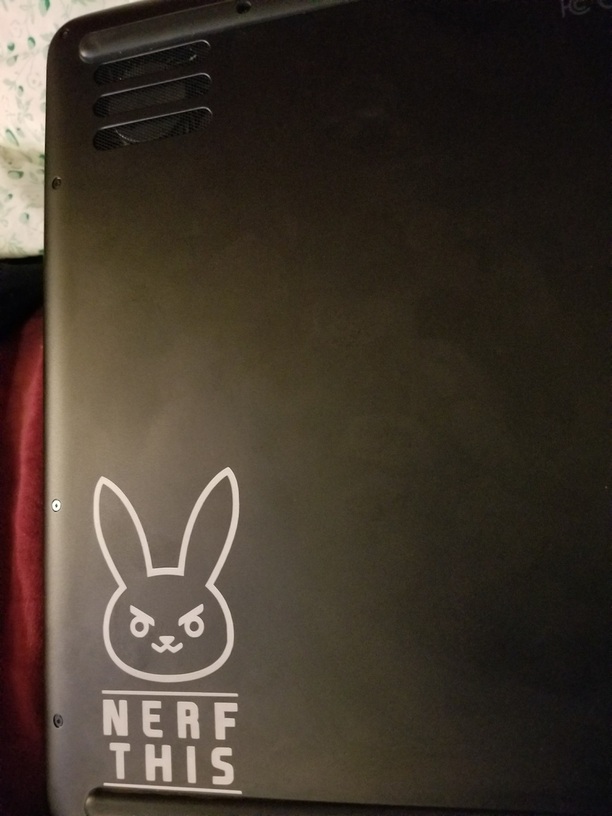
Full power and highest speed that I dialed down (speed) and repeated a couple of times. Here’s a link to my laptop post:
What you can’t see is that the cover has a gentle curve that starts about 3/4" in from the edge and drops about 3/8" to where it goes vertical. There is no distinguishable difference in the engrave between the flat portion and the curved portion.
Awesome! Glad to see it worked. I was looking around to see about the settings. My laptop on the top has 2 design ridges that drop about 1/16" so if the design went over that it wouldn’t get fuzzy or artifact.
The important thing being, it’s all anodized aluminum.
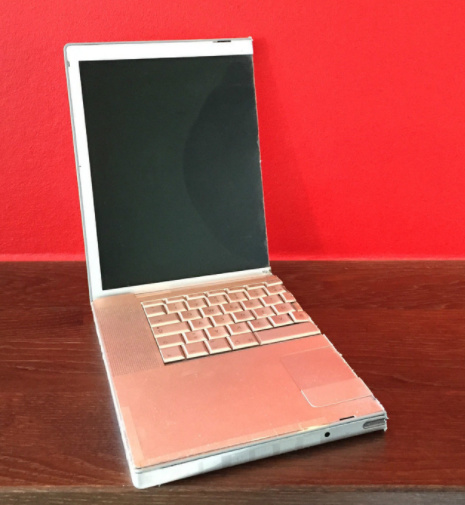
I engraved a macbook once, with a contiguous design that surrounded the apple logo. This was pre-Glowforge, so I more or less had to eyeball the placement and hope for the best. That was terrifying.
(you have to figure, engrave settings for aluminum are cut settings for soft plastic. and beneath that, who knows what damage we could do to the monitor!)
We poked a hole in the design to avoid the soft plastic bit. If I were trying this with the Glowforge now, I could take bigger risks. Eliminate the gap. Maybe engrave over the logo itself at a lighter setting…
Also, I did have to treat the curved edges as a hard margin, on that Epilog machine. So, that’s another change if I were using the Glowforge for this today.
If you want to get in close to the apple logo; I was thinking about cutting out a 1/4" thick apple logo and just putting it on top of the real apple logo before you fire up the laser; then if you’re off a little bit, you end up with a very defocussed beam making a bit of a mess on some scrap wood.
Definitely considered that. If there had been more time, or if I were going to make a lot of these, it would have been worth CNC’ing one out of aluminum.