Hi everybody, I’m a new owner and am trying to etch Acrylic, but I’m having issues. In the first photo, I etched without the Plexi mask and it shows a frosted area below each character. I think this cause by the fan at the print head blowing the smoke, and hot particles of Plexi ’
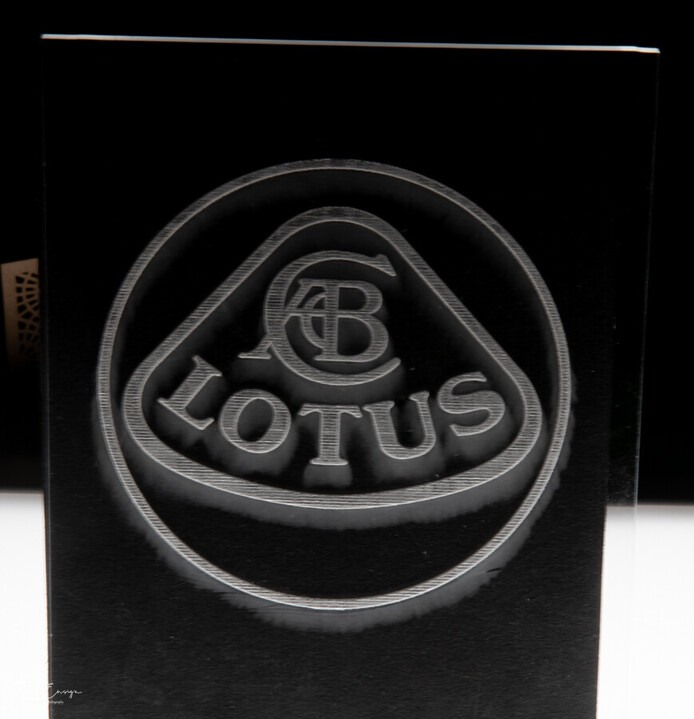
In the second photo, I covered the face with blue painter’s tape. It did a much better job, but I’m not thrilled about how the characters look.
My print setting are:
1/4" Plexi
Speed 1000
Power full
Lines 270
Pass 1
Autofocus
In the second photo, Is this what I should expect? Or are there different settings I should be using?
Thanks for any advice you can give me,
Gale
Yep, you got it…the hot exhaust melts the surface of the unmasked acrylic causing that blurring. (I believe you can polish that off with plastic polish or white toothpaste, but it’s a lot of additional work.)
The problems with the engrave on the one that you masked have to do with overlapping the masking tape…if the laser has to burn through multiple thicknesses of tape, you’re going to see it in the results. Most people use a single layer of wide sheet paper masking tape…a roll is pretty cheap. Just rub it down very well with the edge of a credit card or squeegee to activate the adhesive.
But also, your engrave settings look like “Draft” to me. The HD settings slow the laser down, reduce the power, and increase the LPI and the quality improves significantly.
Thirdly you should do a search on here for defocused engraving - it smooths out those lines beautifully - but if you want the crisp edge you’ll want to do a combo, or some scoring on the edges.
Hi there. I’m sorry to see you ran into some trouble when you were trying to engrave on acrylic. I see that you’ve been getting some great advice from fellow Community members. Were there suggestions able to help you resolve this? If you’re still running into any issues, can you try running the design on Proofgrade material and let me know if the issues appear on there as well? I’ll look forward to your response. Thanks!
One thing that can alleviate the debris field that’s causing fogging is reducing the power. Acrylic pretty much marks or doesn’t mark - extra power is extra hot gasses, etc. unless you need the depth for a specific reason, lowering the power will help.
Excellent replies.
I ordered a roll of the paper transfer tape.
deirdrebeth. Thanks for the link.
jbmanning5. That is something worth trying.
I’m very impressed with all the help I received. I’ll keep you posted on my progress.
HI @ensignphotography. I appreciate you updating everyone and I’ll go ahead and leave this thread open to allow you more time to try the suggestions. Let me know if you run into any further trouble and I’ll be happy to help.
I like the defocus engraving, but deirdebeth suggested defocus the engraving and make the outline of each character sharp. Does anyone know how to do that?
Thanks,
Gale
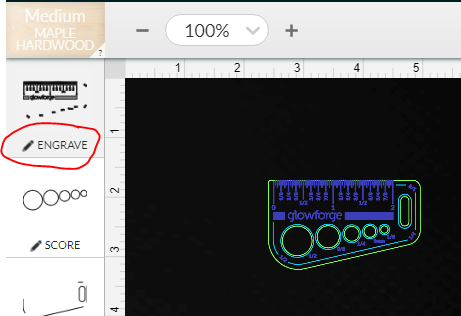
There’s nothing to set up, really. Take the existing artwork, set the characters to “engrave” and do the print run, then do another pass with the characters set to “score”.
If you want to do it as a “one and done”, you have to duplicate the artwork, aligned with the original, setting it to a different color, before importing in to the GFUI. Then, you’ll see two copies of the artwork in the tiles on the left side of the screen. Set the topmost to “engrave” and the bottommost to “score” and click “print”.
Randy, I appreciate the help, but I don’t know how select the characters for engrave and score. What I have is one vector file.
I hate learning new software, I feel so stupid.
T
Thanks,
Mr.G
Ah ok. First things first I’d suggest you go through the First Three Prints category on the support page - it’ll teach all this terminology!
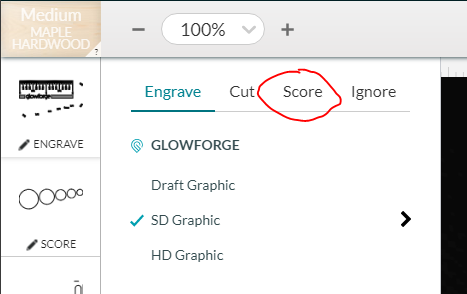
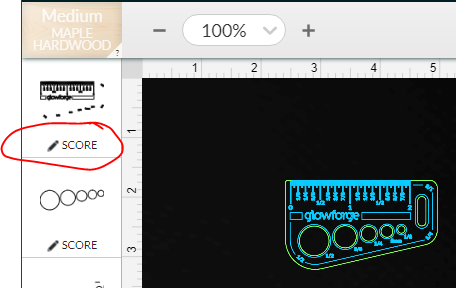
For this in particular when you upload it there are commands on the left side. Presumably they say “Engrave”. If you click that (and because this is a vector) a box will open and at the top you can select “Score”. Then click anywhere outside and you’ll see that your command now says “Score”.
The GF attempts to interpret your intent when you load the artwork. The tiles on the left side of the screen show you the components of the artwork, separated by what GF thinks you want to do with those components. If pieces of the source artwork are different colors, GF will also separate those in to their own tiles. When you click on a tile it expands to show you what the current operation will be for that component, Engrave/Cut/Score/Ignore, and the settings for that type of operation (laser speed, power, some other stuff. Click the “>” to see/change those details).