Good to know, thanks Christina! 
1 Like
All I can say is WOW
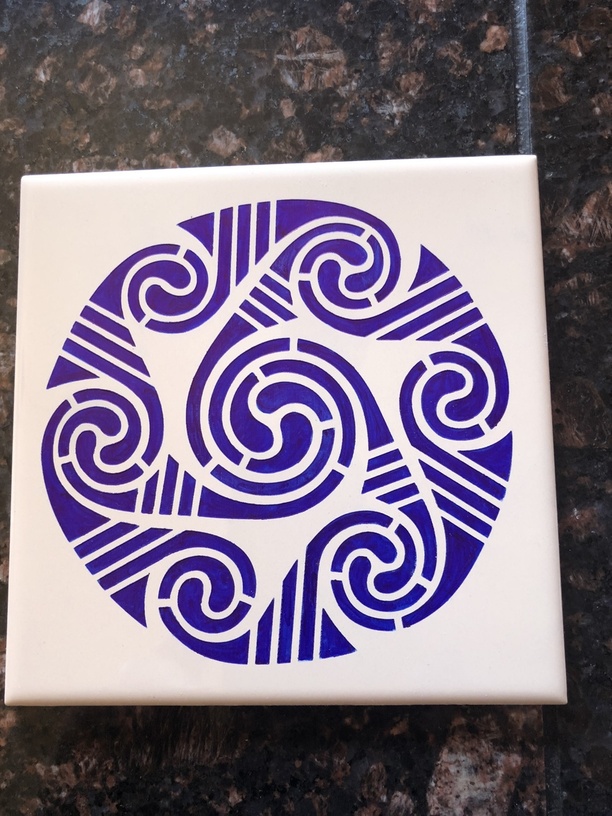
Here’s my 1st tile. 6” colored with a regular sharpie. Not sealed yet. Just tried a couple more with the oil based sharpies. Not good for large areas…YMMV. Next batch are getting masked and probably spray painted.
16 Likes
What issues did you encounter? I’ve been doing them for awhile and don’t seem to have any issues. I use the magic eraser sponges (damp) and a paper towel to clean them off.
2 Likes
Might just be the pens I have, but they are new. Didn’t cover well, lots of streaks because I seemed to either get too much or too little. Ended up with it more textured due to the streaking. I’ll post a picture when I get a chance after the next couple of tiles are engraving.
i had similar issues with the oil based pens on very large solid areas. they work fantastic for the details.
I had this same issue with the oil based pens and they came out all streaky. I did find using a new pen helped a bit though.
Hmm…I go for the too much as I can always clean it off.
BTW, a random orbital sander is super useful if you’re doing a bunch. Jug up your tiles so they don’t go moving around (either make a small frame or use a CNC to pocket out the right size &1/4" depth). Dampen the sponge and place it on the tiles. Rest the sander on top & turn it on. Keep enough pressure to keep the sponge from flying away but not so much you tear it up. You can move the sander around & the sponge will move with it. You can also do this with dry sponges as the sander will make quick work of things (it’s a lot of elbow grease doing it by hand with dry sponges).
6 Likes
I’ll have to give that a try. Thanks for the advice. 
Very pretty! 
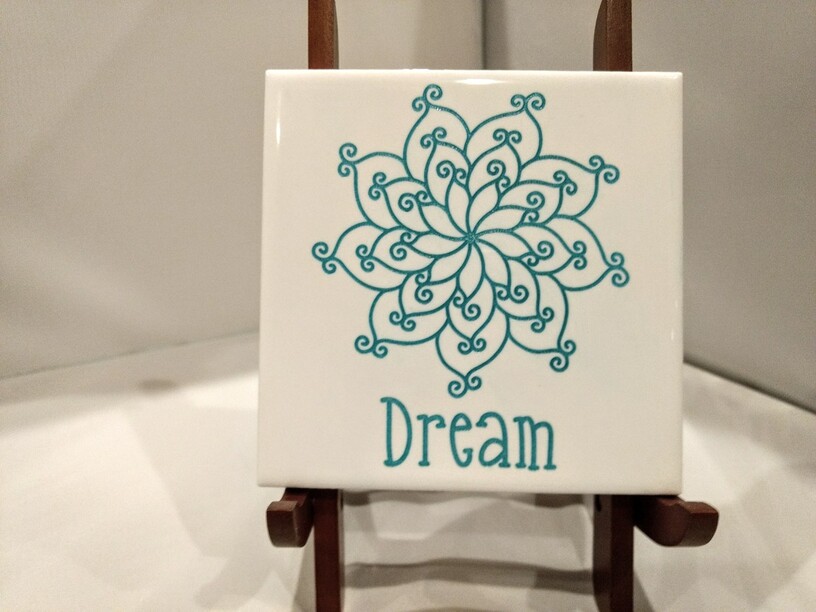
Thank you. It’s my first successful laser project! I joined my local makerspace last week and fought with the Full Spectrum on Tuesday. Became good friends with the Glowforge today. Now I need one of my own. 
4 Likes
Thank you for the stand file!
2 Likes
I have been using Tsukineko Permanent Ink to color my tile images. Most people now want me making these tiles with photographs so I generally use the Jet Black ink, rubbing the inkpad over the tile. Clean up is quick and easy with paper towels. Any residue cleans up well with rubbing alcohol.
I wanted to seal the photo tiles and used both a matte and glossy spray sealer. The sharpness wasn’t as good because they both caused some “blurring”. A friend of mine suggested I bring some over to her pottery building and we could try glazing them in her kiln. Will let you all know how that comes out.
Also, found WOOD TRIVET FRAMES, in several different woods, at the Dick Blick website for very reasonable prices (https://www.dickblick.com/products/wood-trivet-frames/). They also have iron trivet frames/holders too! I should be receiving mine any day now!!! These really make the tiles upscale and people are willing to pay more for a “finished” looking item.
7 Likes
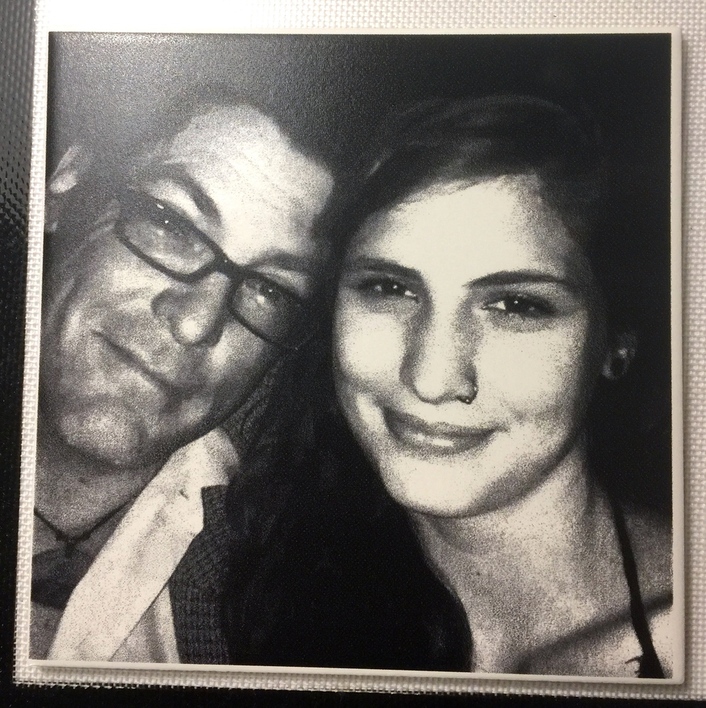
OR…try ordering some LaserTiles. A bit more expensive, but the laser does not remove the glaze at all, the image is permanent…and well, they are amazing. You might find that you will save lots of extra time / steps by spending a bit more money and you won’t have to use black inks at all.
Here are three of different types that I’ve done;
a photo of my granddaughter
One of my brother’s B&W drawings;

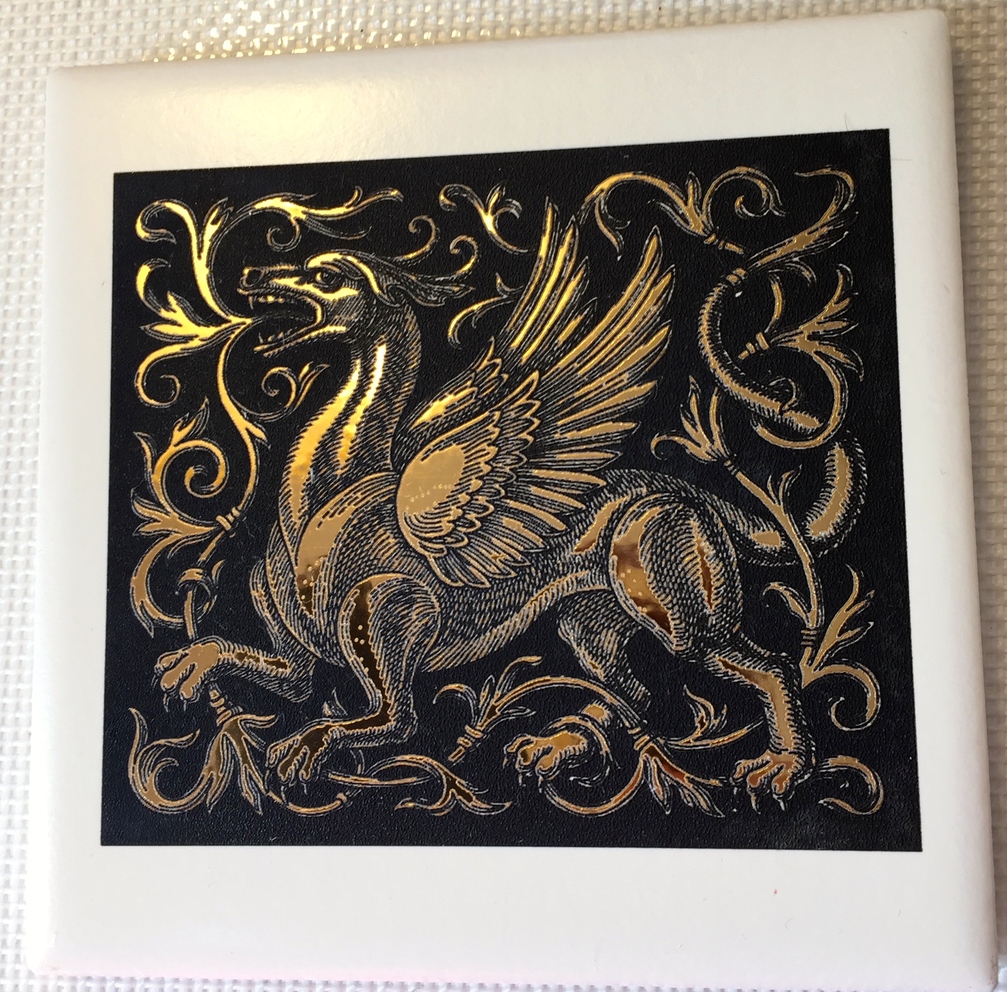
And last but not least, a dragon image done using gold Laser Foil;
40 Likes
I’ll second the laser tile. I’ve put some rubber feet on one and I’ve been using it as a coaster for ~5 months now. It has held up very well against everything I have thrown at it. Heat, cold, coffee “stains”, dog slobber…give it a quick wipe down at it as good as new.
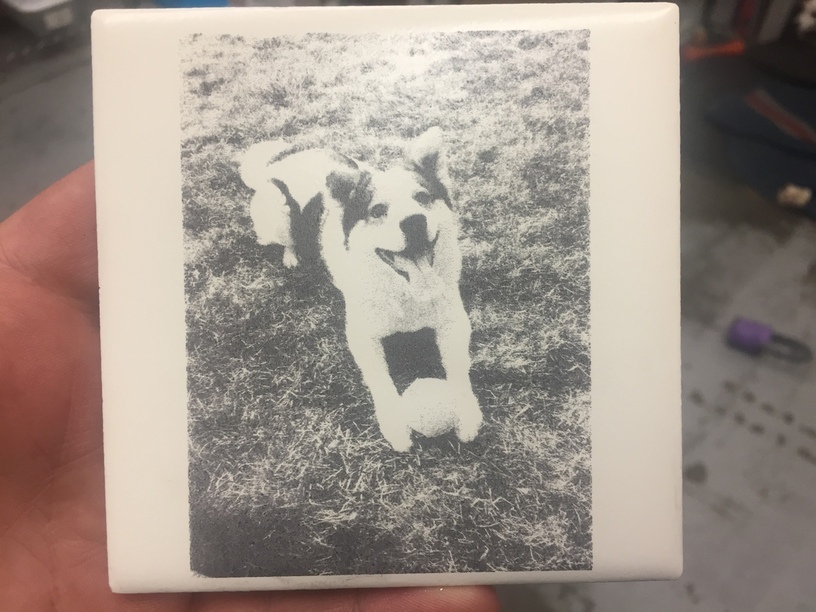
They take photo “Engraving” pretty good too
13 Likes
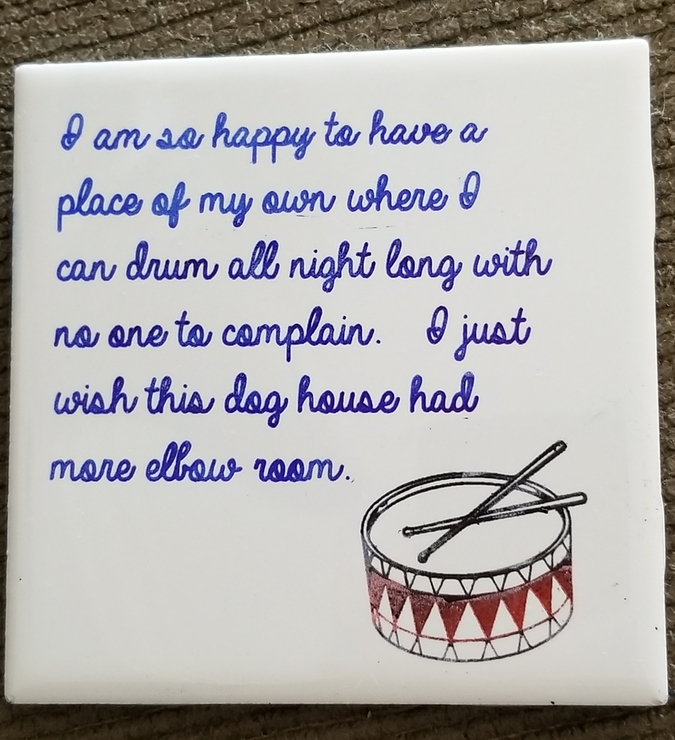
I gave these cheap tiles a shot. Works pretty well for line art. We have a friend who just bought a house after being cooped up in an apartment for a couple of years with his wife while they waited for the right deal. This is a gift for him.
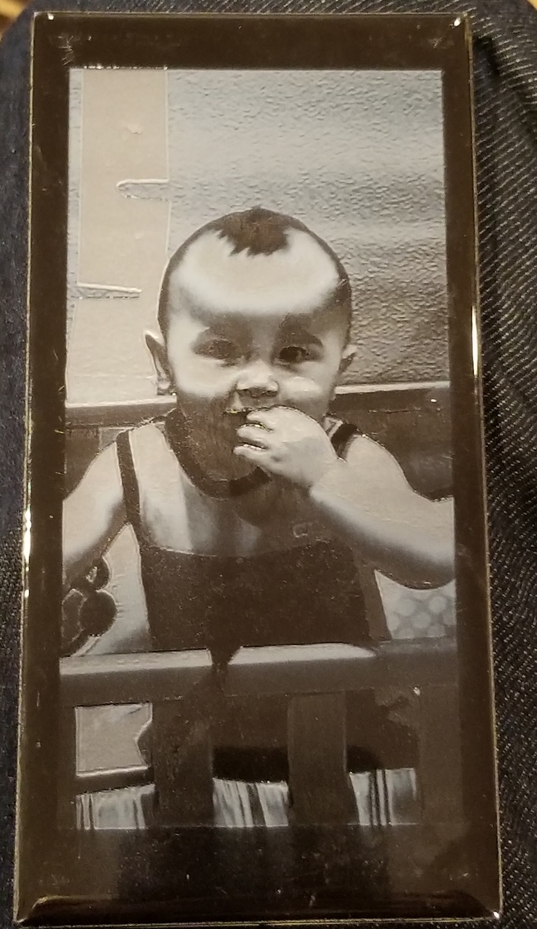
I also tried to do a photo with a black tile, but that one was not as good. More experimenting needed with settings and the source file.
16 Likes
I still do not have settings, etc the way I’d like for a photo engrave on a black ceramic tile, but I am getting closer. This is an 18 cent 3x6 tile from Lowes.
Start with a greyscale photo with brightness and contrast ramped up. Invert the photo. For this one I used a speed of 200, full power, 270 LPI, and vary power.
16 Likes
I went back to Lowes over the weekend, and found another interesting tile to etch.
They’re $1.28 a tile.
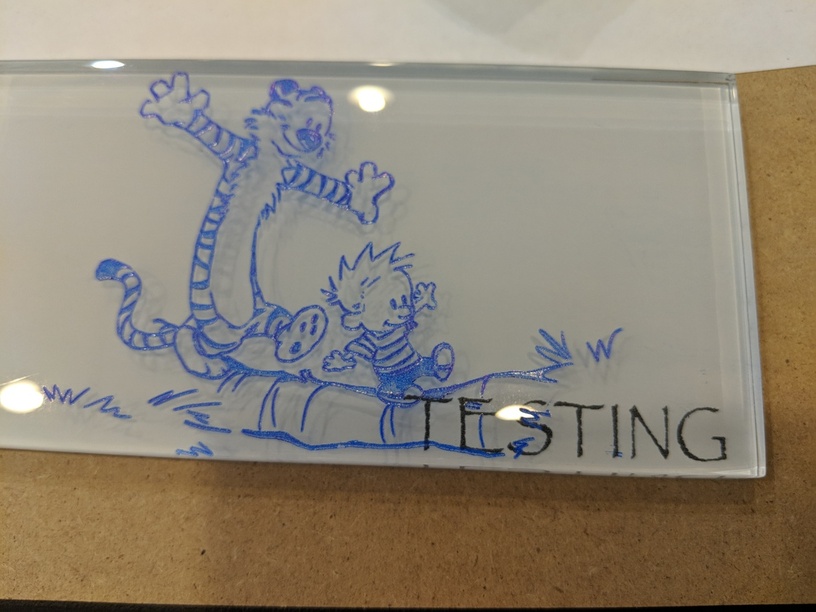
These hardened glass tiles are 75mm x 150mm (2.875x5.875 inches). The glass can be etched and painted using the sharpie method, and the design casts a shadow onto the white backing which is pretty attractive.
The really cool thing is the white backing though. Flip the tile over, etch onto the back and it turns dark black, giving you two layers to work with.
Power levels (Glowforge Pro)
Glass etching
- 400 speed, full power for a depth that can hold sharpie.
- 1000 speed, full power to just mark the glass. Looks good, but won’t hold sharpie.
Backing:
- 1000 speed, Full power for a nice dark black. Back off on the power to get a more “grey”.
Here’s my first attempt at an image on the backing:
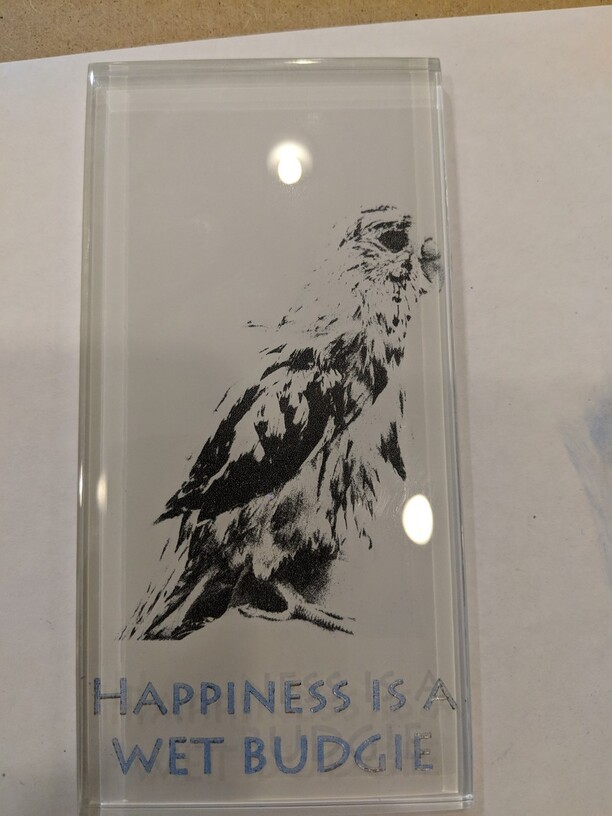
That was 1000/Full, 250 DPI and “Convert to dots”. I suspect that “vary power” will work well with it. The text was 1000/Full on the glass side, which doesn’t produce a deep enough etch to hold much ink.
31 Likes
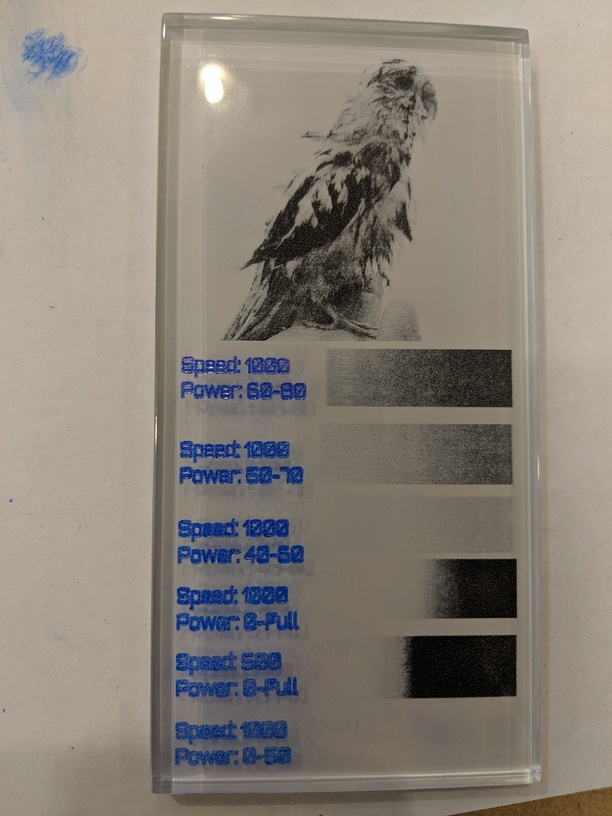
I did some testing on the backing on these glass tiles with gradients and “vary power”. It appears the useful greyscale range on a Pro is: 1000 speed, 50-90%.
29 Likes