Very neat. I grabbed one of those last week for future play.
I was thinking of burning through the white backing, but didn’t know it would change the color to black. (Hummm, new possibilities are brewing)
Thanks!
Very neat. I grabbed one of those last week for future play.
I was thinking of burning through the white backing, but didn’t know it would change the color to black. (Hummm, new possibilities are brewing)
Thanks!
Yeah! I was also hoping to just ablate it away, and was surprised when it turned black.
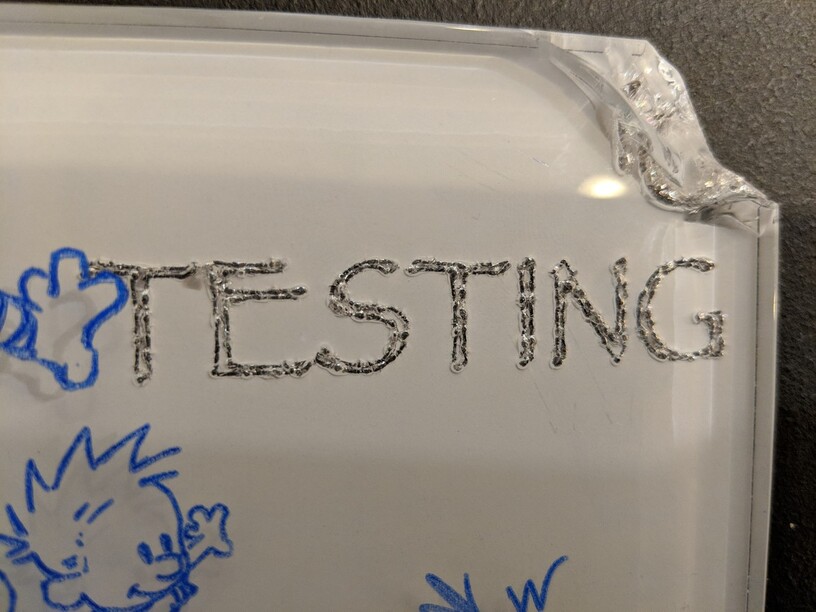
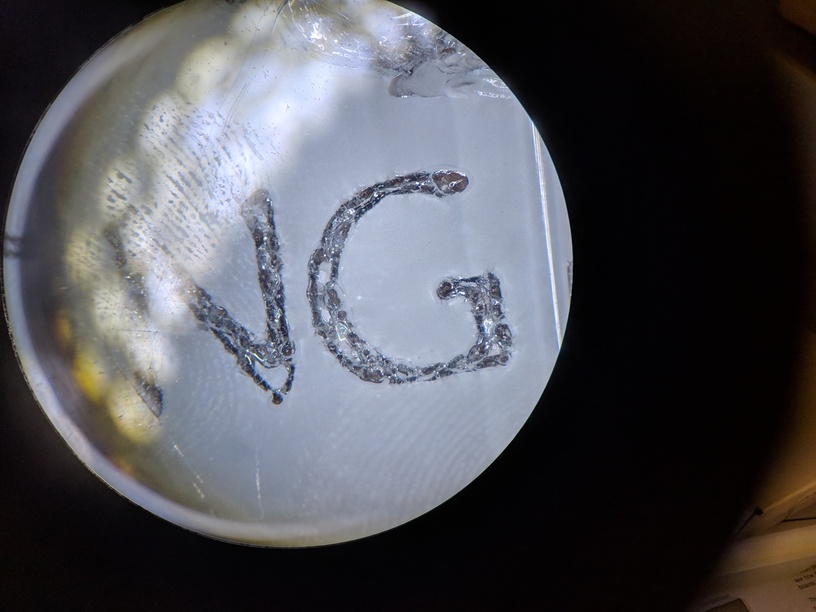
I experimented a bit in “Cut” mode to see what it would take to ablate the backing.
Experiment 1 - 100 speed, full power, cut mode
This puts too much heat into the glass, and it melts and cracks.
Experiment 2 - 350 speed, full power, cut mode
This ablates the backing, and makes a pretty cool effect in the glass. Like bubbling silver. Maybe it’s melting the glass?
Experiment 3 - 350 speed, full power, etch mode
Completely burns through the backing, etches the glass from the back a little. It leaves black residue in the etch.
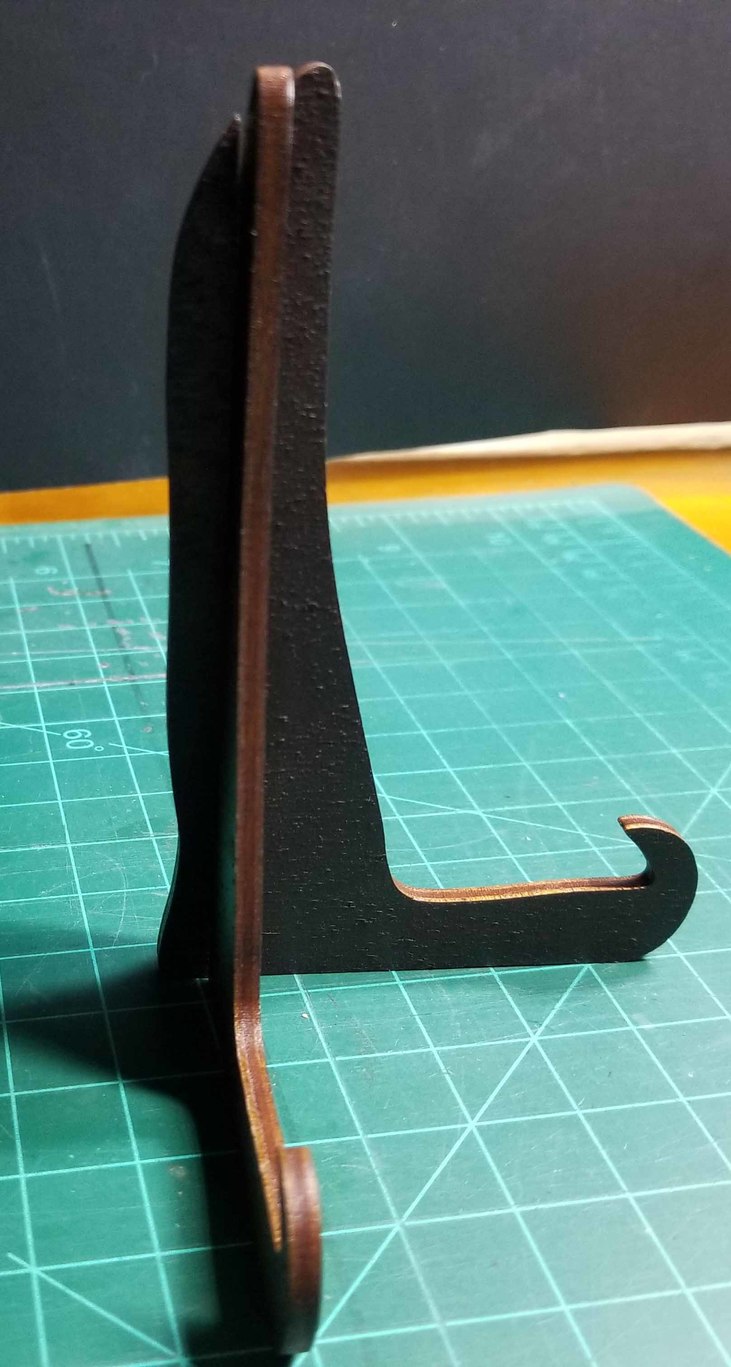
Love it! Is the stand you have this tile on also made on the laser or did you purchase it? It looks great.
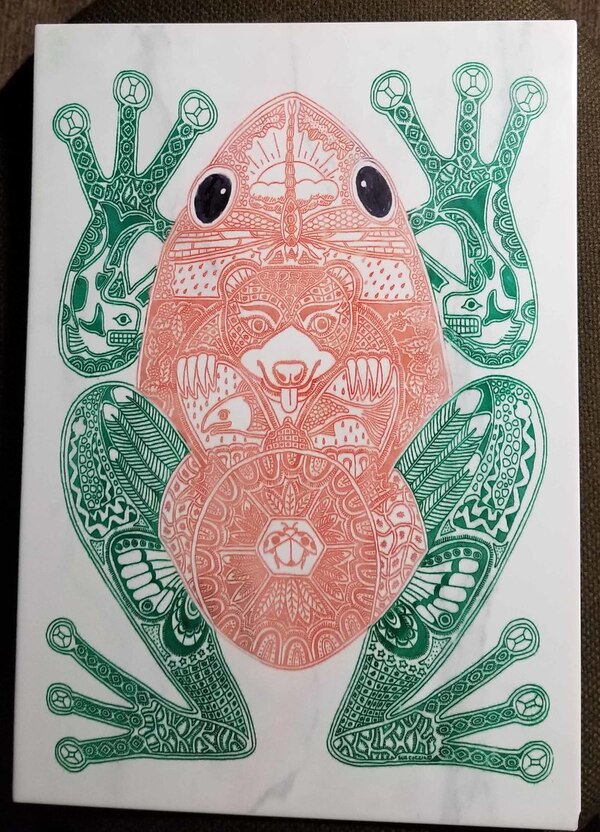
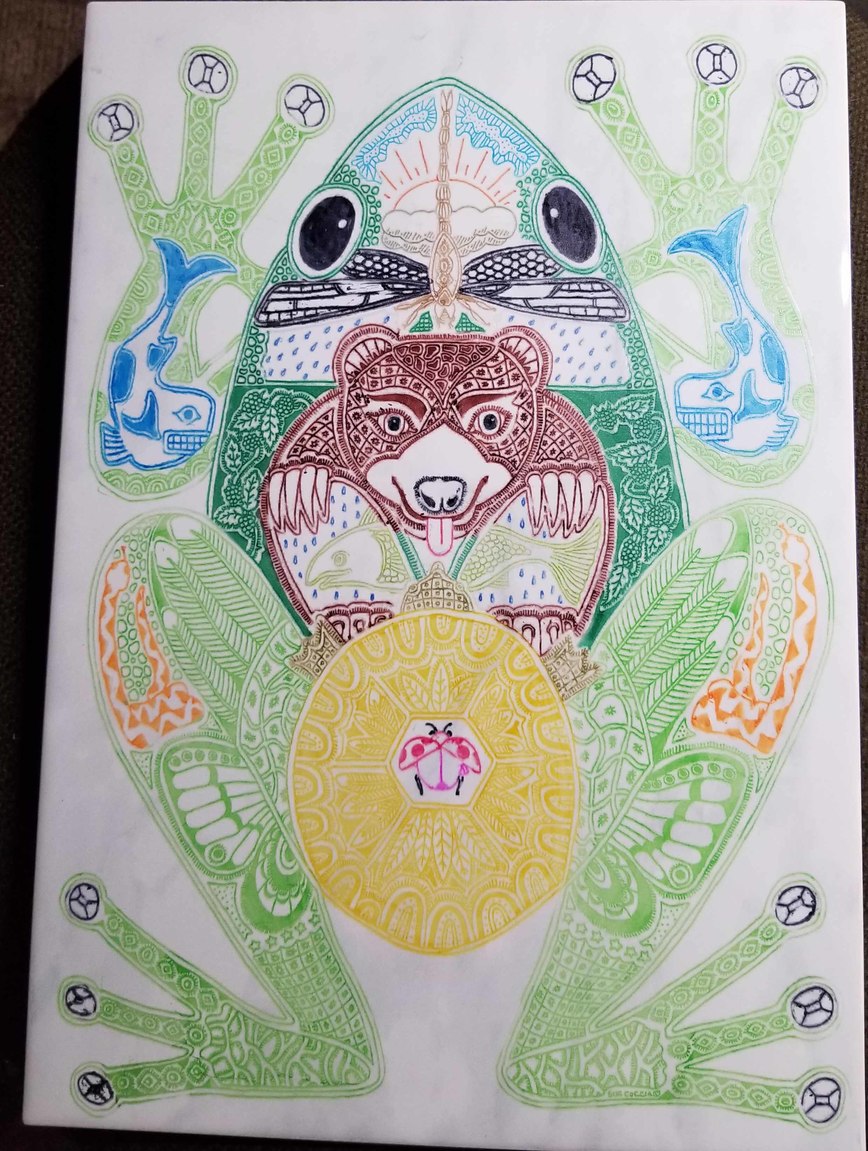
This a Frog I did on a 10x14 tile from Home Depot. I found that using Scotch-Brite Non-Scratch Scrub Sponge works great to remove excess marker. No alcohol required.
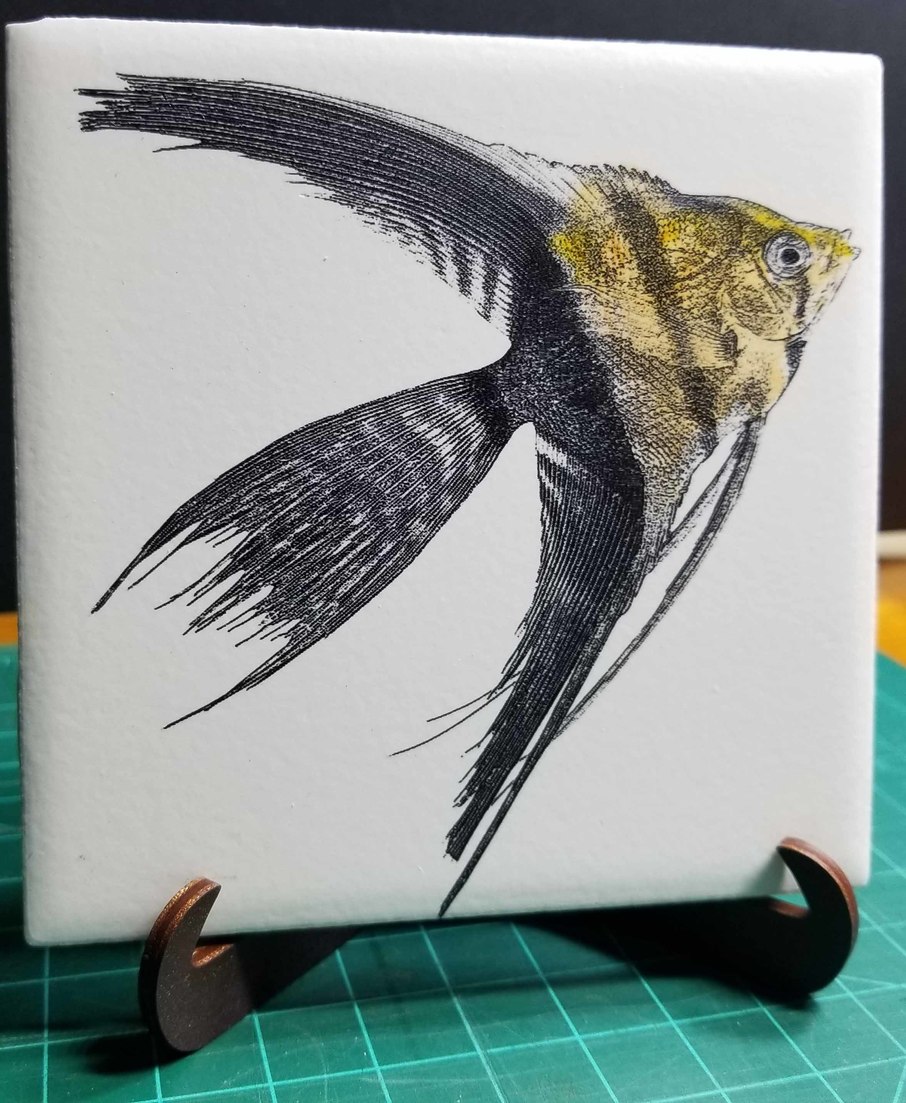
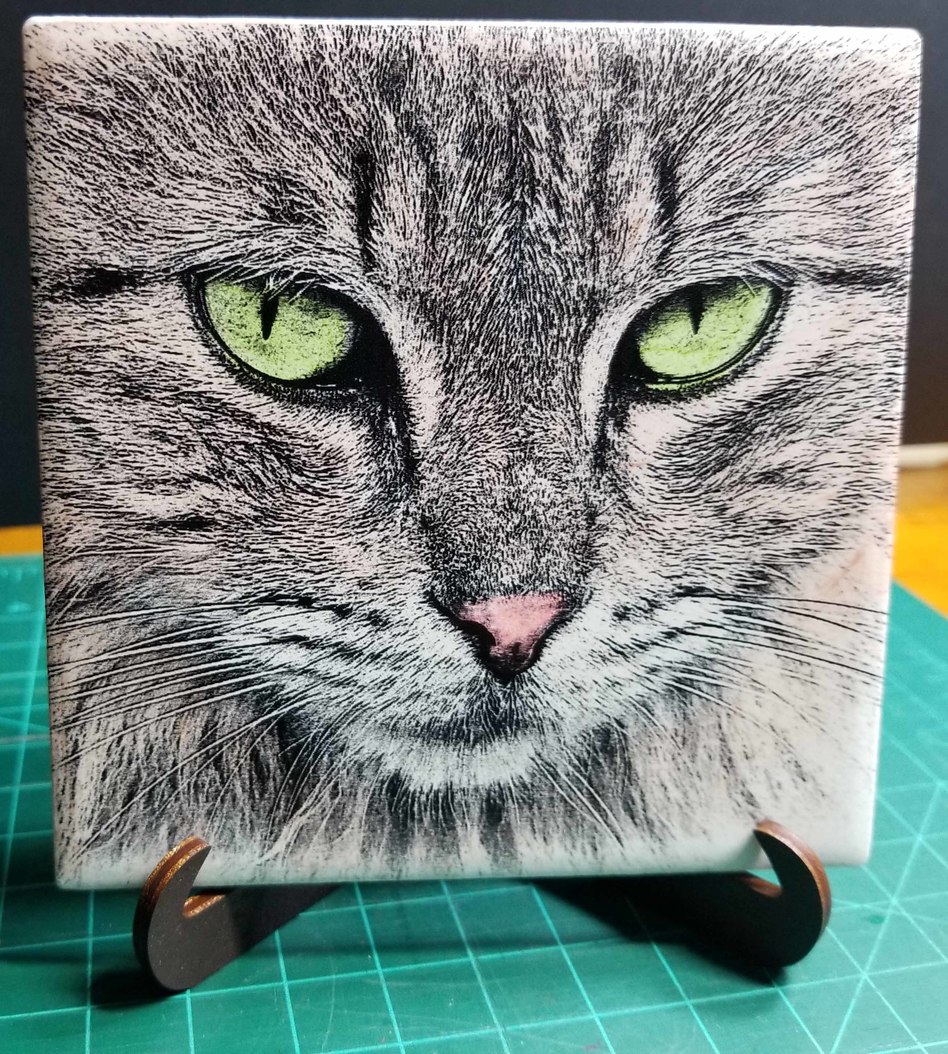
I have been engraving photos, and coloring using sharpies. I put together a simple easel that works well for most tile sizes including 3x6 tiles. I posted the svg file.
Easel 1.svg.zip (1.8 KB)
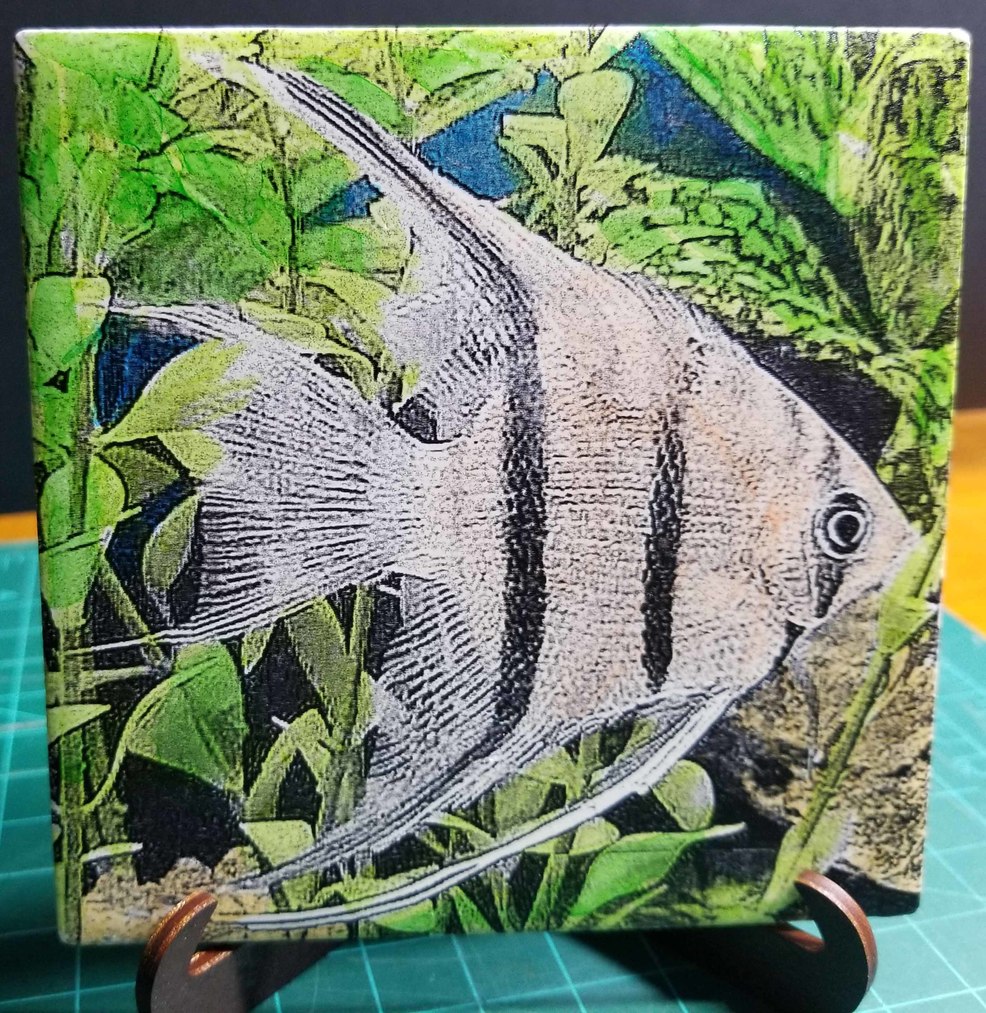
I did some of these last year (there’s a posting in Made on a Glowforge - one of my Dispatches from the Front series on the PRU). There are versions of the tile that aren’t clear glass as well as ones where the backing doesn’t turn black but turns a gray color instead. You’ll want to match the SKU on the tile with anything you do before buying a bunch more to do a project. Otherwise you may be counting on black and end up with gray or vice versa.
I bet that frog took a minute.
The stand was purchased ages ago. I can’t even remember where. Maybe Michaels. I wish I could take credit, but I’m not that skilled yet…
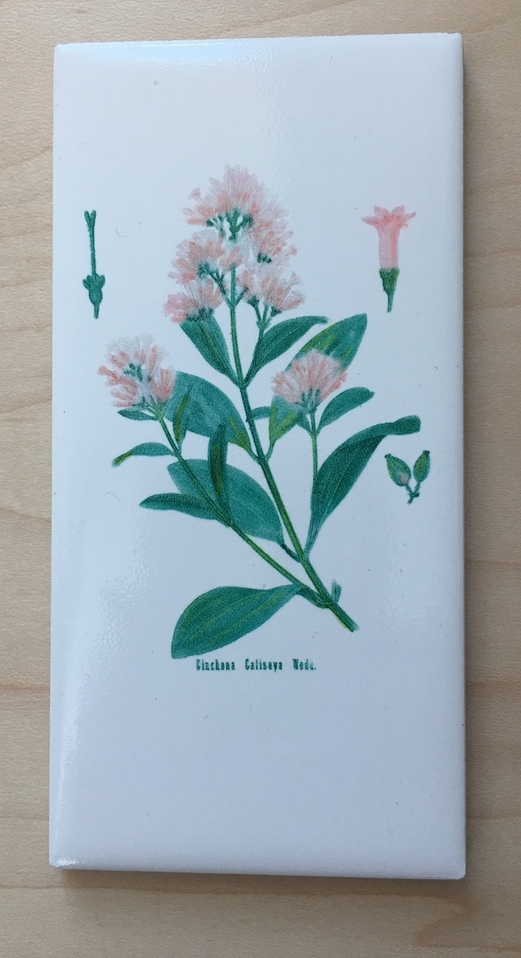
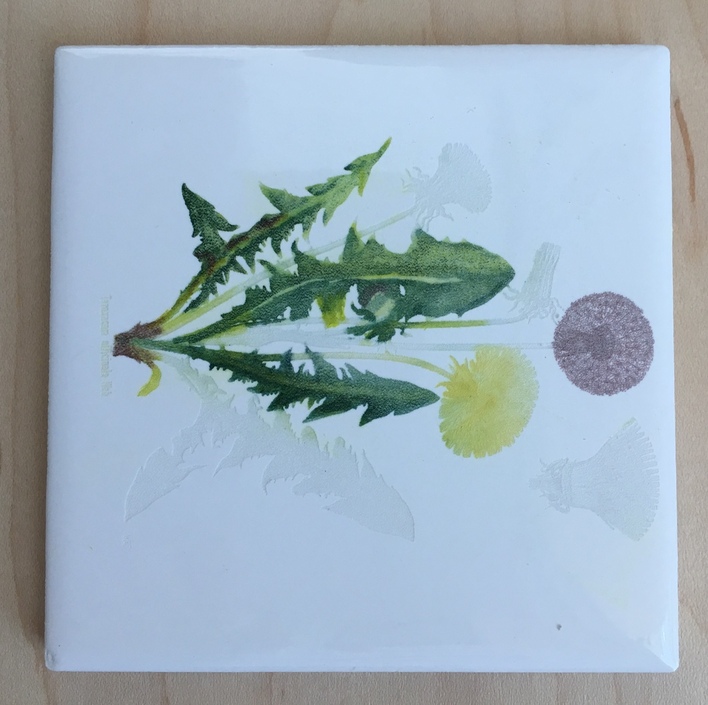
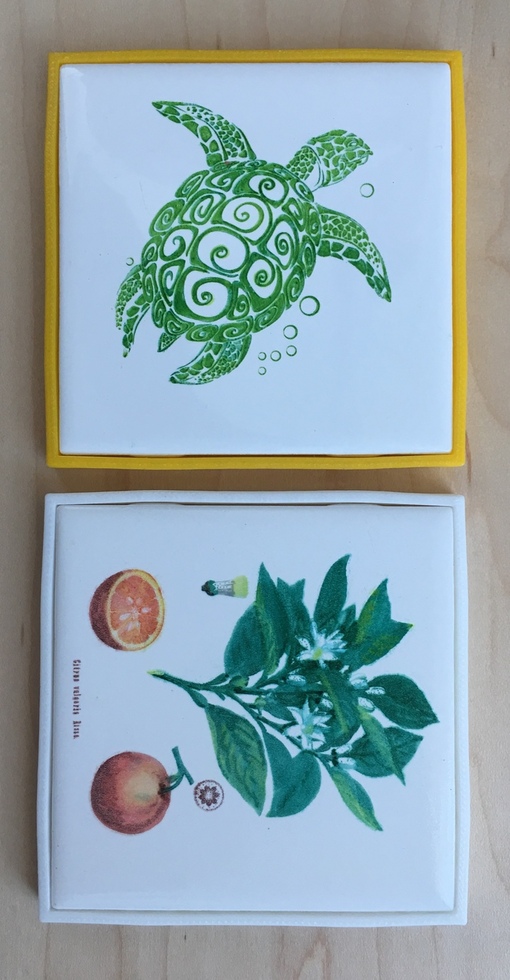
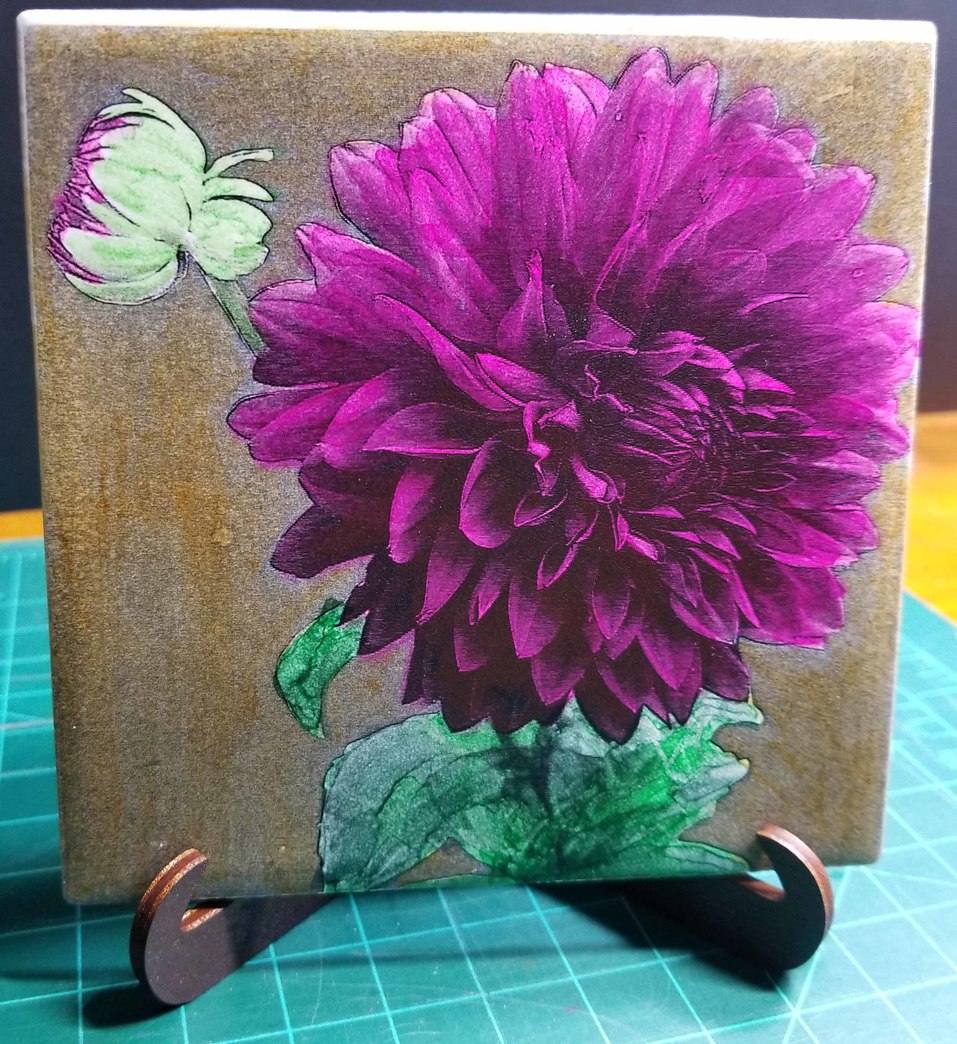
I too have been inspired by the cheap Lowe’s tile projects on this forum. I am getting better at manipulating the sharpies to produce the effects I want and I love old botanical drawings. They are beautiful and don’t have a copyright anymore. The dandelion is a work in progress.
Wow your color work is really great.
I picked up some tiles to do a Mother’s Day gift. That being said, I haven’t experimented much with it yet. I was planning on using an acrylic urethane resin though to see if that would seal it right.
Great coloring! 
Beautiful work! I too tried spray acrylic lacquer and had bleed problems . On the plus side they heldup well in running water and didn’t fade.
THANK YOU for all the testing you’ve done and the sharing! I just got my GF and don’t know where to start. The ceramic and glass tiles produce such impressive pieces. It makes the wood look drap by comparison. I love the effect of etching the front of the glass tile and the shadow it creates!
Incredible use of fill pattern. It reminds me of the art of the Northwest Coast First Nations’.
Drab wood, you say?
And many more. The creativity in this community is humbling.
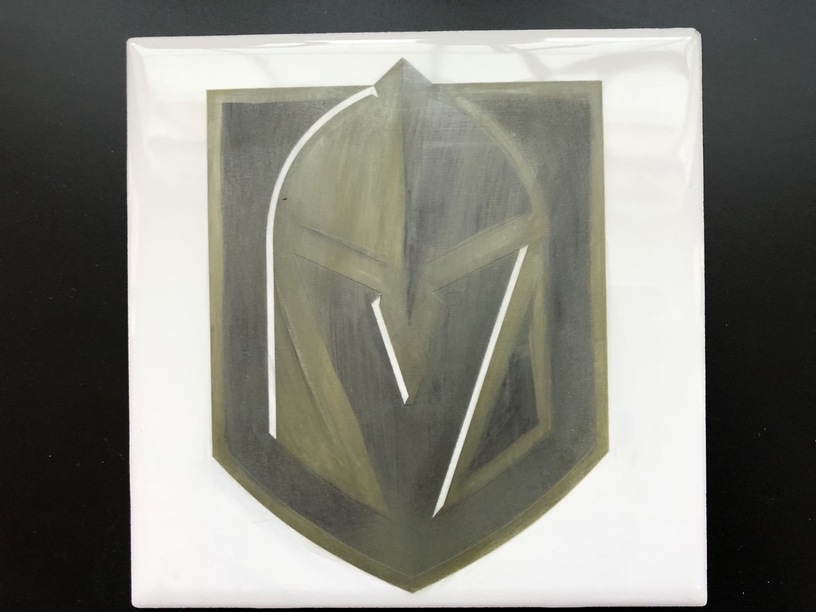
Live in Vegas by chance?
I never knew Lincoln was that limber…I guess all that chopping wood has it’s advantages. 
What gave it away? ![]()