I’ve had my GF a few weeks now and it’s time to start sharing some of what I’ve been making.
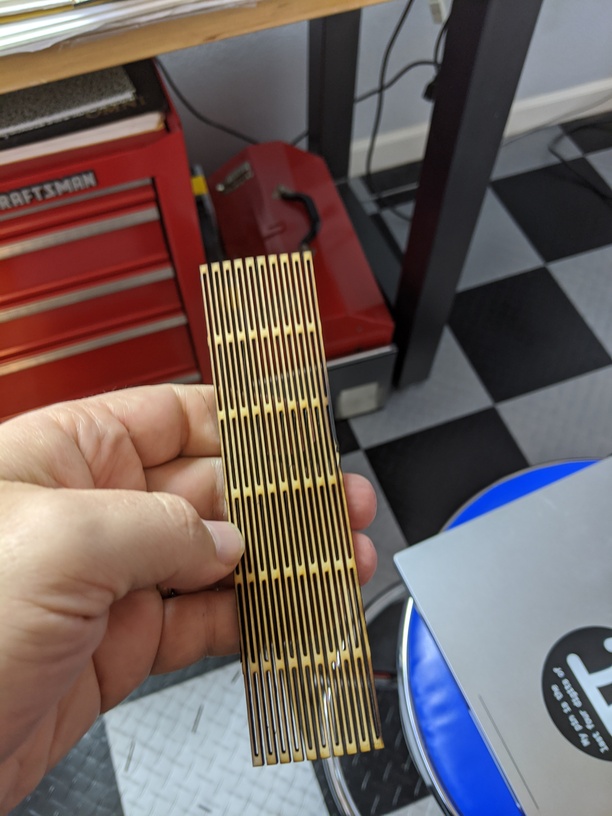
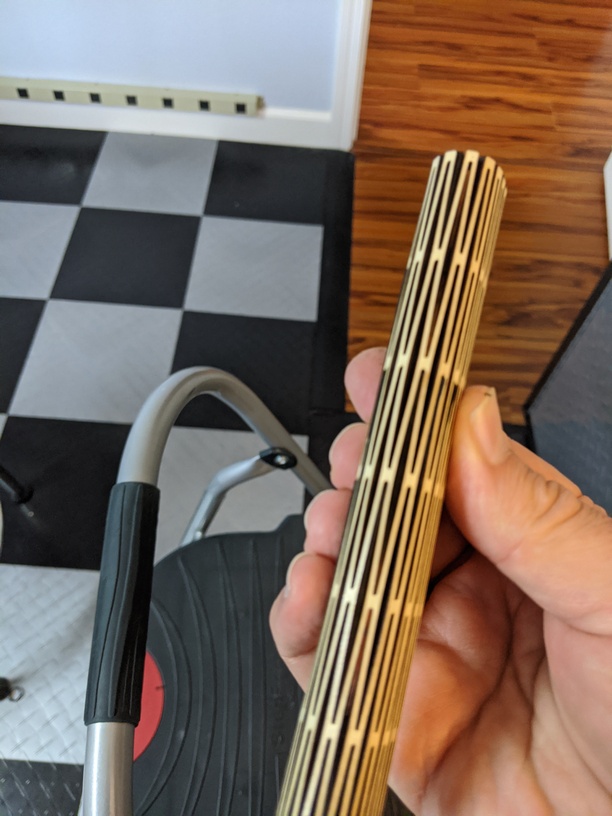
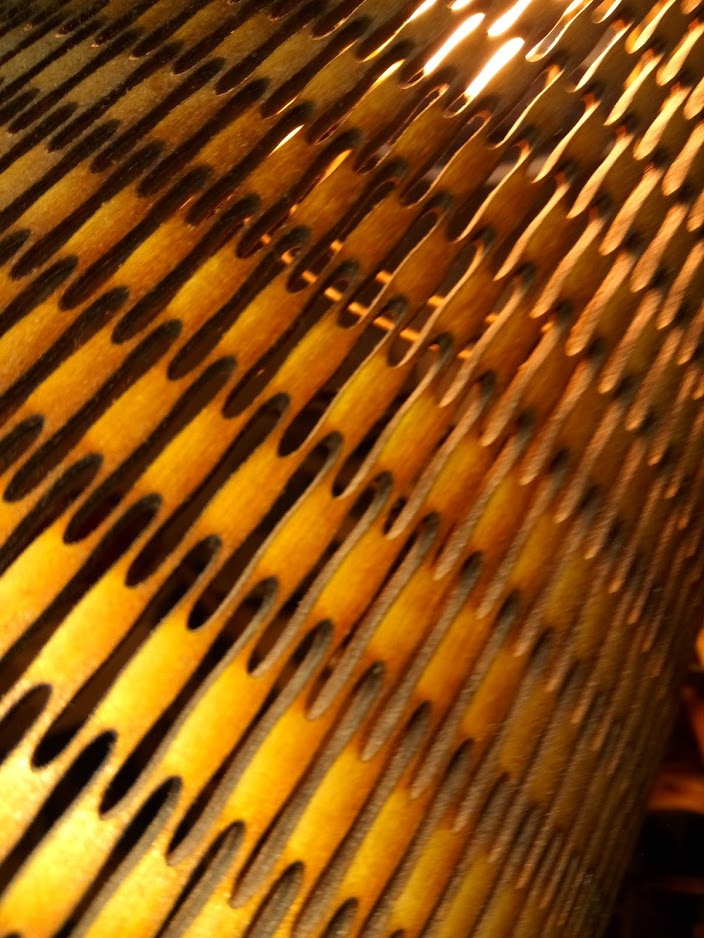
The first thing I was drawn to was using living hinges for notebook covers. I found an Inkscape extension on GitHub for generating the cut lines, but I really liked the idea of cutting rectangles rather than just lines. I modified the extension to do it (you can get my version here)
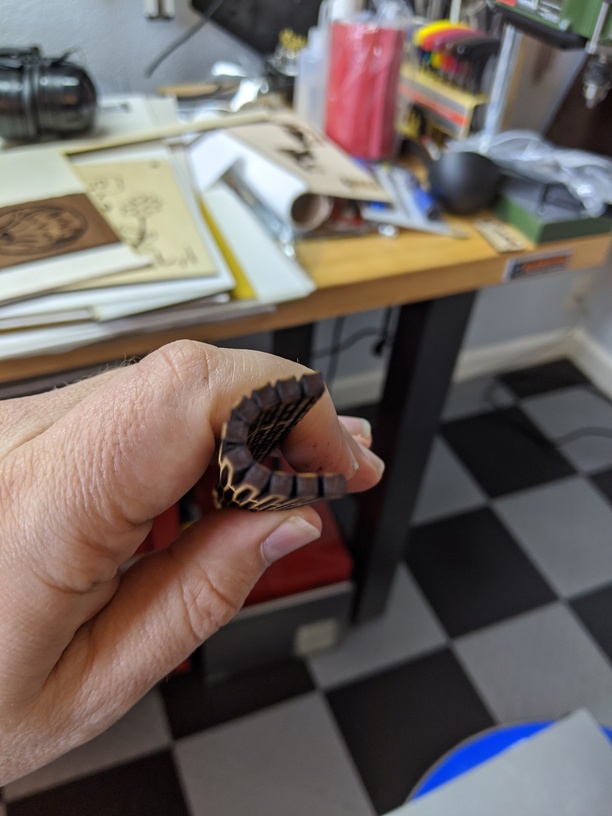
The hinges seem quite a bit more stretchy/flexible than a similar pattern of lines. The downside is you’re doing about twice as much lasering in a small area. It takes longer, and the back side is prone to burning. I’ve had good luck adding a second layer of mask on the back side of my wood. It stops most if not all of the damage.
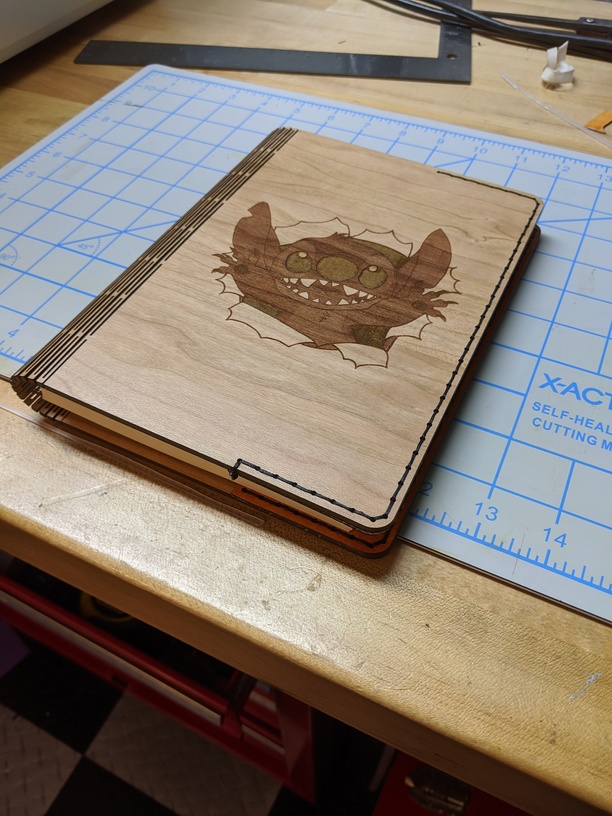
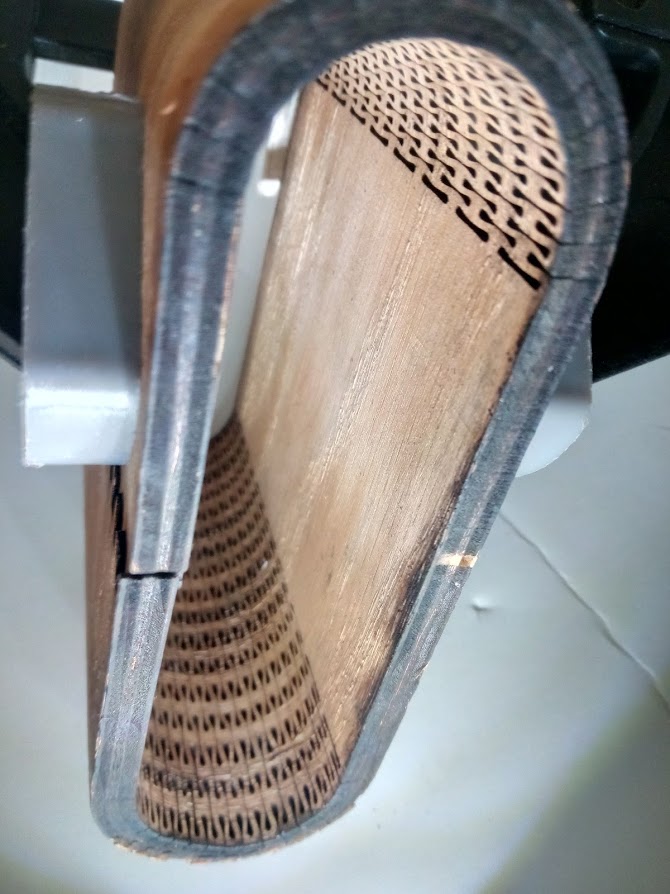
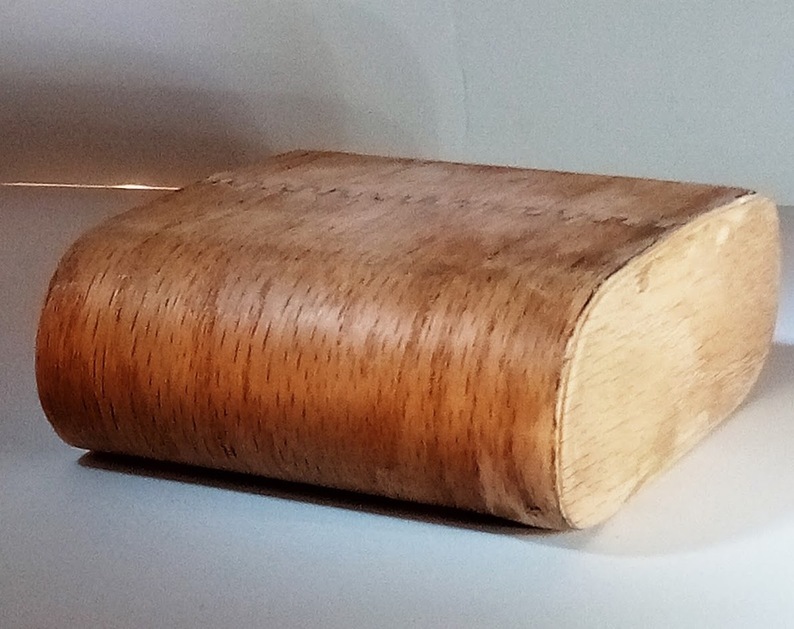
Turning that into a notebook cover took some iteration. I decided to go with an A5 notebook and ended up attaching pieces of leather on the inside to create pockets to hold the notebook in place. (laser cut holes to stitch the leather to the wood)
That’s beautiful! That shape makes a ton of sense.
I’d thought of doing curves at the end of my cuts, but it would have required more extensive changes to the extension I was using. I might have to revisit that.
In Inkscape there are 2 ways to put a shape copied along a path, that one is just two long ellipses cut and joined together then divided along a line copied and moved down a half length. and then the pair arrayed as wide as needed,
About a year ago I was trying to do the same thing. Found 10 different patterns on thingverse or somewhere and cut all 10 on the same wood to see which had the tightest radius. Settled on the right one and cut my notebook.
Snap.
Guess I used the wrong wood (1/8" Birch Ply from HD). What thickness and type of wood are you using?
I’ve done this in PG Medium Basswood, Cherry, and Walnut plywood.
My first try was walnut hardwood and that was way too brittle.
I haven’t tried lasering plywood from HD, but when doing other types of woodwork I’ve noticed a lot of their plywood is brittle and prone to splintering.
You might give the extension I linked to a try to play with different dimensions. Longer and wider cuts tend to give more flex.
Measure and divide work especially well in Autocad for this, having a Block "b"that is multiple block "a"s and using LISP to turn the "a"s into "b"s and exploding them and doing it again can make terrific fractals too!