Would you mind telling me what sublimation machine you use. I am just starting to understand this thing lol
I have been trialing different things to get a faux stained glass look with acrylic as well. I was trying with the alcohol inks and liquid glass. love seeing new ideas. I do not have a sublimation printer.
1 Like
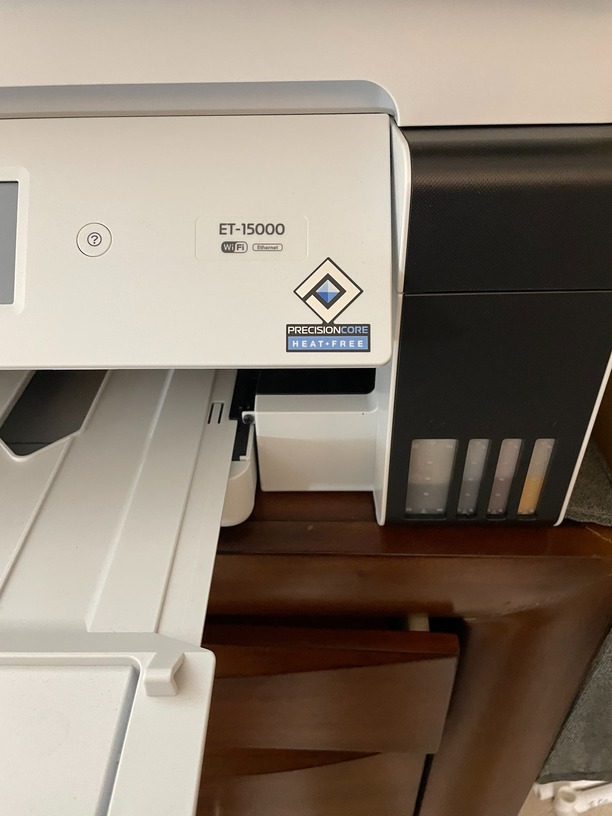
I started out years ago with a converted Epson WF-7710. That recently died on me and the newer Epson printers that are similar to the 7710 don’t have chip resetters available (at least not when I needed a new one), so you would have to buy actual cartridges for the printer to use the chips on cartridges filled with sublimation ink. Total waste of money. So I went with the Epson EcoTank 15000. No chips required, you just set the printer up with sublimation ink instead of the ink that comes with it. There are other EcoTanks that would work, but I wanted the one that allows 13x19 paper since a few of my items need the larger size.
8 Likes
I have the Epson 2760 which I think works as well (no cartridges), but it’s been well over a decade since I(we) did any sublimation work. We used it on RC models in the 2000’s. The “we” was my best friend who was taken by cancer several years back. He was a national RC model champion, amongst other things.
I am extremely happy with the 2760 printer, as a regular printer. I will never buy one that uses ink cartridges again, nor another HP product.
3 Likes
Wow that looks sooo good! I like the thickness
1 Like
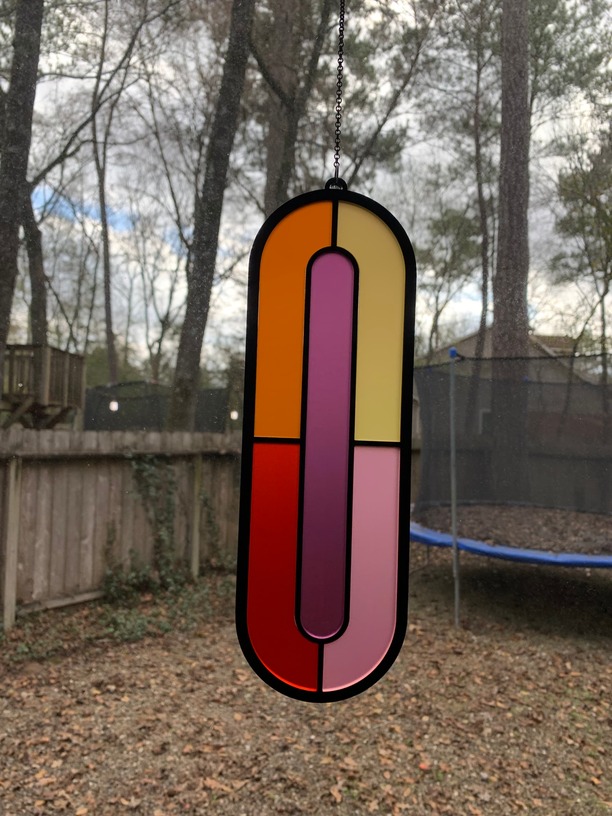
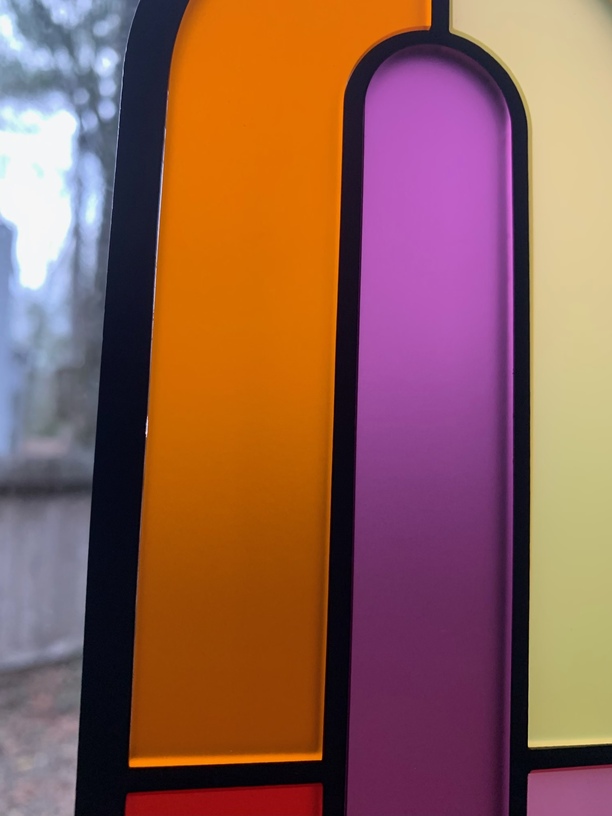
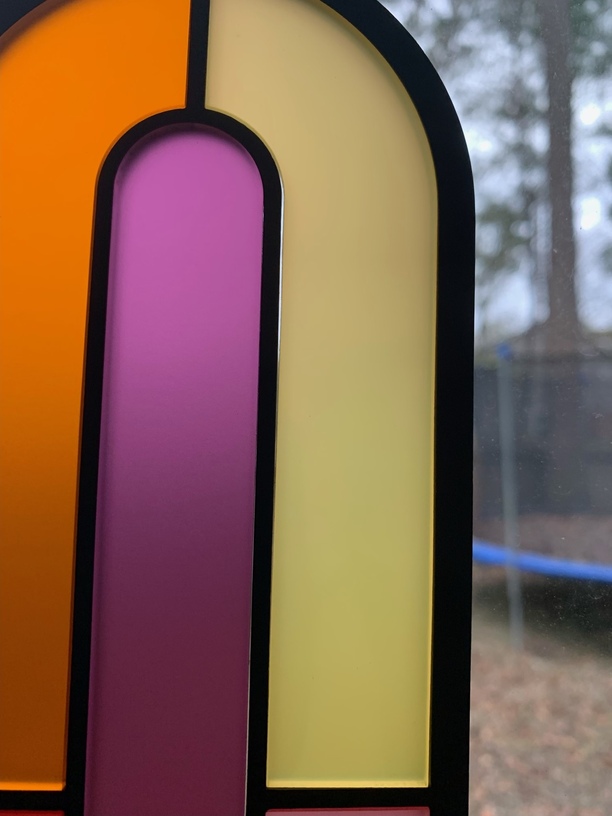
I have tried this but I seem to still get some tiny gaps between the acrylic pieces and frame, see attached pics. you can see the white light come through where the acrylic doesn’t seem to go all the way to the frame. I have offset my interior pieces in Inkscape by .2mm, any thoughts on how to get the pieces cut exactly correct for no gaping?
6 Likes
You keep adjusting for kerf. Also, consider flipping the internal pieces so the angle of the edge is opposite that of the frame.
7 Likes
@uhsoccer In theory, you shouldn’t need to adjust the kerf at all. @dklgood restated what I wrote earlier in a way that might be better understood:
compared to:
3 Likes
yes I have. what do you mean I don’t need to adjust the kerf, if I don’t offset the pieces in the frame, they would just fall right through.
1 Like
I’ve done exactly this. Once you get the kerf just right, the pieces fit into place and don’t come out. Well, you can push them out. And, if dropped. some might pop out. But I’ve yet to weld using press-fit.
6 Likes
I have made quite a few stained glass acrylic pieces by cutting them out. It is a bit tricky, but I like the results. You do have to adjust for the kerf. The best thing I have found for holding the pieces together is MicroMark’s Same Stuff plastic welder. But the pieces must fit tightly to use it. CA glue works, but I’m hopelessly bad with it, and the bits of skin really show up in the translucent acrylic. I guess flipping would work sometimes, but not all of mine are flippable - that is, they aren’t symmetrical.

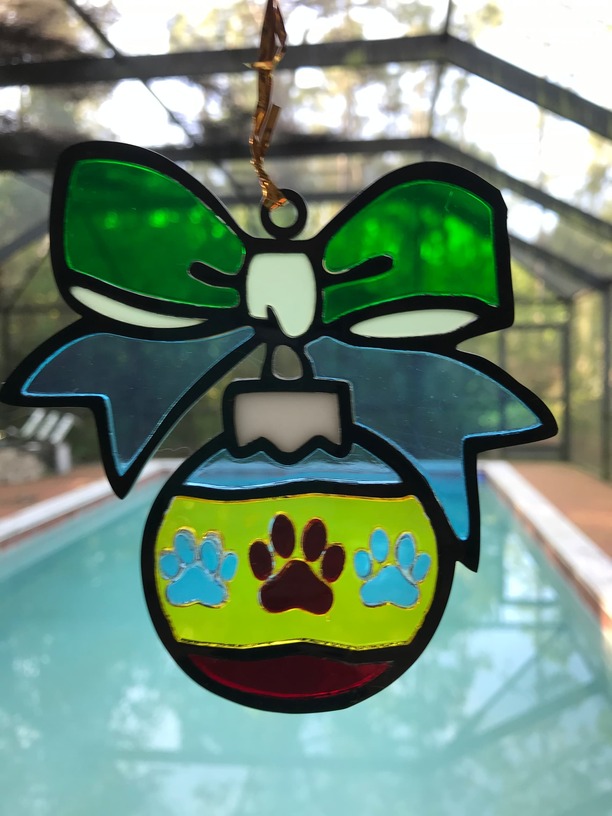
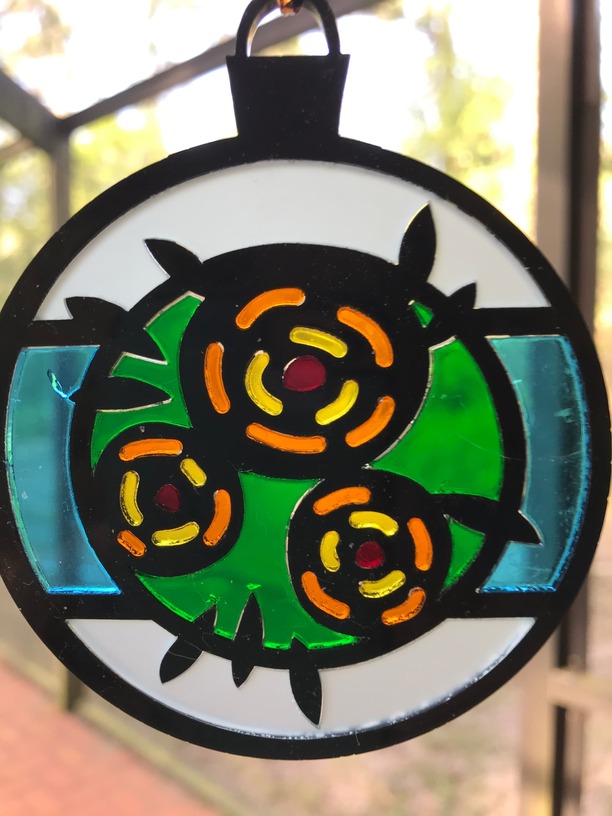
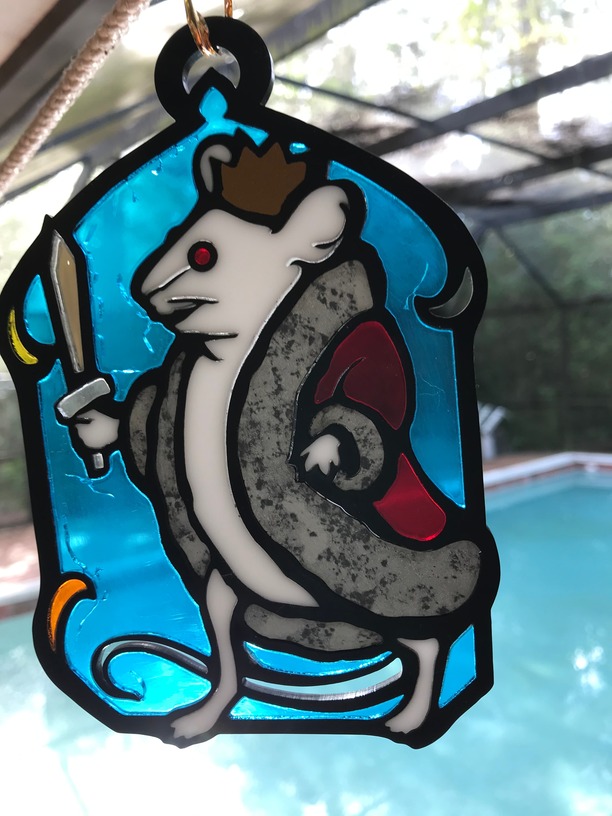
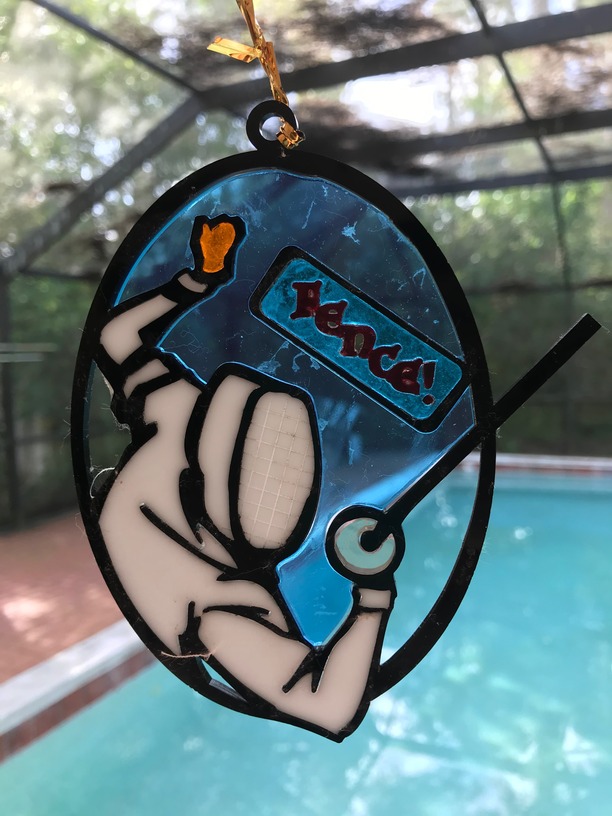
10 Likes
Those are great. You’ve got a lot of patience ![]()
1 Like
Quality CA comes in multiple viscosities, including gel, and there are many options for fine control, including cheap, disposable pipettes with needle-thin teflon tubes. I use them for Weld-On acrylic solvent as well.
All designs can be flipped, just reverse them in the design app. I do this for nested acrylic inlay all the time, gives a snug fit once you get the numbers right. I did this for the “Big Chicken” piece I submitted for the community dodecahedron we made for GF staff, for example. The pieces fit well enough, they held together without adhesive - although each panel used a backing plate for joining to the next, so they were ultimately glued to that.
1 Like