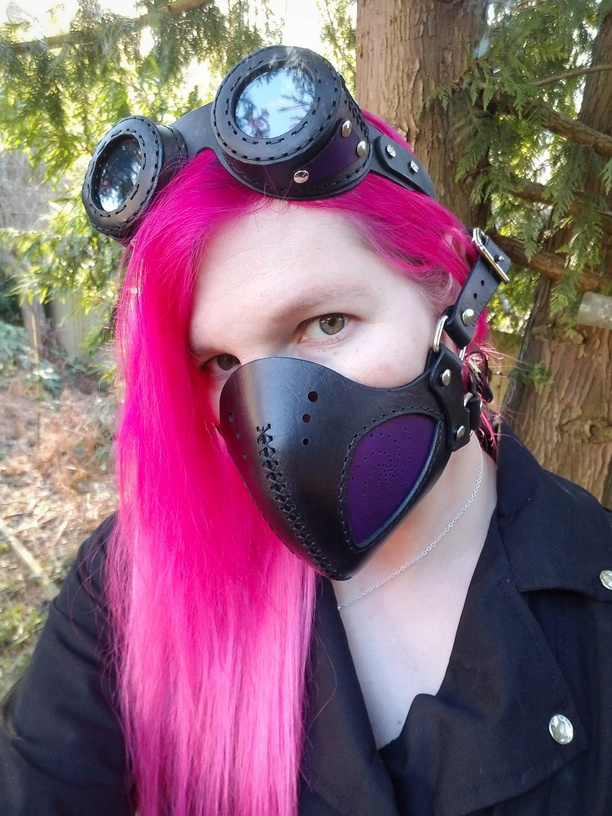
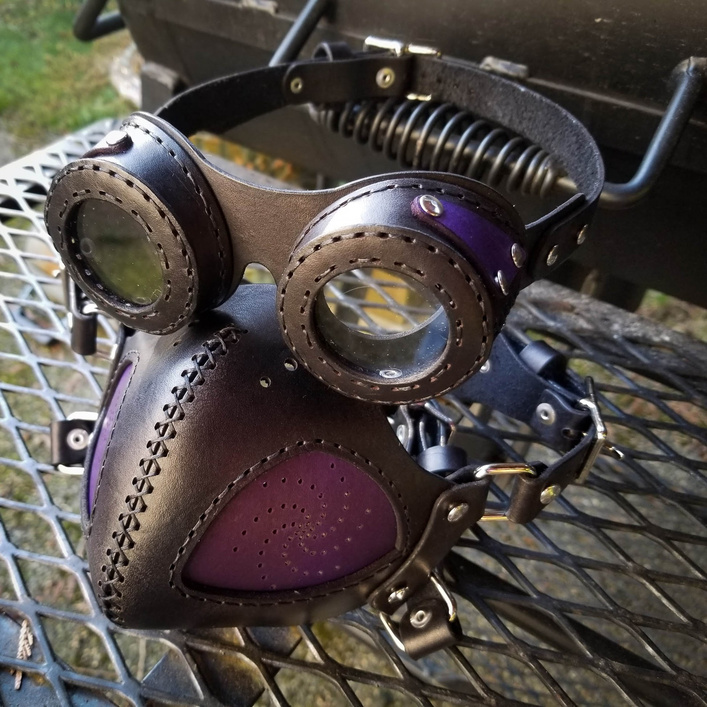
Somehow, I ended up here:
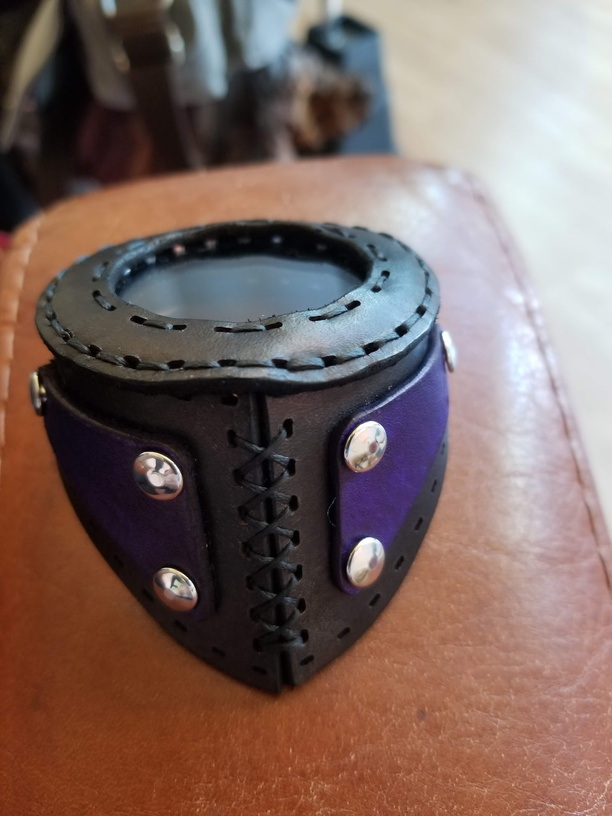
I swear, it started innocently enough. I’ve made a pair of those goggles before and I’ve been meaning to do so again. This time around, I was itching for a chance to try out a new black dye and thinking that I’d do something black / red with silver hardware. At the last minute though, I grabbed a bottle of purple, just to see what it would look like…

And the answer was really good. The black dye this time around just stunned me. I’ve used a few different shades of black from Fiebing (generally preferred the USMC Black to the Pro Black) but this was my first time with Angelus - Jet Black. While it isn’t Vantablack (or even Black 2.0), it’s absolutely the best black oil dye I’ve found so far.
So, this time around, I decided to really push myself on quality and detailing. Every edge sanded, beveled, slicked, neatest stitching I could manage…
I did the stitching while my wife was getting a tattoo (there’s one artist we both see that we’ll do back to back appointments with.) We both bring a craft project with us to do a little crafting while the other person is getting inked. She’s only recently started working with the Glowforge and with leather and when she said that she’d packed the needles, I didn’t even think that she uses some very different needles than the ones I use. Wicked sharp things! Getting super neat stitching while trying not to stab myself was not easy! (I loaned her my needles once I realized what she was using and she’s now happily converted to rounded points.)
Still, in the time it took the artist to finish working on her for the day, I managed to get a set of goggles done and he was kind enough to model them:
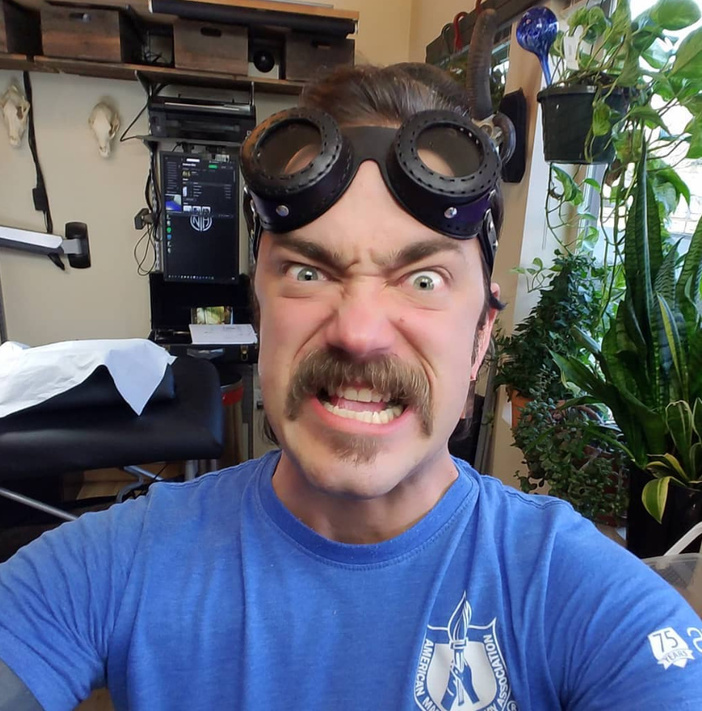
If I have learned anything about making steampunk goggles it’s that everyone loves to try them on. If you ever need an ice breaker at a party, bring a few pairs. As soon as I offer up a ‘wanna try them on?’ very few people say no and half the time the cameras come out before they’re done with them.
The mask though…
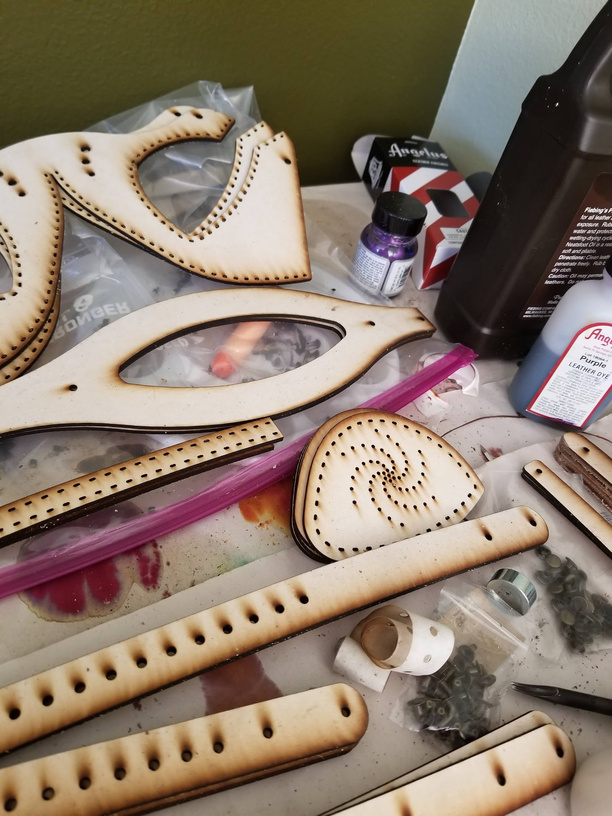
As soon as I sat down to start sanding the parts for that, I really questioned my sanity. So much sanding!
Once I got past the sanding and edge beveling though, I figured the rest couldn’t be that bad, right?
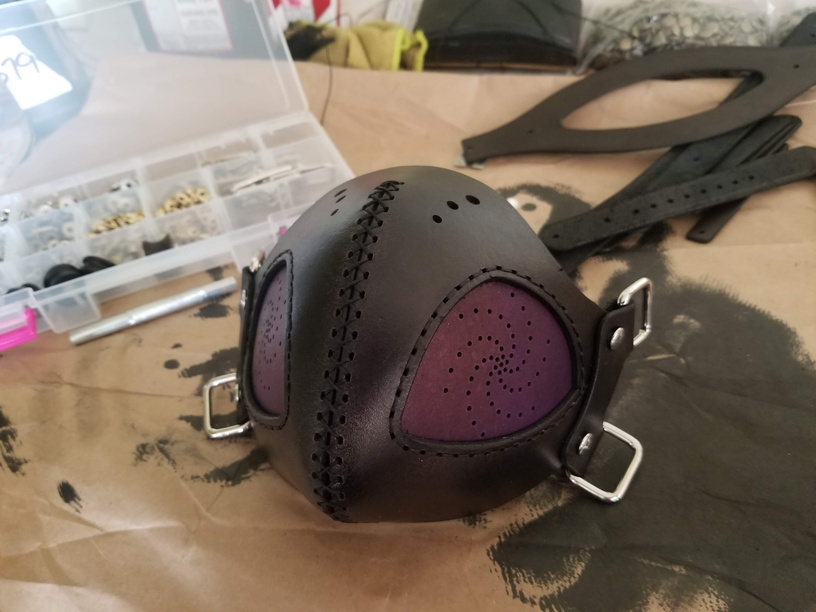
HA! No. I wanted the stitching on the nose to match the stitching on the side of the goggles. Unfortunately, I failed to keep really good tension on that stitch as I went across the point of the mask. So… having finished that nice long stitch… I tore it out, and did it over again.
The result the 2nd time was better. Still not perfect but I let my perfectionism go a little bit because if I didn’t, I don’t think I’d ever finish the thing. As is, I’m still pretty happy with it.
For next time
Two things happen next.
-
I’m pushing forward with a complete costume. Next up are arm guards and some gaiters, those are both relatively easy. Past that though, I’m left wondering what kind of costume needs goggles and a mask and I keep thinking that I should make a set of Steampunk Wings… sketching on those now and we’ll see if I can pull it off. I have a harness design handy that I can attach them to, but wings are hard!
-
Completely separately, I want to rework the mask to be a bit more functional. I’m not headed to Burning Man any time soon, but I know a few people who are and would love a wicked looking set of goggles + dust mask. There’s a lot of detail work though to get from ‘looks good for a costume’ to ‘seriously, can handle particulate and make it easier for you to breathe in the blowing grit at Burning Man.’
But hey, if we don’t keep raising the bar on ourselves, how do we get better, right?
Bonus trick
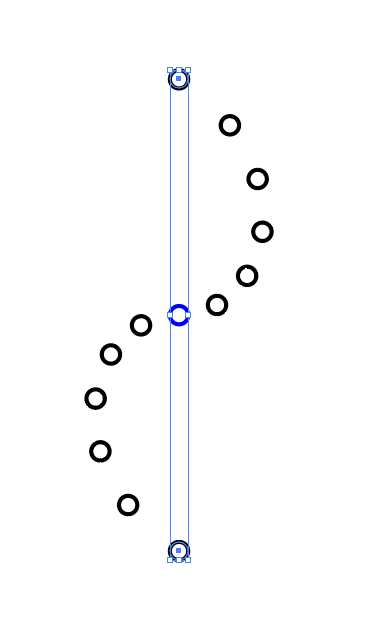
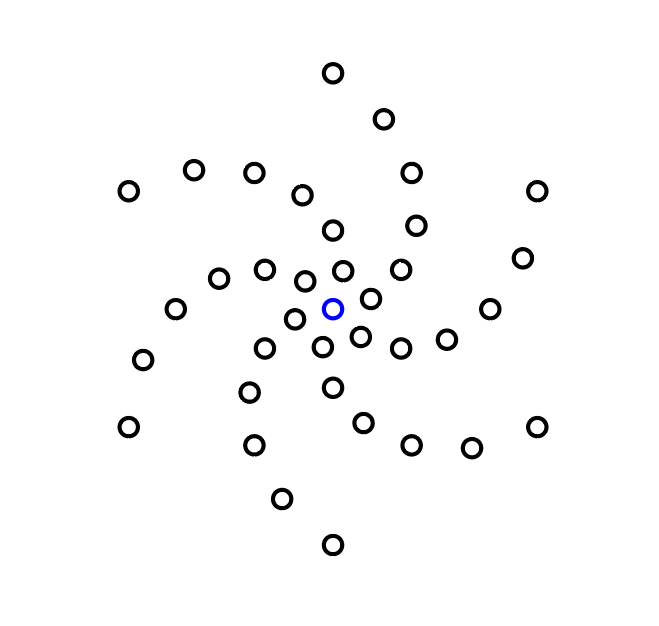
The mask pattern I worked from is another one of Tony See’s (http://dieselpunk.ro/) but the sections of the mask that are dyed purple are blank in the pattern, leaving it to the maker to decide what they want to do there. Options are infinite but I wanted something ‘simple’ so I worked up a quick spiral pattern. To do that, i started with a row of holes about the same size I use for stitching holes:

The one in the center is blue a s a useful visual marker. After that, select the circles immediately to the left and right of the circle and rotate 15 degrees:

Work your way outward, incrementing the rotation by 15 degrees each time till you have this:
At that point, select everything but the circle in the center and rotate again, 60 degrees, this time with a copy:
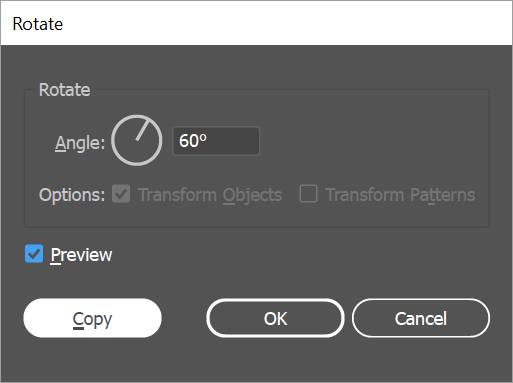
Do that twice and you’re left with this:
Of course, that’s useful any time you want a spiral for just about anything… breathing holes, decorative engraves… sky’s the limit ![]()
Happy crafting!
