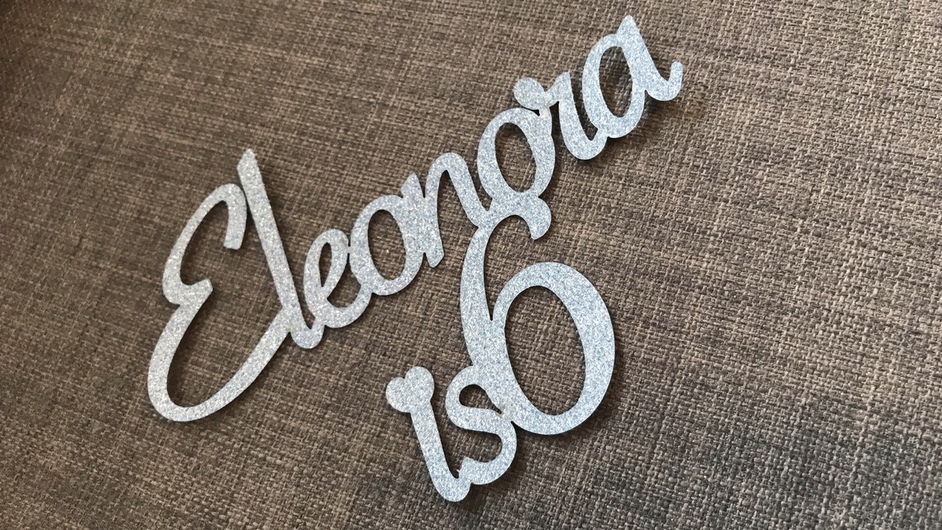
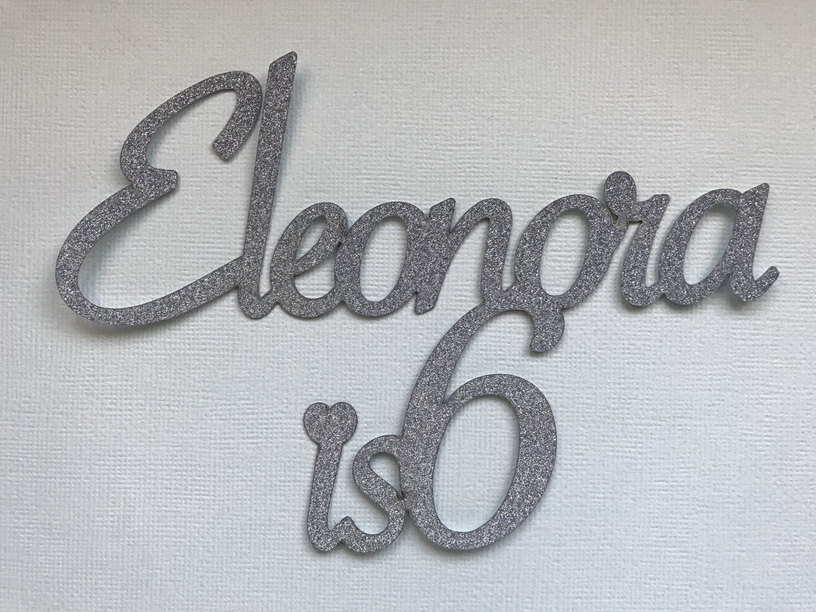
Hi there, I’ve been looking everywhere for angood settings for paper cutting using the actual cut option and not the engraving option!
Well, the conclusion is that you MUST try with every different type of paper to get the proper setting.
For a glittery paper, the settings I’ve used was:
Manual Cut
Speed: 500
Power: 80
Focus:0.010
Passes: 1
I’m happy with the result! It has also to do with the design and size of the design to chieve something good, I don’t think this settings would be good to do something with too much detail!
Also, I’ve mirrored the art so it cut from the back of the paper to reduce the “burning” marks!
Let me know what your settings are and if you are happy with mine too!
Most of the paper cutting I am doing so far is with cuts rather than engraves. It does seem to vary a lot for different types of stock. I am slowly getting better at guessing in the right range when I try something new.
Using an adhesive mat for hold-down helps with the flashback damage on the reverse side. I have been using a seklema mat but, a piece of wood with repositionable adhesive can also work well.
The Font is: Savoye LET Plain:1.0
I recommend adding a stroke, to make it thicker to cut!
But I’m sure you would do it anyway as a designer!
If you need any help let me know!
What Vector program are you using? If you are using Inkscape, select your font and then under paths select “Object to Path”. This will turn it from a font into a bunch of shapes that LOOK like your font. I usually do this just before I am ready to send the item to the laser. Once it’s been turned into a Path, you cannot fix any Typo’s or change the words, unless you move around the shapes.