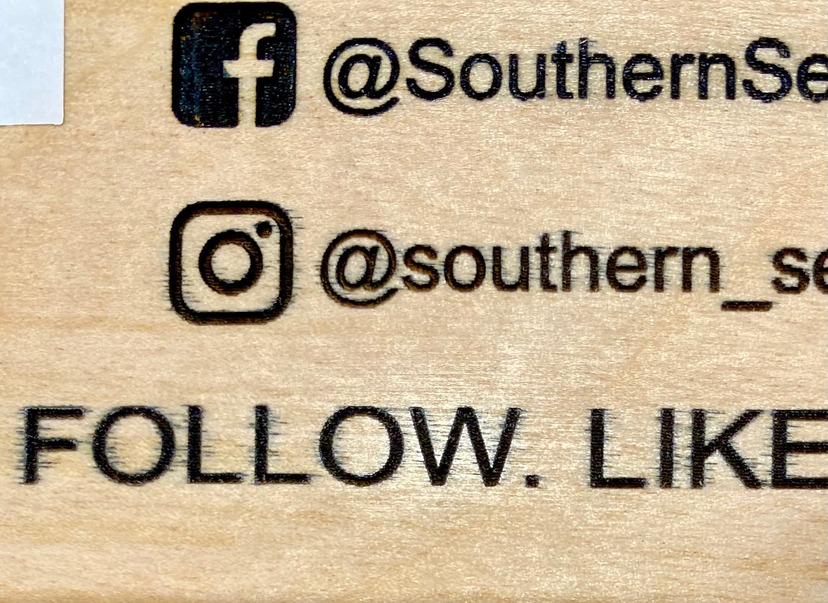
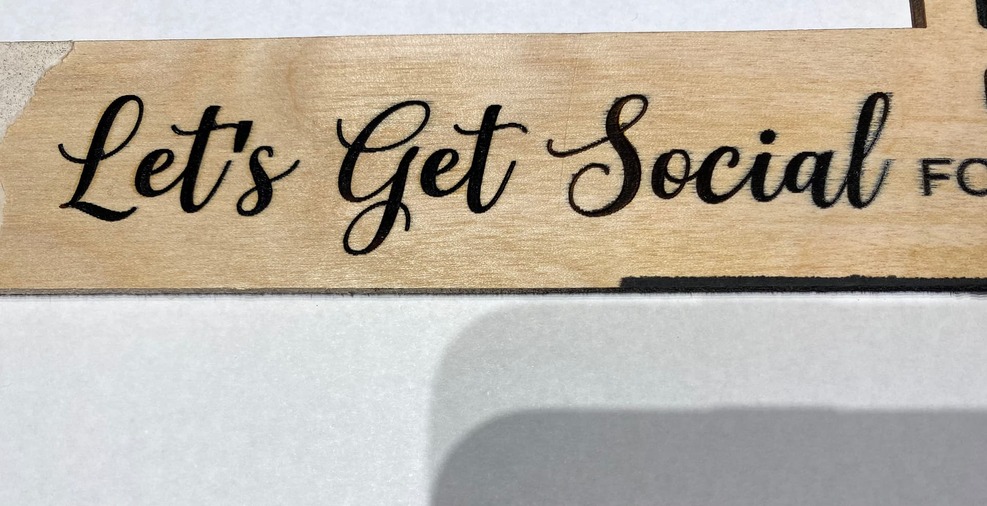
I am engraving a social media sign for a client, and they want the engraved text to be black. I tried spray painting with the masking on, AND tried painting with acrylic paint & brush. Unfortunately both bled through a little on the smaller print.
How can I get it to look clean? (The text is too small to use a paint pen with.) TIA!
Thank you ~ I forgot to mention that I did seal it first. I saw a YouTub tutorial that suggested that (and they actually sanded away whatever paint bled through). But for some reason that didn’t work for me (and their text was MUCH larger).
Is there something in particular you can recommend for wiping off/removing the residual paint that bled through?
I have found that because the engrave is cutting down into the surface of the wood, the bleed is actually a little under the surface of the sign and lightly sanding will not remove it. One way to stop at least some bleeding is to score around the engraves after engraving, this seems to seal the edges of the engrave so they don’t bleed. You might try that.
This is the first I’ve heard of this technique ~ thanks for the tip! Do you score directly over the same engraved lines? Or do you adjust it to be slightly outside the engrave?
Perhaps you could use veneer as the top layer. Adhere it to a black substrate of your choice or making and then cut/engrave as desired. It’s a bit deeper than you might want, but just a thought.
That is the method I use as well and it works well for me. If you brush it on then sand and repeat, it will soak in better. It will also allow you to put more pressure on your masking when it is applied lessening the chance of bleeding. As an added bonus the sealed surface is less likely to splinter and peel up “fuzzies” when you remove the masking.
Just want to thank everyone here SO MUCH for your help!! The support here is AWESOME.
I used @beerfaced technique (clear coat, mask, engrave, clear coat again on top of masking to seal edges, and paint). Not only did it help me in getting a job completed, I also learned a technique I’m sure I’ll be applying to many more to come.
Thanks again, everyone!
(Sorry for the poor photo quality - these were taken at night. I don’t know if you can tell, but the scoring around the trees almost makes them look like an inlay.)
 Thanks!