I’ve not had this problem before, using the same method of breaking up a vector design in order to create a set of veneer inlays.
However, now GF has confronted me with the fact that my file has clipping paths in it, I’d be grateful for some advice in how I find them.
I suspect that there will be many, as the method I use, making use of ‘difference’ and ‘intersection’ in the Paths menu, sounds like that’s the source !
John
![]()
Link in space above this line.

1 Like
Also, complicating matters, as far as I can tell, once there has been a clip path in there, Inkscape will forever leave the empty clippath container in the file and the GFUI will complain even when everything will be fine because there aren’t really any clippaths.
5 Likes
Does the empty clip path have any physical manifestation that can be shown up on screen ?
I suspect the answer may be no, but it would be good to know.
John
EDIT
I’ve just finished searching the file, and found a couple of odd bits that shouldn’t be there.
Deleted them, and all is now well - no mention of clipping paths !
2 Likes
I can’t answer to the Inkscape side since it’s greek to me. But the clip path warning - it seems Affinity Designer users get this a lot (and also PDF users), depending on how the file is created. They tend to ignore it - if the clip path isn’t clipping anything, you’ll see no ill effect. Until it is clipping something, and you’ve been used to just ignoring the message 
3 Likes
^^^^ This. I get it all the time and completely ignore it  I normally don’t design using clippaths, but something in my bitmap workflow is often interpreted as clippaths and I get the error. (The only time I have a real issue with the clippaths error message is in PDFs. The GF hates my PDFs, so I just don’t use them.)
1 Like
I found a big issue with clippaths because I actually tried to use them when doing the Trilobites, that I used Inkscape to cut away the extraneous parts of an image and found that the GFUI pretty much ignored the clip path and was all set to engrave the entire photo!
I went back to inkscape and exported the photo and clip as PNG that ended up with a white background instead of black, and apparently the GFUI ignores trying to engrave white as well.
That’s what the warning is trying to tell you - that it’s going to ignore your clip path. Whatever is clipped by the clipping path, will no longer be clipped.
A trick around this, as you mentioned, is to rasterize both your clipping path and the object that’s being clipped.
And yes, the Glowforge will ignore anything in a raster that is pure white.
2 Likes
I’ve just done a test print on some scrap after the ‘clipping path’ warning, and found that four of the 110 pieces were missing.
These were part of a group, so I copy/pasted them into a new file, but I ungrouped them, and a test worked fine.
Deleted the group from the first file, and copy/pasted the working/ungrouped pieces back to it, and ungrouped everything else.
No warnings this time, so I did another test print !
This time it missed a different number of pieces that had printed the first time.
The next test print, after I had added a detail that I had omitted from the for drawing, produced yet a different set of missing pieces.
Getting pretty frustrated - the temperature in the garage is creeping up to the ‘too hot’ mark, and I have my trip back to UK next week, where I planned to present two copies to the family.
So I might just run a cut, and repeat as necessary !

Link below to latest iteration - could someone open it for me in inkscape 0.92.3, and see ip they have any observations to make ?
![]()
hareandmoon4|15x9
The link didn’t work.
Sorry, but the file is in the space between my last lines and what appears to be the link.
apologies for the confusion, but I don’t know how to get it to work properly .
1 Like
No worries ![]()
The file looks fine to me in Illustrator.
So I got it loaded up in the UI… make sure that after you get it loaded into the UI, that everything has time to “process” - it took a minute or so for this to happen for me. Notice how everything slowly turns colors when you load a file? That’s additional processing going on (even after the first initial rendering when uploading the file) and if you hit print before all of those elements are fully processed, they just won’t print.
I wish that we couldn’t hit print until it was fully processed, but it is what it is for the time being. Support has said in the past that you can put a rectangle around your entire design and it will process the entire design as a group (make sure the rectangle is a unique color so you can just ignore it in the job operation).
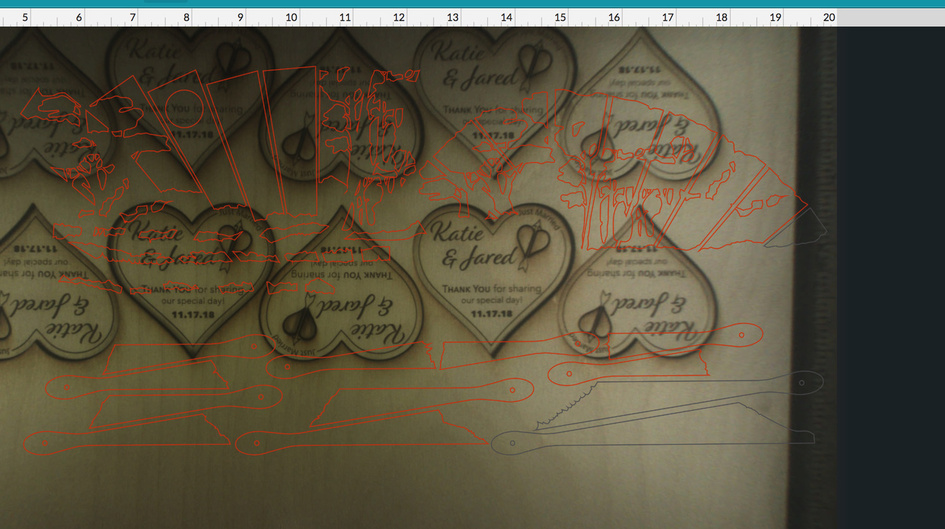
The other reason could be something slightly outside of the cutting area? I placed a few of the design elements outside of the allowable cut area to show what it looks like. See how they went gray? (ignore the design sitting in the bed) ![]()
1 Like
Thanks for your help, and the heads up re the outline rectangle.
I do now have what may be the answer, due to the slow worsening of the print. I think it’s the temperature in the garage has reached a critical point, and is impacting the forge.
My digital thermometer says it’s 83F, and though glowfinger has worked up to 84F, I know it’s not recommended !
So I’ll do some more art work revisions with the paper prints I’ve got, and try again tonight.
John

1 Like