First few days, first few projects

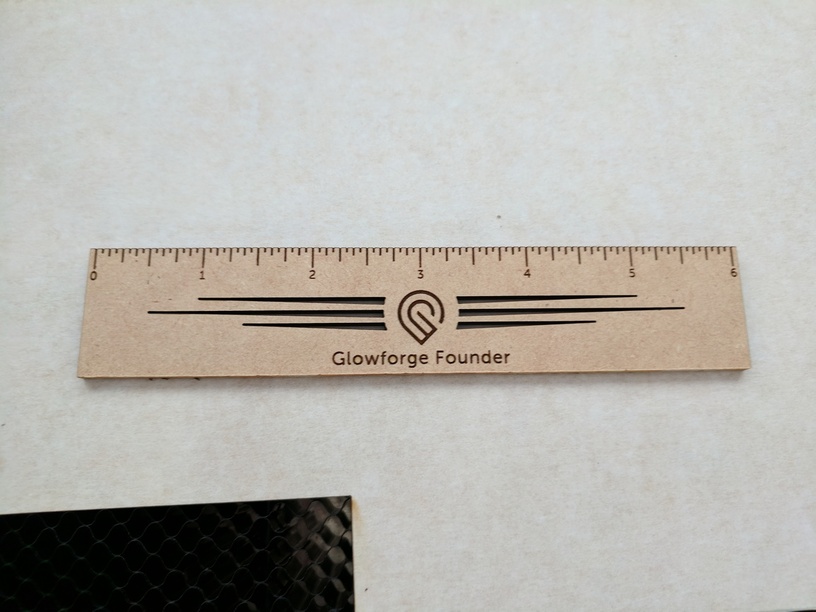
My Glowforge Basic arrived on Thursday, and within 48 minutes, I had my ruler cut out and functional:

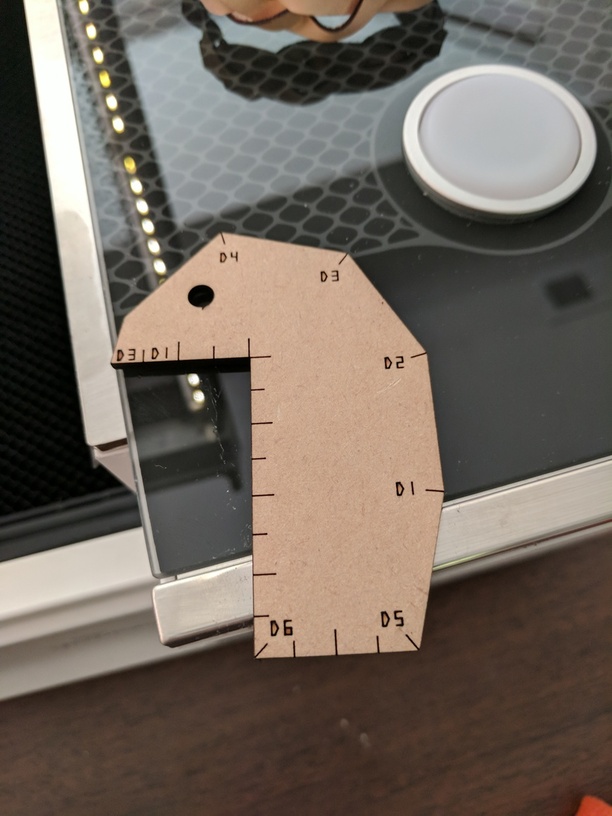
My next step was an experiment with non-proofgrade draft board that I had from a previous project, which did an acceptable job to make a keychain for some gamers I know:

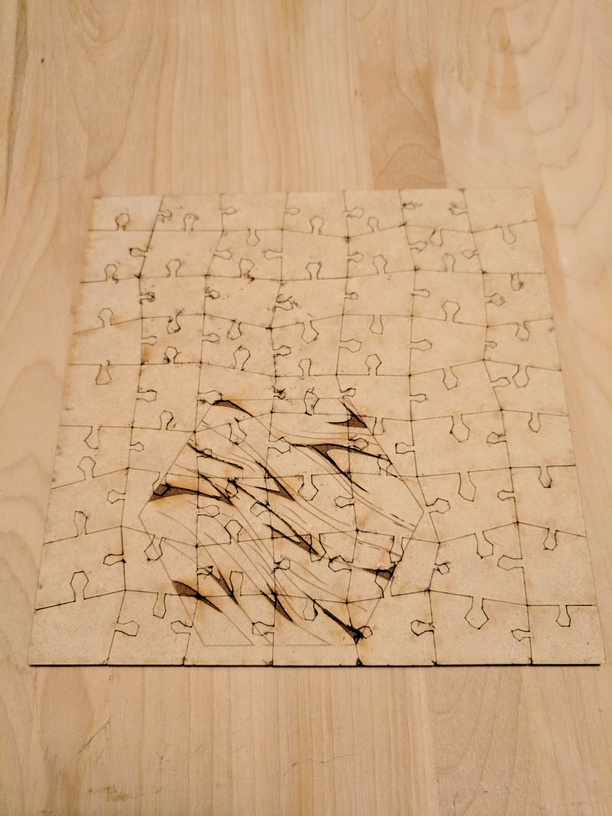
Next up, I made a jigsaw puzzle using a Penrose tiling (or pretty close)

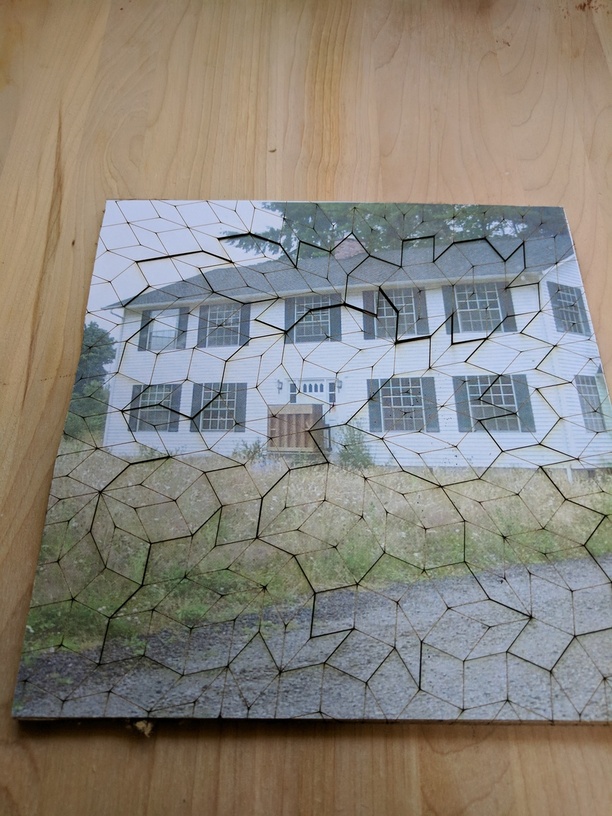
It turns out, that one didn’t cut all the way through, but I had a spare, which I cut slower, and this time, it worked:

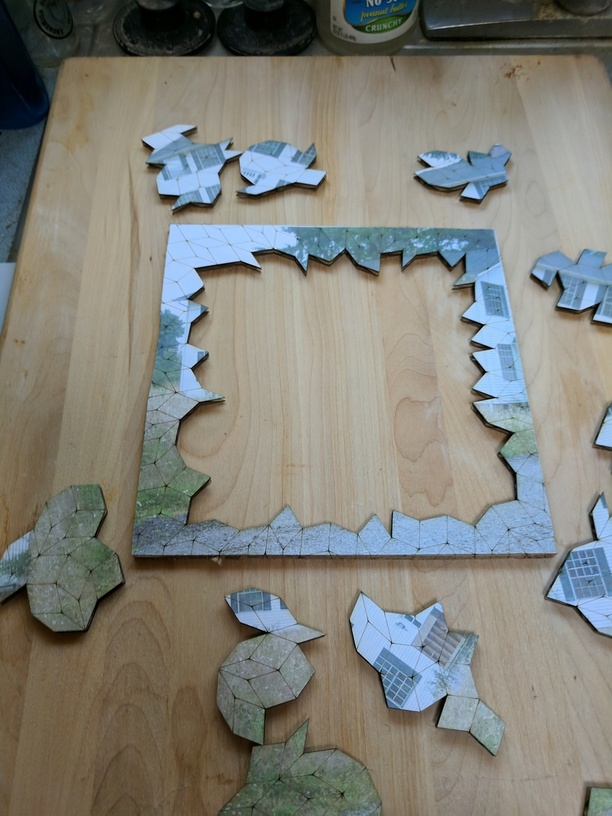
Pleased with how that went, I used two different Penrose tilings to make a pair of puzzles out of proofgrade draftboard:


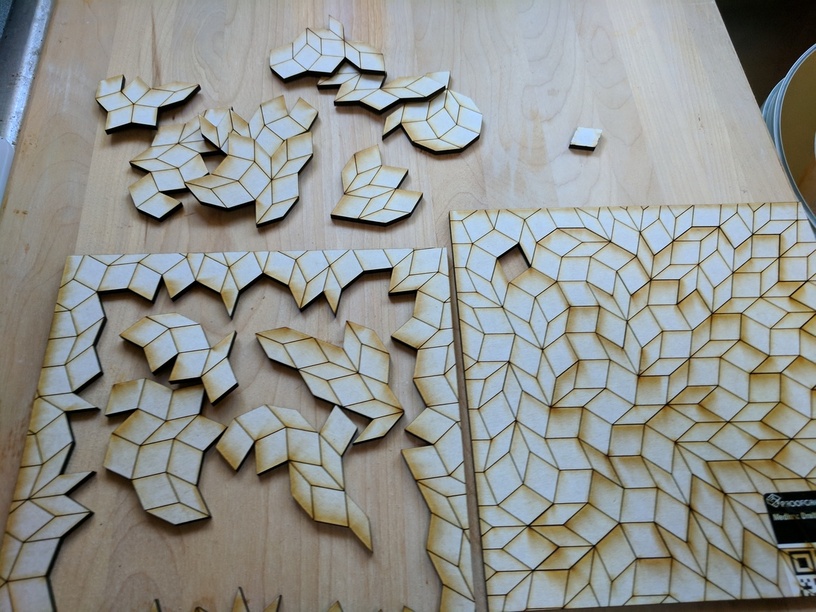
The stray rhombus there is due to a bug in my generation script. That’s on my list to fix, once I get tired with feeding the Glowforge.

Having not had enough of the same old Penrose grid, I proceeded to cut it out of proofgrade clear acrylic, and it looks really nice:

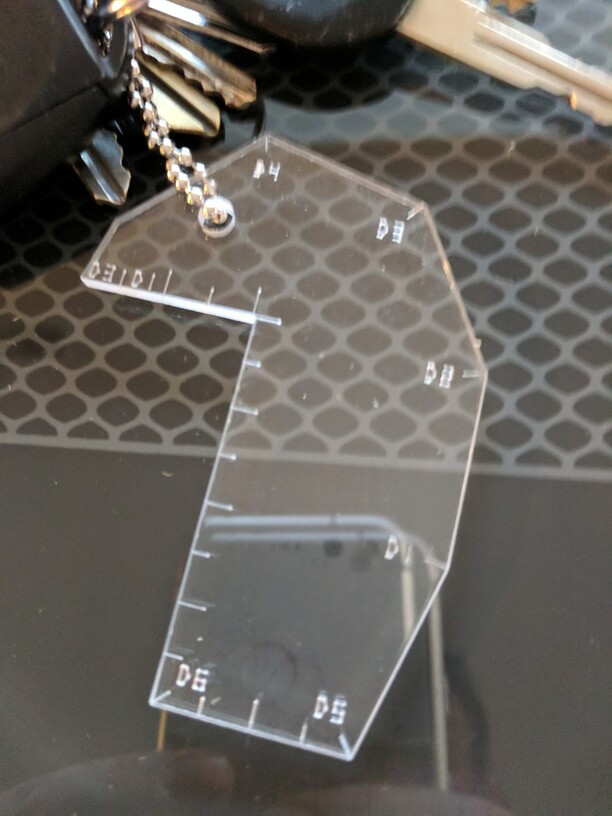
Then another keychain, this time in acrylic, also nice. It went immediately onto my already messy mess of keys.

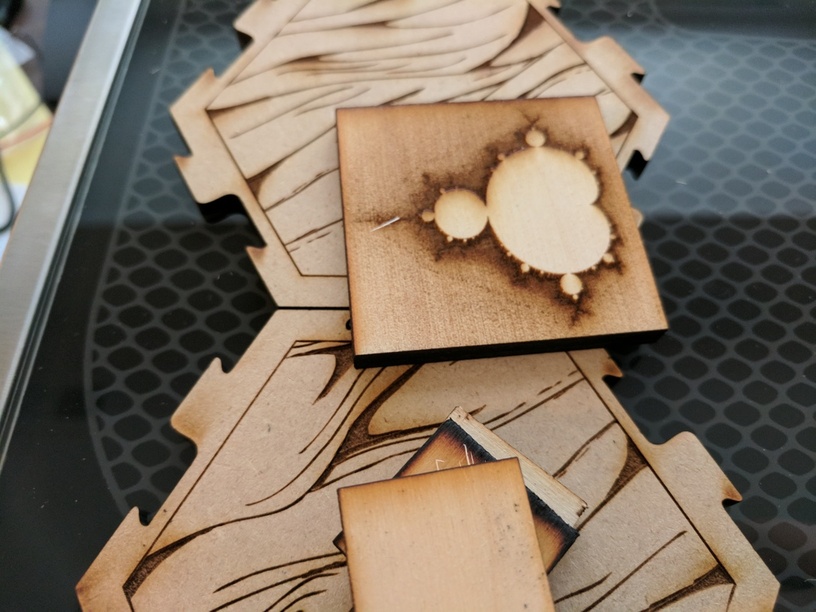
Experimented with engraving a Mandelbrot Set onto some non-proofgrade 1/4" birch from Inventables:

And then I made an approximation of an Apple ][ computer:

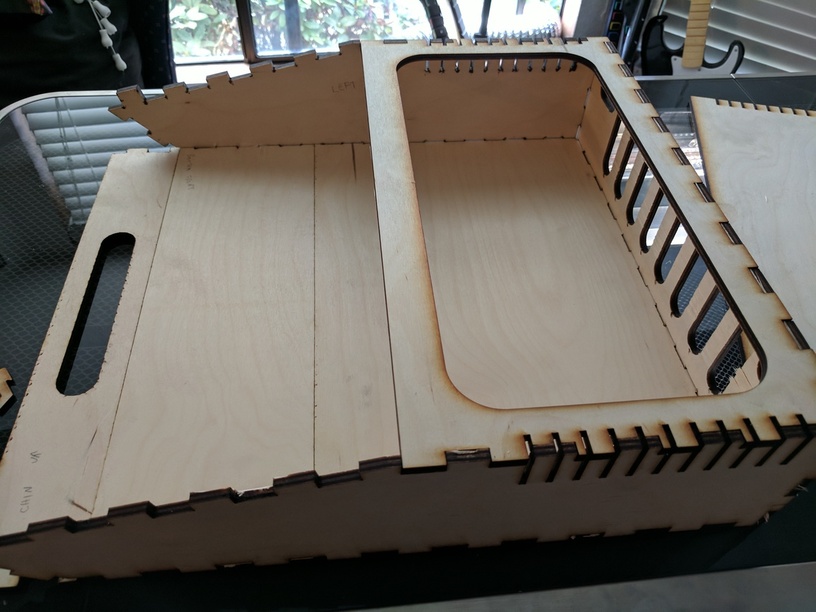
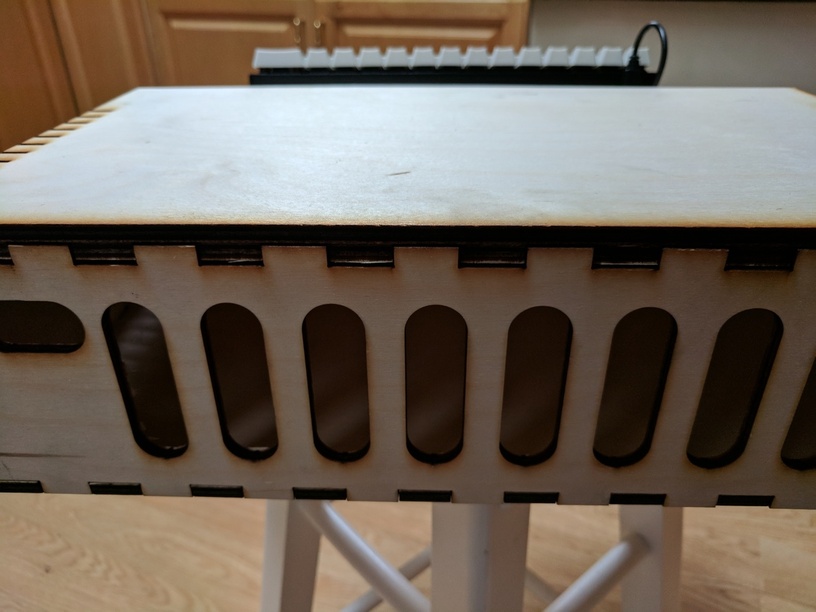
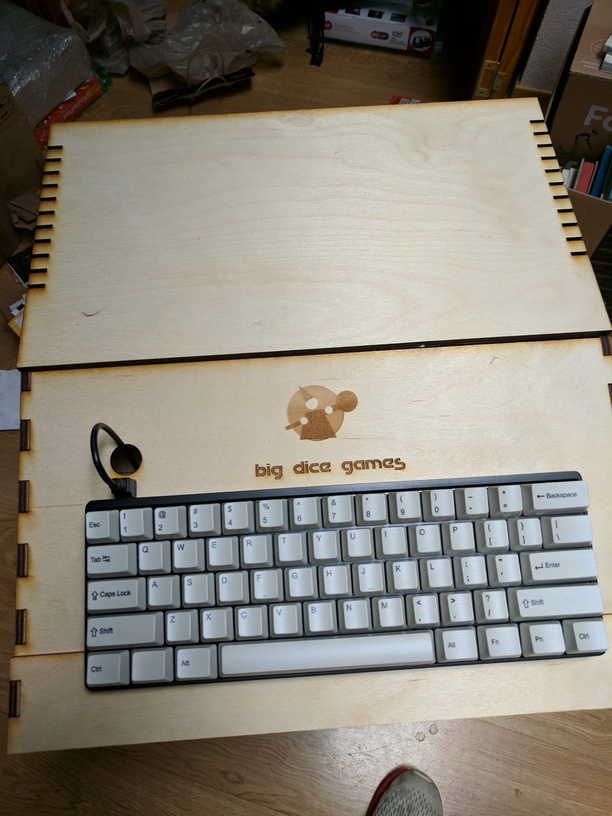
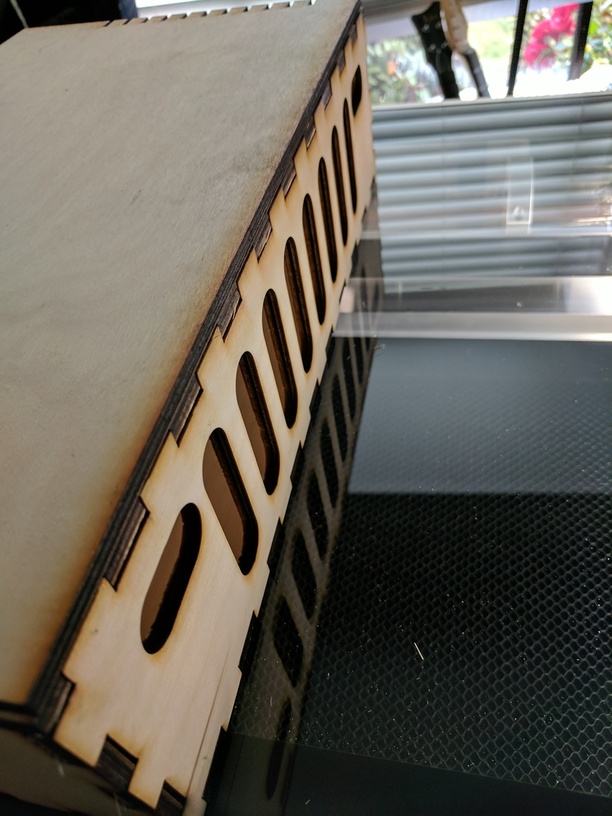
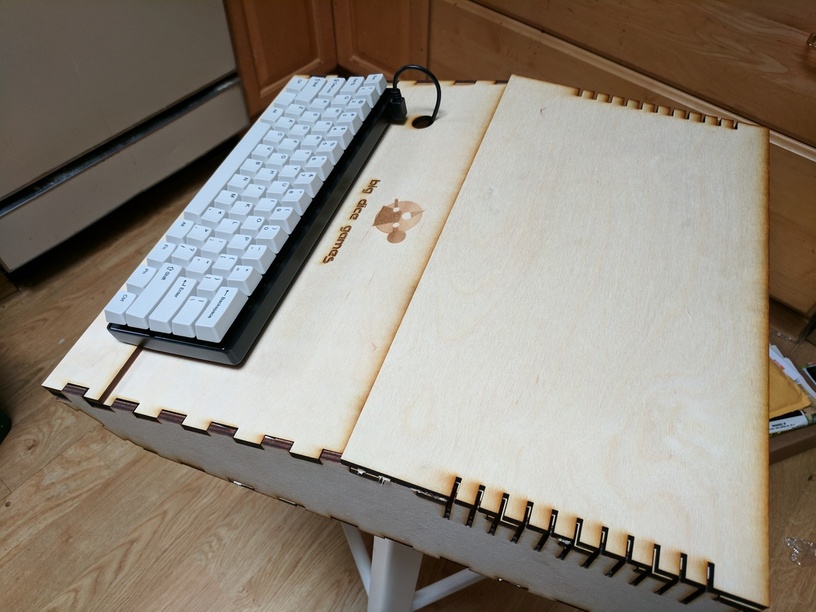
Non-proofgrade 1/4" birch from Inventables. I ended up having difficulty getting settings I liked. In the end, I got things mostly cut, and used an exacto knife to clean up some of the bits that didn’t cut.

And then, to round out day 3, I made a 63-piece jigsaw puzzle with proper prongy bits (to contrast with the Penrose puzzles). Some of the prongs are a little too small, and I want to add a little more variation for puzzle shapes, but it turned out well for an evening’s screwing around.

Looking forward, I intend to do more with the Apple ][ enclosure - I’ve got a small Linux computer I intend to house in there and play old Apple games in emulation. I’ve begun sketching plans for a case for a HDMI display to go along with it, but I probably won’t be as slavish to the shape of the old monitors.

I also intend to iterate on the jigsaw puzzle - probably next up, engraving a picture to see how the puzzle feels with the normal visual image cues, not just piece shape cues. I also plan to try dry-mounting a picture onto some sort of board. I might do draftboard, it’s a pleasure to work with that, and the puzzle feels nice.

I intend to finish a puzzle for a friend’s birthday in October, so I’m trying to get that done soon. Also, don’t tell my friends what I’m up to - it’s a surprise. :slight_smile:

57 Likes

Lookin’ good! That’s a great set of first projects. I’m excited to see more.

2 Likes

I LOVE the Apple II!

3 Likes

Thanks! It’ll be fun to get it up and running.

2 Likes

You certainly hit the ground running with this… love the Apple II. I remember when those came out…lmao

1 Like

Here’s my DIY Apple II from last year:


Would have been slightly easier with a laser cutter! :smiley:

14 Likes

Yours looks tastier.

1 Like

Those are some awesome puzzles! (Love the computer mock-up too.) Great job! :grinning:

1 Like

Cool! Never heard of a Penrose puzzle–will have to look into that.

1 Like

Penrose tilings are an interesting mathematical construction that is guaranteed never to repeat, which I thought would make a good basis for making a puzzle.

Having a single edge length and a small number of angles makes the pieces fit together in interesting ways, sometimes giving the puzzler dead ends that makes the puzzles harder than their small piece count might lead you to expect.

3 Likes

You better set the whole day aside. Once you get into Penrose tiling maths, it takes hold of you and it doesn’t end. :wink:

And @tsmaster is now in the running for rookie of the year! Nice work.

4 Likes

Great write-up and fantastic first projects. Thanks so much for sharing all of this.

1 Like

Off to a great start!

1 Like

You sure got straight to work! Great job - the computer enclosure is especially intriguing. Can’t wait to see what you do with it.

Thanks, Dan - I put a single board computer in the enclosure today, and it powers up, but there’s surprisingly little space inside if you put in a power strip and a couple of wall wart transformers.

The next big part of that project is to build an enclosure to hold my flat panel display - I’ve got a design in mind that I’m interested to experiment with, but it’s not going to look very much like the classic Monitor ][ that belongs on top of the computer. We’ll see.

I am curious, the keychain is obviously for D&D, but what is it used for?

image

Not Dungeons and Dragons, but Steve Jackson Games’ Car Wars. It’s a turning key, where the various angles on the key indicate a variety of different difficulty turns and other maneuvers.

More modern games (Star Wars: X Wing, Gaslands) use individual templates for each different move, which feels like it’s a lot more stuff to mess around with at the table.

There’s a new Car Wars edition working its way through Kickstarter fulfillment right now, I haven’t read the rules yet, but I think my turning-key-keychain will show off to old school Car Wars fans how I roll. :slight_smile:

1 Like