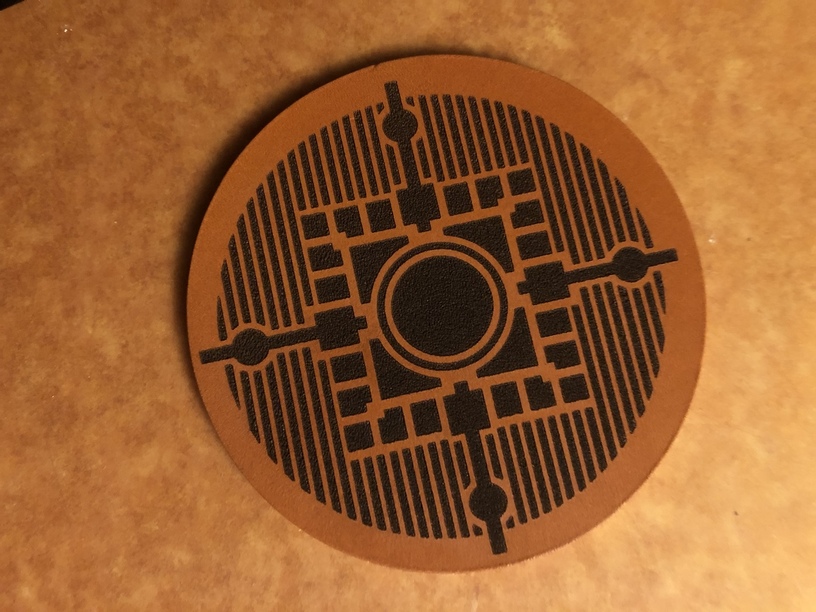
3.75” diameter, veg tanned. I set it up in the hole from the wood coaster I made, but as we know the image in the GFUI isn’t exactly where it will cut. Not bad though. I’m going to have to come up with a Design that runs past the edges so centering doesn’t matter.
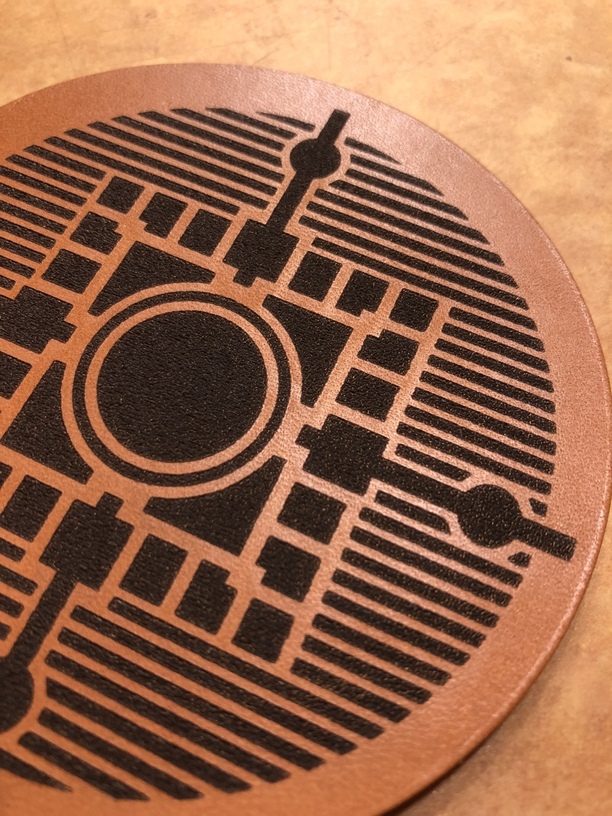
Really cool design! The engraving is so crisp and clean.
Forgive me if you already know this trick, but you can line up the image with just a few more steps. Lets say you already have a round piece of material cut out and now you want to engrave an image on top. Add a circle the same size of your material around the engraving image in your graphics program. Bring that circle into the GUI along with the engraving image and make sure the two images line up the way you want. Place a piece of paper or other scrap material in the GF and ignore the engraving step for now. Set the circle to score with the fastest speed of 500 and power of 1. This will lightly mark where your material should go. Now you can place your material on top of the marked paper circle and run the engraving and it should all line up. (Don’t forget to ignore the score step you just ran. Oh, don’t forget to hold down the paper when scoring it too so it doesn’t blow away )
Thank you. That crossed my mind after the 3D engrave I did next where I had to change the size of the border after the engrave. I wasn’t thinking of paper, but now I am.

 )
)