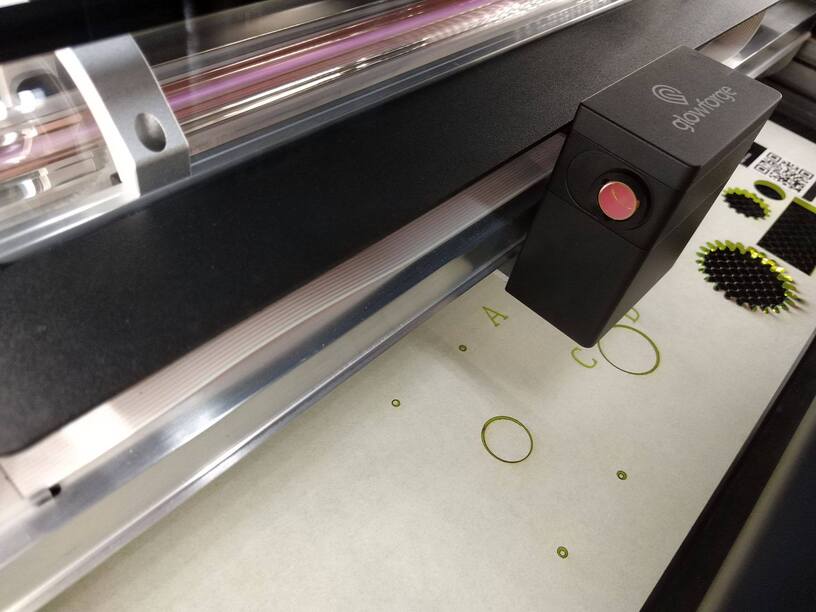
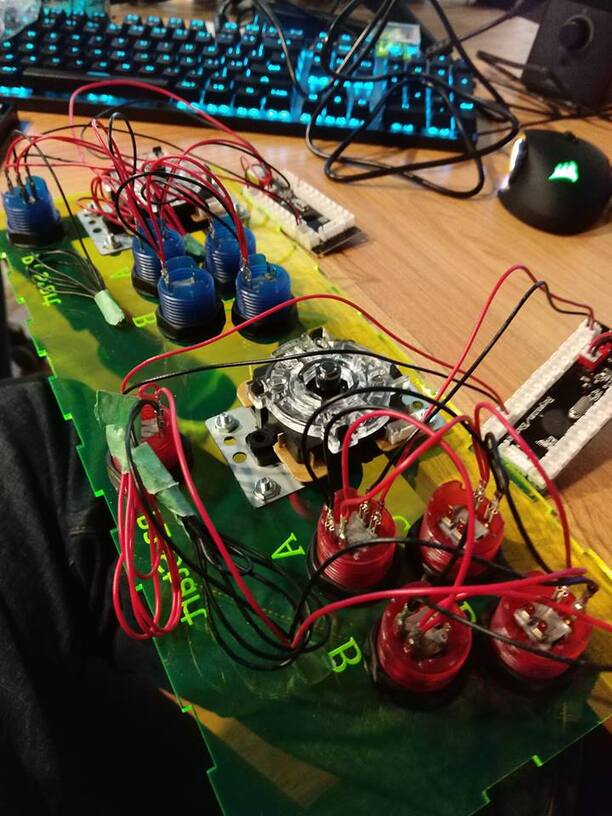
Hello again, I setup a Raspberry PI to run RetroPI for some classic gaming! I wanted to get that arcade feel… decided to built a whole cabinet but first: A stop at basic assembly of the controls! This works with Mac , PC & Raspberry PI
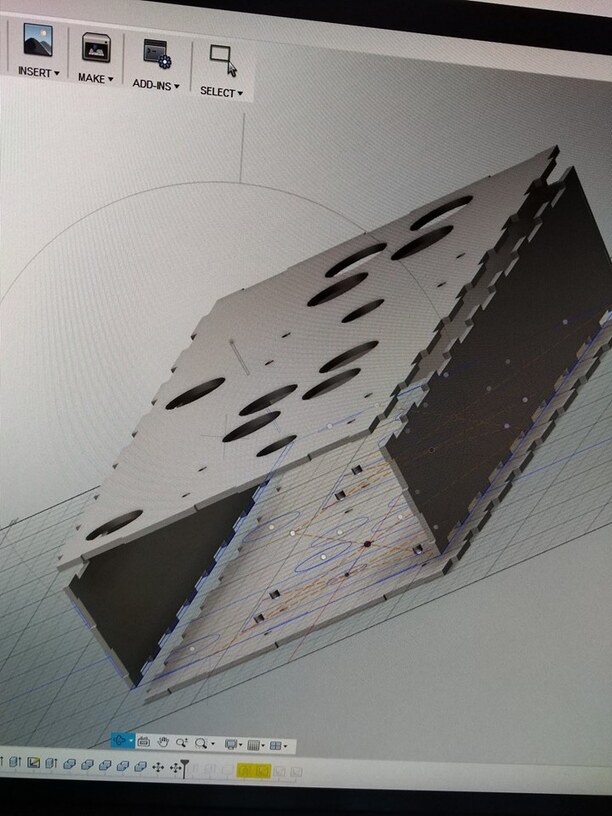
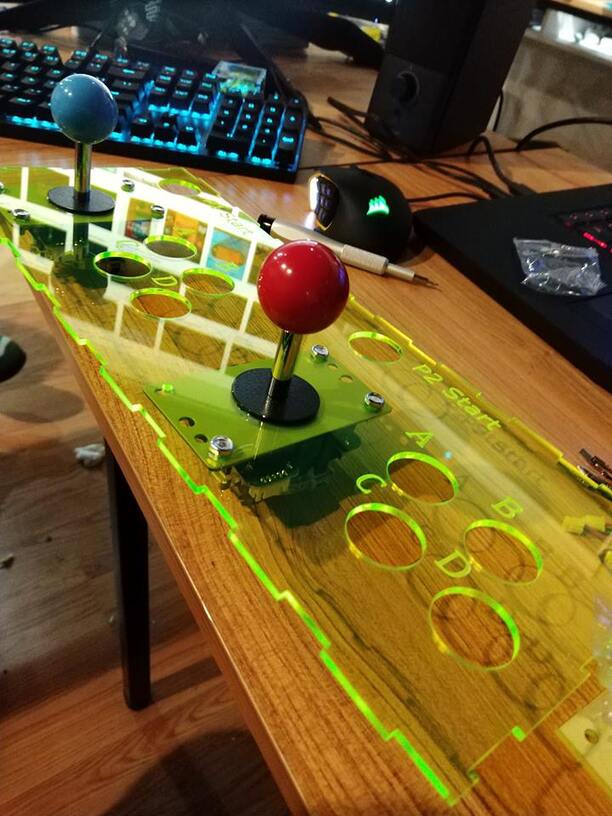
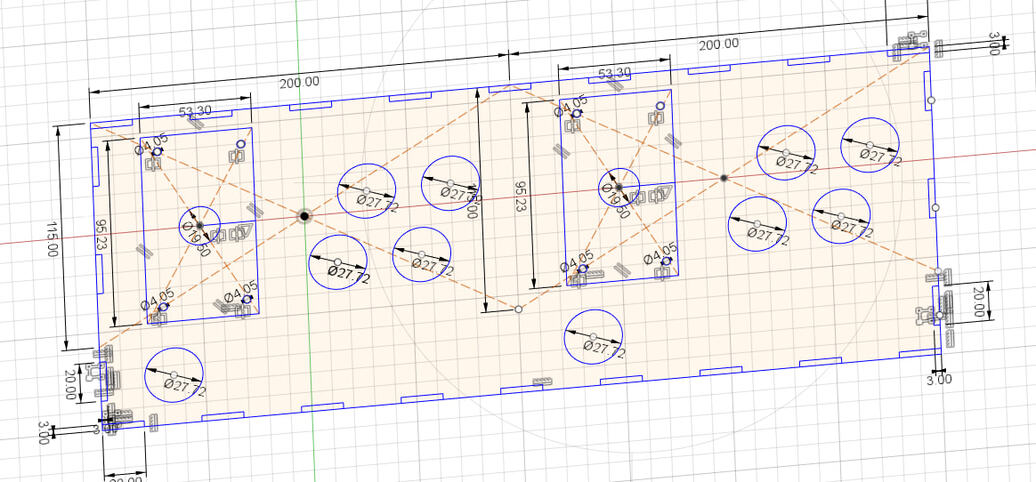
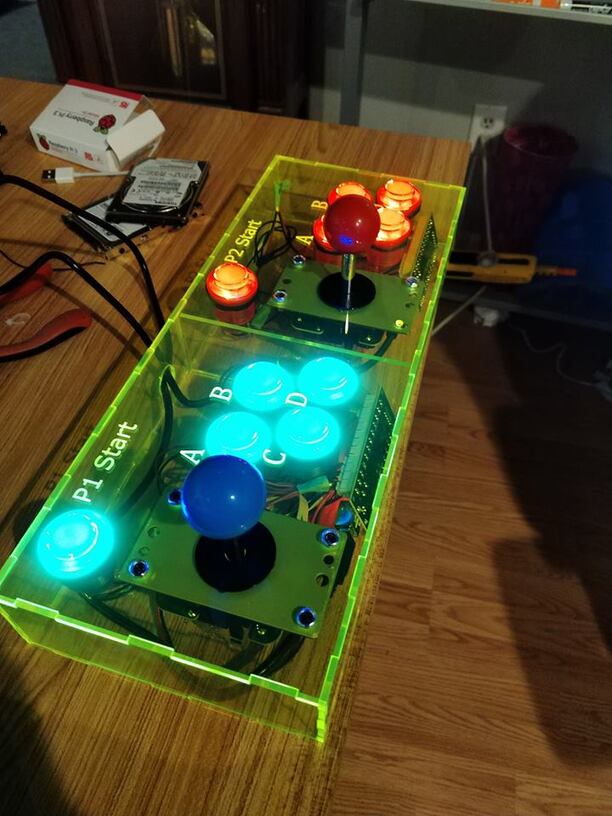
It’s a first draft so things like the corners could be better and so forth but it works great! We played with it for 3 hours… I spent about 2 hours designing and assembling it. Looking forward to moving forward into a full cabinet. What do you guys think? (I know the button layout could be better etc I modeled it for NeoGeo games)
The PI is on the wifi so I can send it more games on the fly
Looks fantastic - is that a 8 way joy stick?
What are you using to manage the controls - sorry is don’t know how piiarcade works. Is the an interface board between the controls and the pi?
Nice job! I’ll be building a cabinet sometime myself. Hadn’t considered lit buttons. Pretty cool! Only missing items are:
P1 Trackball
P1 Spinner
P3 Controls
P4 Controls
I’ve really debated about my control design… I’m going to do 4-6 buttons for P1 and P2. But I keep wondering if I’ll want it opposite of your buttons… In other words, have C and D above A and B. My thinking is A and B will be most-used, of course, so make them as accessible as possible. But I really don’t know! I’d say your way is probably a more standard layout. Ugh… Design… No “right” answer sometimes.
Keep up the great work! You’ve really pulled this together!
This is pretty cool. I never got my RetroPi fully functioning and I kind of lost patience. But my BIL built an awesome cabinet for his, so I may have to tackle it again. …
With the controls - I followed his layout exactly but now I’m in the process of developing a different controls layout based on games / playability over the past year. Obviously this was setup with many games in mind - there are a few that would use upward of 8 buttons, but a VERY few. Some use 6 buttons (my kids LOVE the fighting games, so this is a must) but most use 1 to 2 buttons. Adding things like a twist joystick (TRON uses this), a spinner (Tempest / Arkanoid) and possibly a trackball (many games) makes sense, but you’re obviously limited by space unless you build a huge control panel with all options.
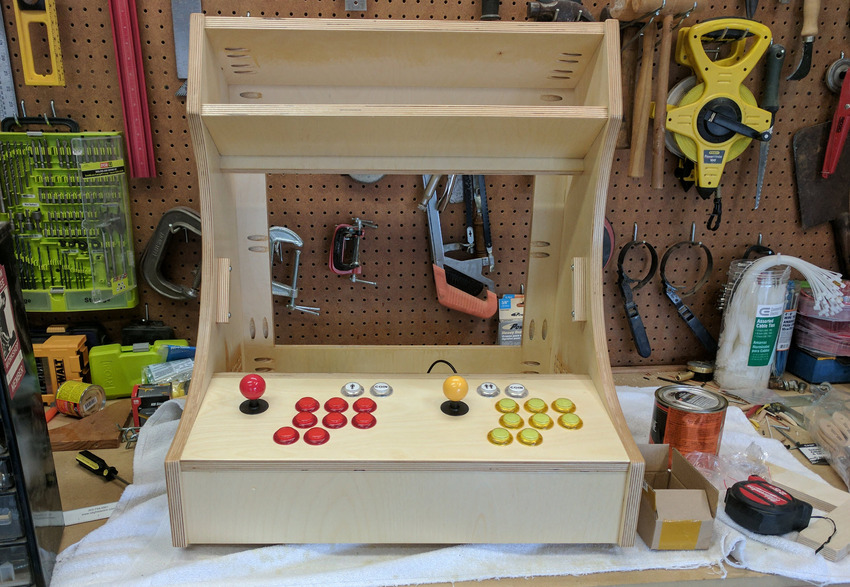
Right now, I’m focused on rebuilding the panel with 6 buttons, a spinner and switchable 4 / 8 way joysticks (mine are 8 way right now and aren’t switchable) because a LOT of games really need a 4 way joystick or they’re unplayable, or unplayable if you want to actually do well at the game (Donkey Kong, PacMan come to mind).
One thing to note - many games require button mashing. One that comes to mind is Track and Field - my son LOVES that game. I built my panel out of 3/4 baltic birch ply because of this - I wanted it to be able to take the abuse. When I re-build this new panel, I want to ensure it’ll hold up, so I’ll probably build it out of 3 layers of 1/4 something. I do like how you reinforced the middle, just remember the button mashing problem!
Yeah, I think part of the problem was that we had a controller and it’s just hard to map all the games to it. Thanks for the offer… I’m not there now, but may reach out if we pick it back up!
That fluorescent green is awesome! Gonna go ahead and add this to my ever growing book of projects and things to learn later! Thanks making it looks easy
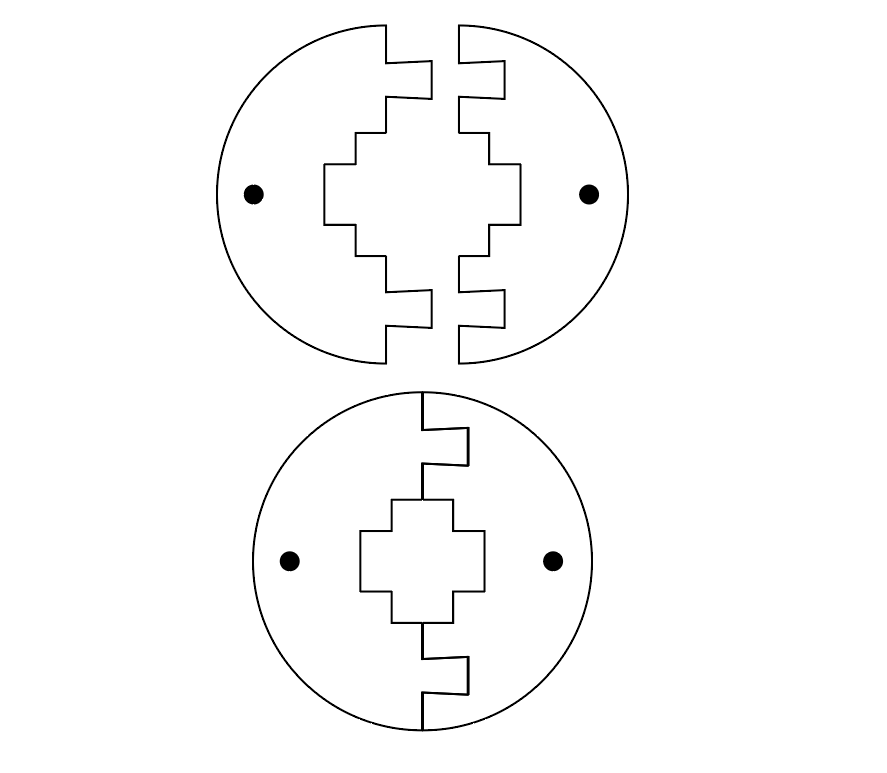
Why not use something like this so that they can only move in those directions? The black circle as supposed to represent pegs that could slide into the cabinet.
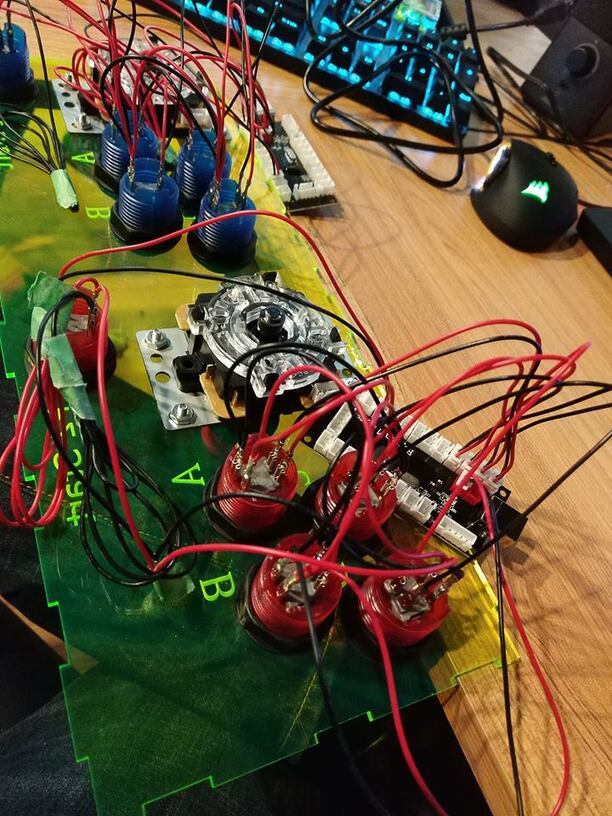
@rmarvell To answer your question, A retropie usually has a control and interface board. The board uses screw terminals or direct solder points to connect to all buttons and joystick positions. A chip in the board converts the analog inputs to a USB output that runs into the pi. all you have to do is point retropie at that USB port and push each of your buttons.
All you need to do is add a simple toggle switch to switch the inputs. The switch can be hidden for aesthetic reasons since it would not need to be used that often. Of course you can make it as complex as you like and do it electronics too.
Yes - true! Make sure you get the controller board with your Pi. And it’s a little more than pushing a button - each game has some different settings. All in all it took about 8 hours of fiddling with each game settings / buttons / etc. Kind of annoying (I paid my kids to do it!) but well worth it.
Hmmm…I don’t think mine would work with that, but it’s an easy idea to try out. The reason I don’t think it would work is my joysticks are a little short (no jokes!) but perhaps if I cut think enough material it would work.
The switchable ones aren’t that expensive and my oldest son has already talked about using the old ones for a cabinet for himself, so that might be the easiest.
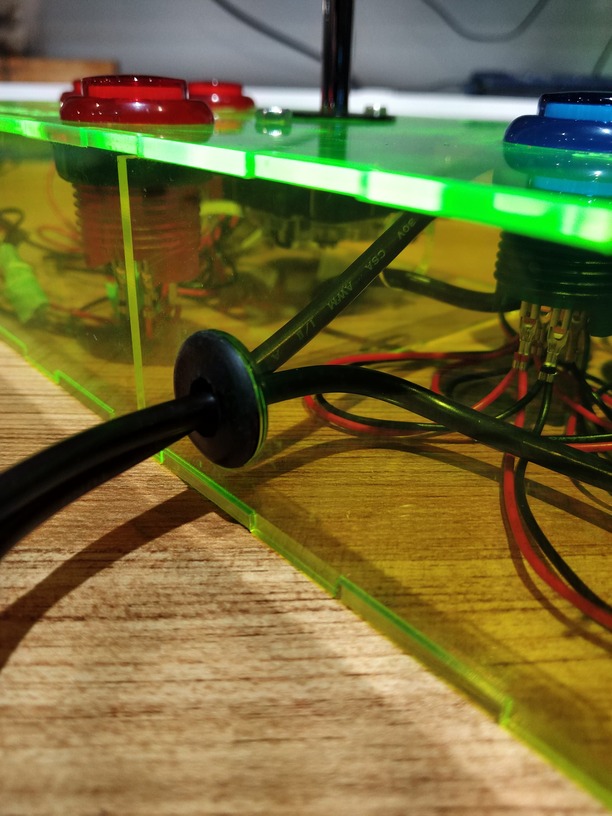
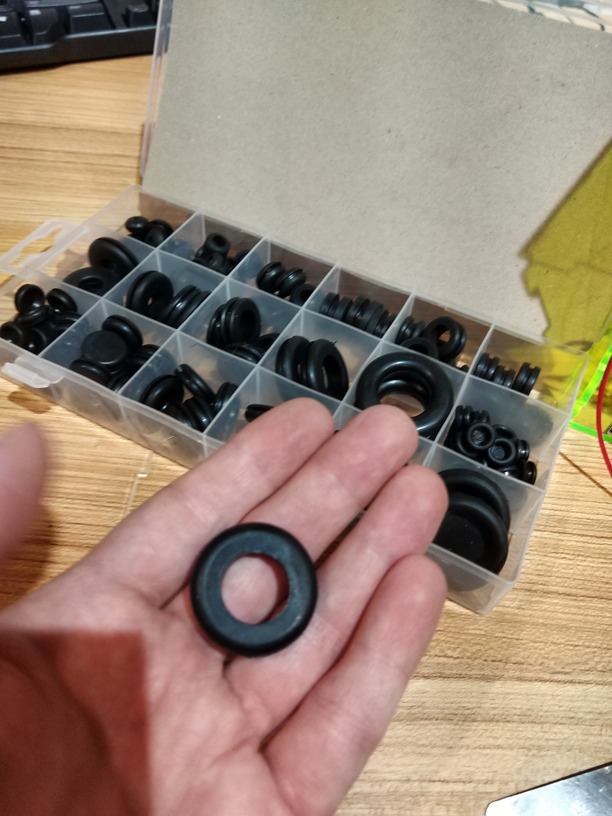
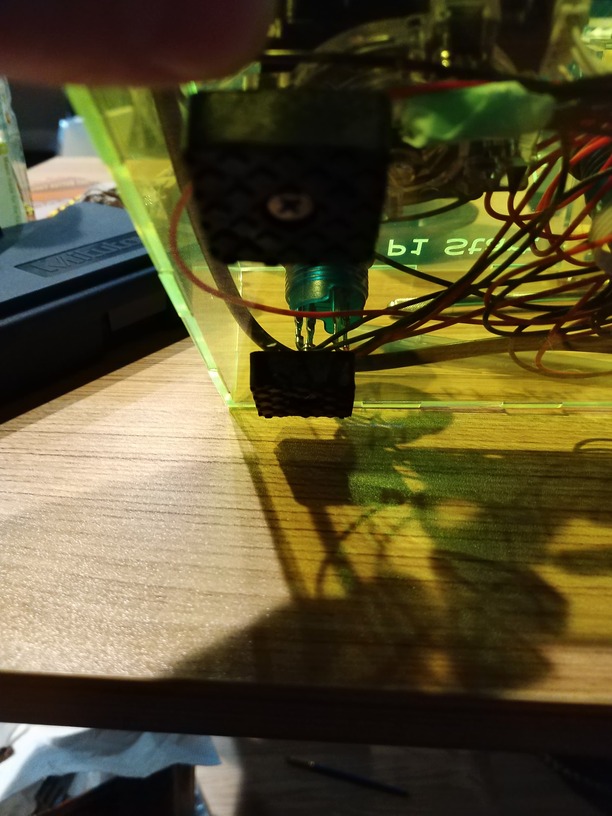
It was bugging me that the circle cut out for the cables was not covered to prevent angular little friction slices to the cable over time so I added a rubber grommet . It’s really the little things