One of the things I was looking forward to trying on my Glowforge was photo engraving. I wasn’t sure how to go about it but read a lot of posts on here giving tips and whatnots. Great big kudos to everyone who posted those tips and tricks!
Well, this past weekend a friend came over and asked me to engrave a photo of his grandfather. He wanted to give it as a wedding gift to his sister (she was the baby in the photo). So here we go…a project in photo engraving! ![]()
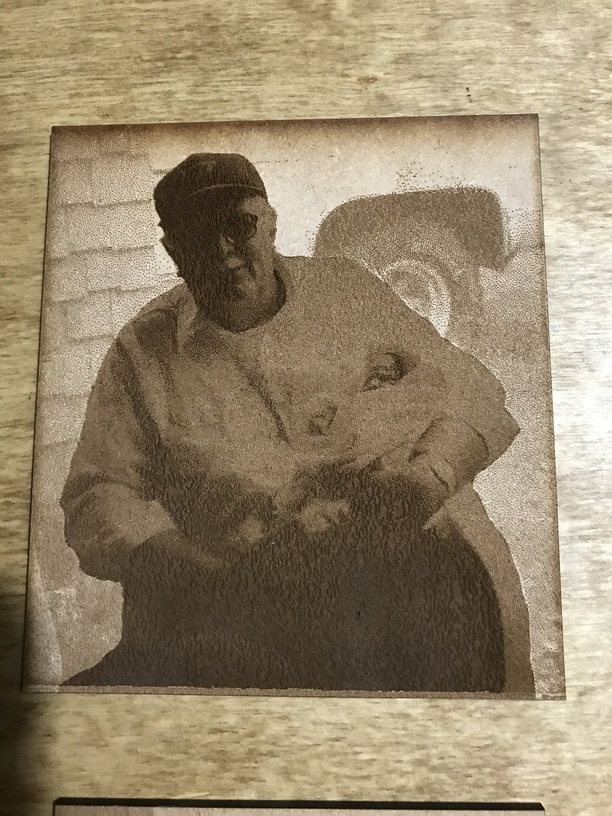
My first attempt. I selected the area around the grandfather and lighted it up a lot, then darkened him up with the brightness/contrast tool. Yeah…not so great. He was way to dark and the background way too light. It just look terrible that way. Made him look rather ghostie and not what we were looking for. This was draftboard with the convert to dots setting. Took about 15 minutes.
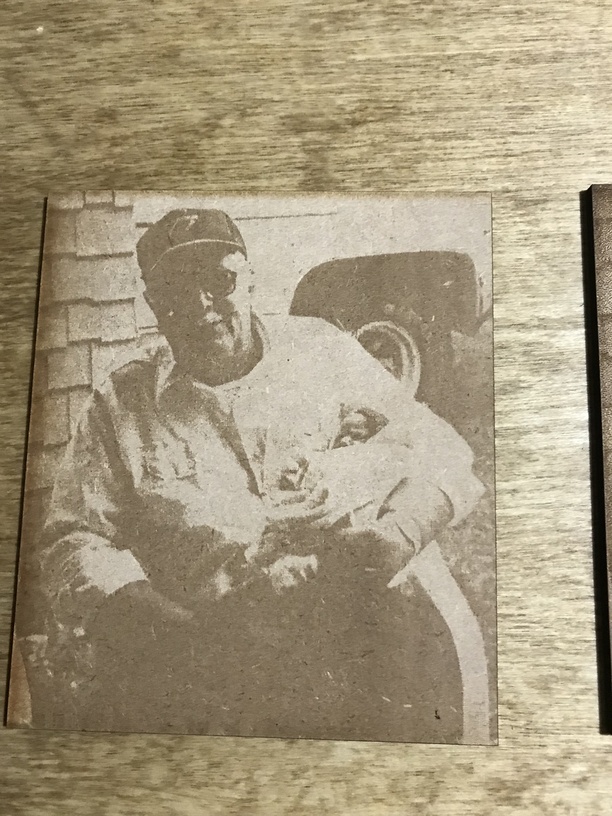
Second attempt. I used the brightness/contrast tool for the whole picture together instead of trying to wash out the background. It was better than the first try but still way too washed out. Lost too much of the details. This was draftboard with HD photo setting. Took about an hour.
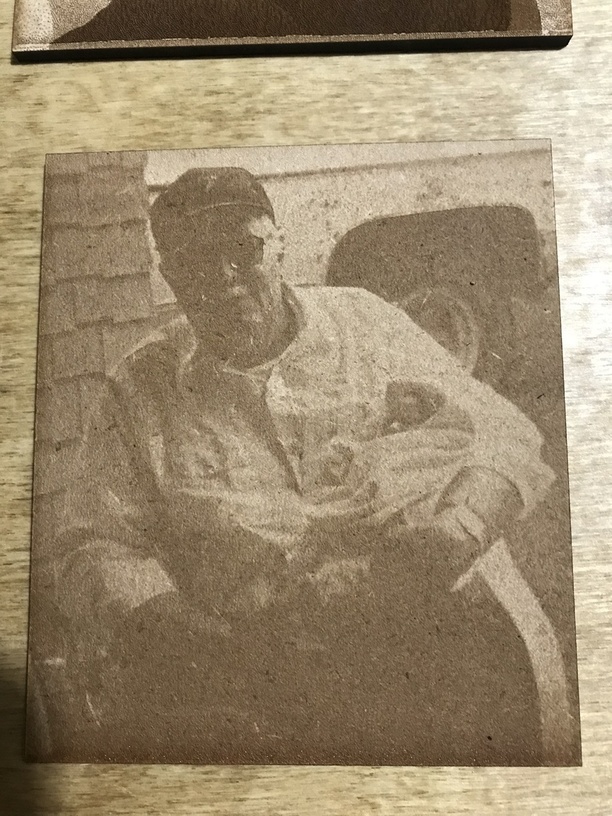
Third attempt. On this one, I used the sharpen tool on the photo. It made all the details just pop right up rather nicely. This was draftboard with convert to pattern. Can’t remember how long this one took. I think it was around 45 minutes.
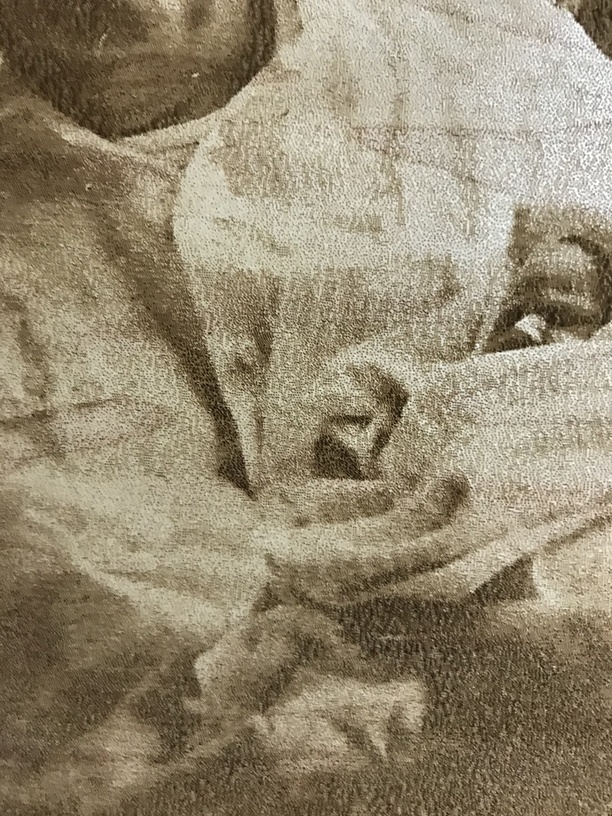
Well, we liked the look of the third one and the convert to dots from the first one so decide to make the final, larger image with that. This was on Medium Maple Plywood. Larger than the first three and took about 45 minutes to an hour to engrave. But wow! I think it turned out great!
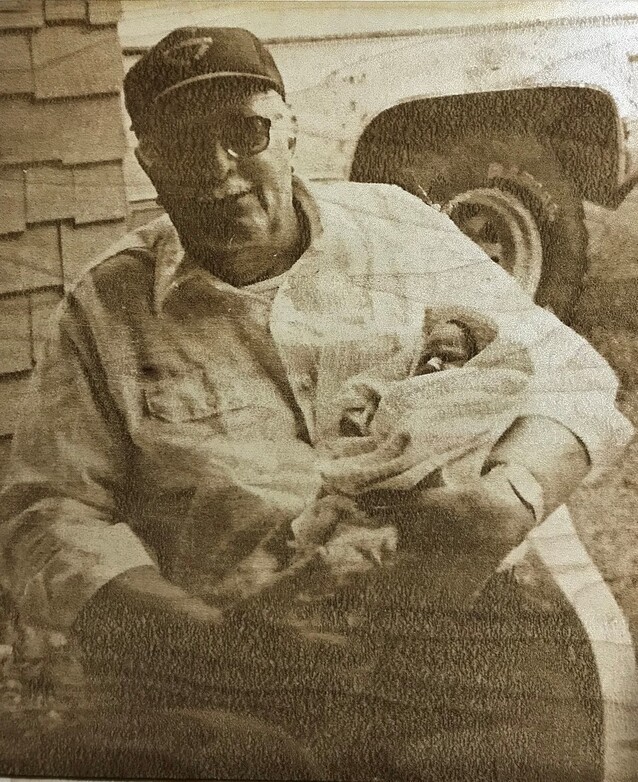
The details in his shirt and the baby’s face and blanket are just amazing!
I still have a lot to learn but this was a good start, I think. ![]()


