I’ve had the glowforge for a bit now, got it on one of the first-wave deliveries I think. I haven’t had a ton of time to noodle with it, since I’ve actually spent most of my free time working to get rid of a lot of clutter (we moved from a house to a 1 bedroom apartment, ha!).
So, while I’ve been between jobs, I’ve been taking some time to work on a few glowforge projects.
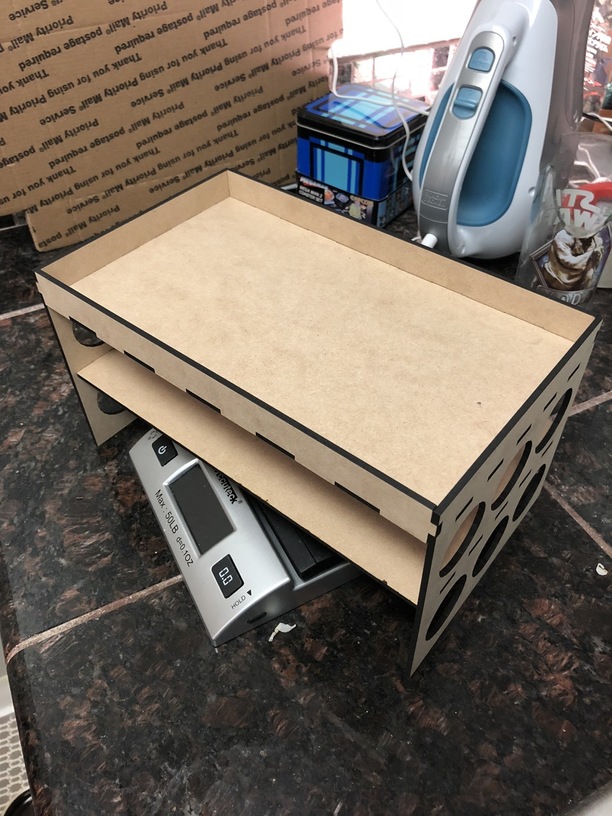
I made a few things for my wife’s office, like some Christmas ornaments (not shown), as a gift for a friend of ours there we etched a Qi charger, too. Oh, and I designed a caddy for my bathroom. That’s been really, really useful to save on counter space.
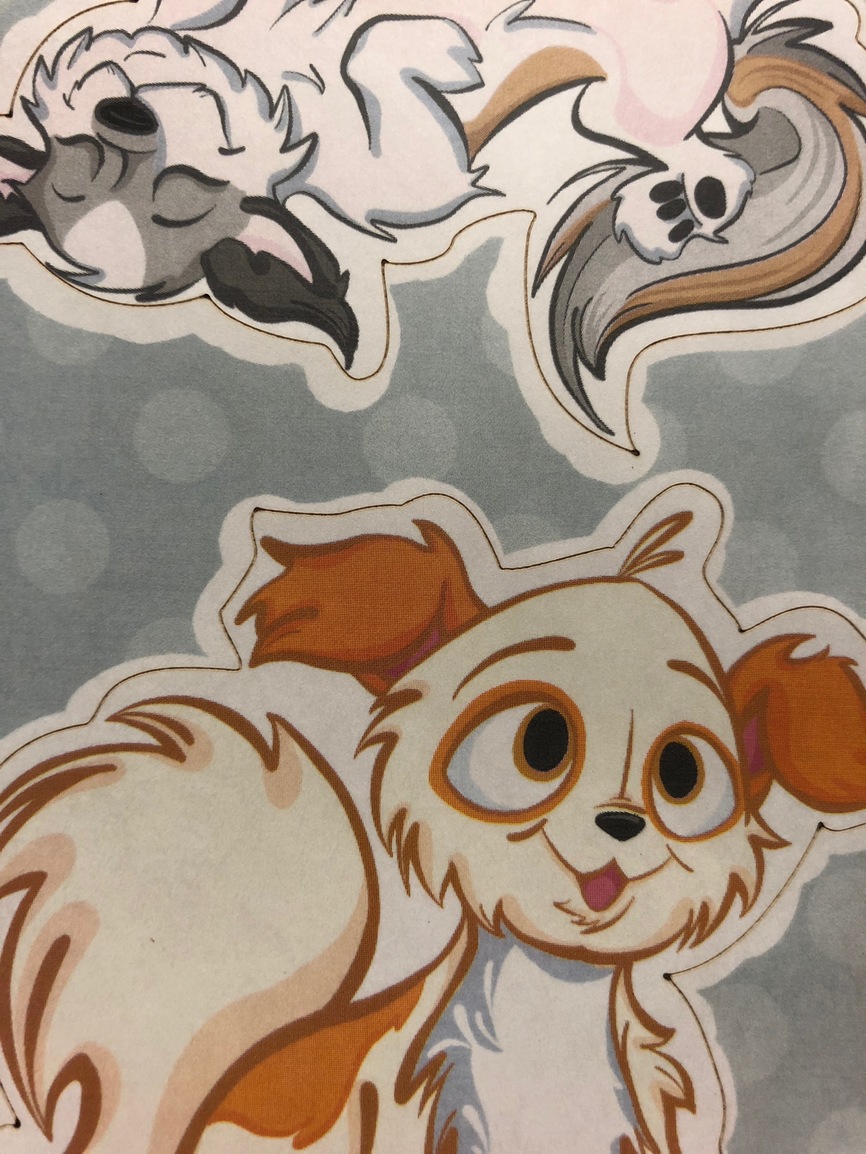
Most recently, I wanted to see if I could make stickers, so I took a mixed medium approach of printing out some sticker sheets, then dialing in the laser to only cut through the first layer, so you can peel them off the backing.
Getting the alignment right was a bit of a pain. I ended up taking a piece of draft board and cutting out a window. So now I just align the print to the frame and it seems to work pretty well!
My next project after getting a few sticker sheets done is going to be designing a few typography experiments, shadow boxes, and other decorative things. I’m just having fun with it.
Your milage may vary based on what the paper is made of and the weight — My settings were 250mm/s at 10% power. I made sure to set the thickness to 0.055". It seems to work pretty well, though the laser lingers on corners causing slight extra burns. I’m using Milcoast brand sticker paper. Works great in my color laser printer.
Fun thing: I designed the caddy in 3D, and then laid it all out flat. I’d never exported geometry as vector before, so I’d totally messed it up the at first. Each edge was a discrete cut, done twice because it was multiple copies of a line on top of each other. You don’t see the more scorched sides because of how I put it together, haha.
I need to learn to work with curves in 3D if I’m to continue designing objects that way.
Oh, another thing I goofed on when making the caddy — Because I exported it as a UV set, it got imported into my vector program at a weird scale, too. That meant I had to literally eyeball the scale in order to make the slots work. It’s actually slightly loose, but it holds together pretty well. For a hack job, it serves its purpose!
Dude, you should consider sharing even if they don’t work out. I’m seriously learning so much from everthing here, even when people hit walls and problems is helping.
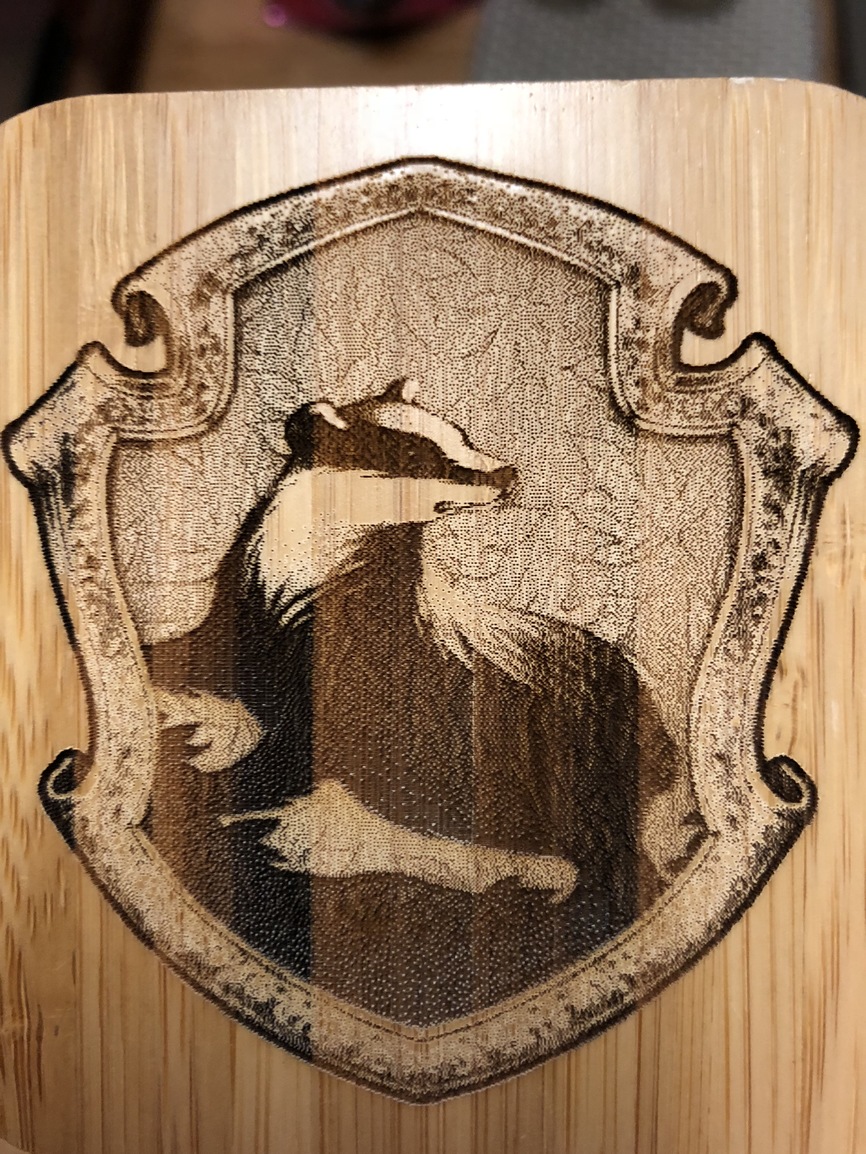
 love it! And too marks for that darn majestic badger!


