THINGS LEARNED… Printed on a proofgrade wood material… Graphic design program of choice is CorelDRAW x8, so export format not an issue… Exported to .png which imported the imagery fine in print placement mode for “engrave” portion, but needed to go backward to the “home” design picker mode in order to import the cutting boundary, which I used .pdf for
I WONDER IF’s… In placing the engrave image and cut line perimeter, I just pushed and pulled the corner and arrow located until both, 1. fit on the proofgrade material and 2.the cut edge was the same size and located exactly at the perimeter boundary of the engrave image… I wonder if there is a way to scale to exact parameters, (i.e. 53.69%) in order to import the exacting accuracy that comes from the design software… must be a way, but I didn’t take time, other than a few intuitive interface looks (and fails)
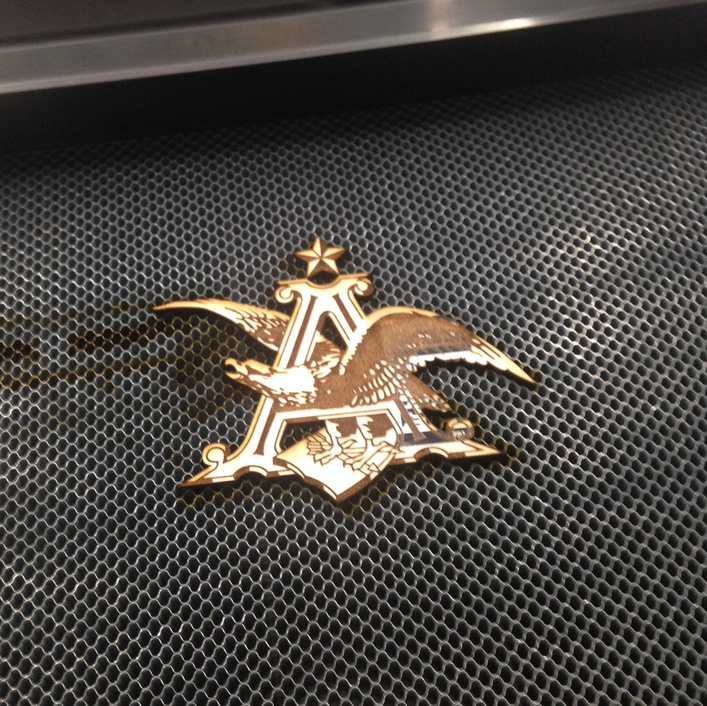
Turned out very nice, even the cut edge relative to the linework of the engrave image… Haven’t even tried to take off the masking tape yet.
Cheers to all of those still waiting… Twas’ this forum and the generosity of those here that pulled me thru the same feeling of waiting… Only had the printer for 24hrs and three or four prints and I can say “hang in there, it’s BEYOND worth the wait”!
I think perhaps you needed to import the vector outline first and then add the png to combine them into one project. I am not sure if that would solve the alignment issue. You might need to embed the png in the vector file to get automatic alignment.
The people here are the best. I’m so happy your first print worked out well.
I’d recommend combining the cutline and the bitmap in Corel Draw and then exporting them both as an SVG - that will give you the precision you’re after. But I’m not very familiar with Corel so I can’t provide any detail, I’m afraid.
You could have done all that in Corel X8 and then saved as an SVG to load to the GFUI. In the UI you could spec the separate operations (engrave & cut). Save you some steps.
Later as you do text, etc you’ll find it’s cool that Corel will do an automatic text to path conversion for you so you don’t have to remember but you still get to keep the ability to modify the text in the original using the text tool. There are a ton of good Corel training videos on Corel’s website, on the software DVD and on YouTube. Corel Rocks!
An St. Louis institution (well, Brazilian, or is it Dutch at the moment? Hard to keep up.) Congrats. St. Louis is my birthplace and A-B is one of the things we are proudest of. Great start.
As the above comments said: place your bitmap image into a document and them make an outline path to fit it. Don’t fill the shape/ They will import into the GFUI as two operations, one cut and one engrave.
What would be great is getting the A-B logo in a total vector format. That gives you lots of options then for resizing and different shades for engraving the fills. There are a few online if you want to search for them.
Spent lots of time at my grandma’s sister’s place down by the brewery before they bought up and tore down houses for their expansion. My favorite was the soft pretzels from Gus’s!
Yep… that’s where I got it… the key seems to be the export to .svg… which works much better
I WONDER IFs…
I’m still not clear on how or if you can import to the printing screen and scale to an exact percentage (if you want to make seven medallions all of the same exact size)… is there a settings place on the printing screen i’m not seeing?
…additionally, can a single imported design be copied around many times to be printed on one sheet of material in one go?.. this MUST be a feature for batch running say twenty badges on one piece of proof grade without all the manpower of re positioning after every individual print… but my intuitive “cut and paste” attempts and search of the forum didn’t find a procedure
Thanks to everyone for the kind words and for helping the new guy figure out the process… we are enjoying this printer beyond words!
Not currently. Best practice regardless of design software is to set up a 12" x 20" dartboard and do all import, arrangement, duplication, scaling, etc. in it. Using colors and layers will give you the best export file(s) for use in the UI. Check out the numerous tutorials in the Tips & Tricks category - they are excellent!
One thing you can do (it’s not exact) is use the rulers in the UI to scale the first badge the size you want it (would be better to have it the exact size you want in design software first), then copy and paste it using standard keyboard commands. Drag it where you want. Paste again, etc. When you get a row of them, copy the whole row and paste, reposition, etc. Keep in mind that they will all be the same so all of the settings that apply to the first badge will apply to all the copies (you can’t change an individual copy). I hope this makes sense.
Thanks for the reply… I know the thing to do is to space out an array in the design software, but I seem to recall either a demo or a pre-release unit person tossing out five or ten pieces of material and then dropping a design element in the middle of each one, some even at different dragged sizes… maybe I dreamed it
To your cut-and-paste suggestion, in the printing interface, I can “copy” the element, but have no “paste” option either with mouse right click, keyboard paste or anywhere on the interface. Am I just missing something obvious?
In the Glowforge UI, you can select any design, do a standard command-C to copy, then command-V to paste, and you will get a copy of the original, offset a little way. Then you can select the copy and move it away (usually it overlaps the original a bit). Each of the copies can be resized to a different size, or rotated to any angle (hold down the shift key to constrain to multiples of 45 degrees).
If it’s not working this way in your browser, try logging out and logging in again, or try a different browser.