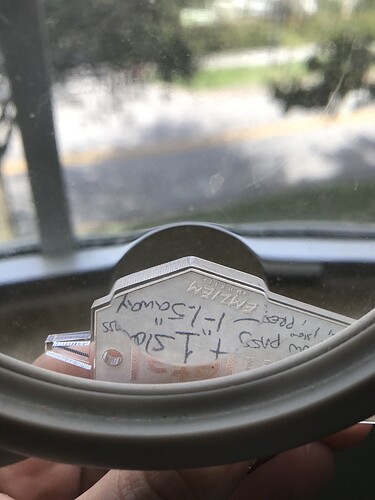
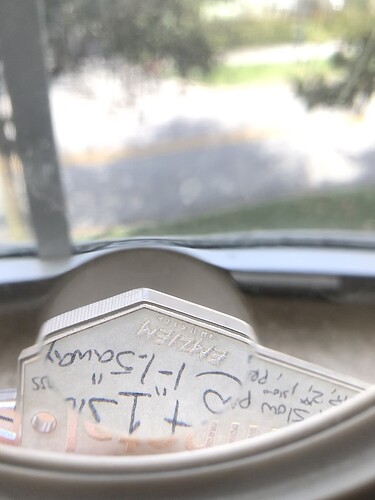
Hello everyone! This is my first contribution to the community and your feedback is greatly appreciated! ![]()
Premise
Need to give acrylic items that ‘polished’-commercial look and have a systematic process to attain similar results each time as well as minimizing production time.
It took 7 trials to get a result I was happy with.
Setup
-Used a 12x12 ceramic tile as my base & similar sized piece of glass 1/8’’ thick on top, sandwiching the acrylic.
-Used popsicle sticks between tile and glass to lift between passes and maneuver acrylic. The glass stays VERY HOT all the way to the edges, trust me lol
-MAPP Gas from Home Depot, full blast.
-This was tested on GF Proofgrade Medium Clear Acrylic
Procedure
-Line up each side/edge of acrylic parallel to glass edge, only exposing the side of the acrylic direct to the flame.
7th and Final test:
-3 passes total-
- Place acrylic right-side up, as it lay in the GF.
- Give it 1 extra slow pass from side to side @ approx 1’‘-1.5’’ away, perpendicular from the acrylic edge being polished.
On this test for ‘extra slow’, I moved the flame approx. 1.5’’ inches every 1 second. - I did not give it cool time, lifted glass, flipped acrylic and re-positioned in similar fashion.
- Give it a 2nd extra slow pass from side to side.
- Give it 3-5 seconds to avoid melting/distortion
- Without flipping, @ about 2’‘-3’’ away give it 1 slow pass in the reverse direction.
GRAB THE POPSICLES STICKS
- Place the stacked popsicle sticks on top of the glass (to protect your phalanges) and press down firmly and evenly on your acrylic piece to make sure it cools flat. About 10-20 seconds.
- Using the popsicle sticks, lift the glass and slide the acrylic out.
Using these steps I was able to:
- Remove the ridges from laser cutting
- Give the edges a nice transparent finish
- Buttery smoothness to the touch
- Edges rounded just slightly, enough to remove the DIY ‘bite’ from the cut
- Make the acrylic piece visibly nicer
- Properly flame polish one or several pieces in as little steps as possible
The first six trials covered 2 pass tries up to 20 pass tries, 3 was the winner.
Photos below: Left side = Before / Right side = After


