I’ve been working on some tile coasters with a contour drawing design, but I kept being about 80% happy with the final product. I was running them as raster engraves (400/full/225 lpi)
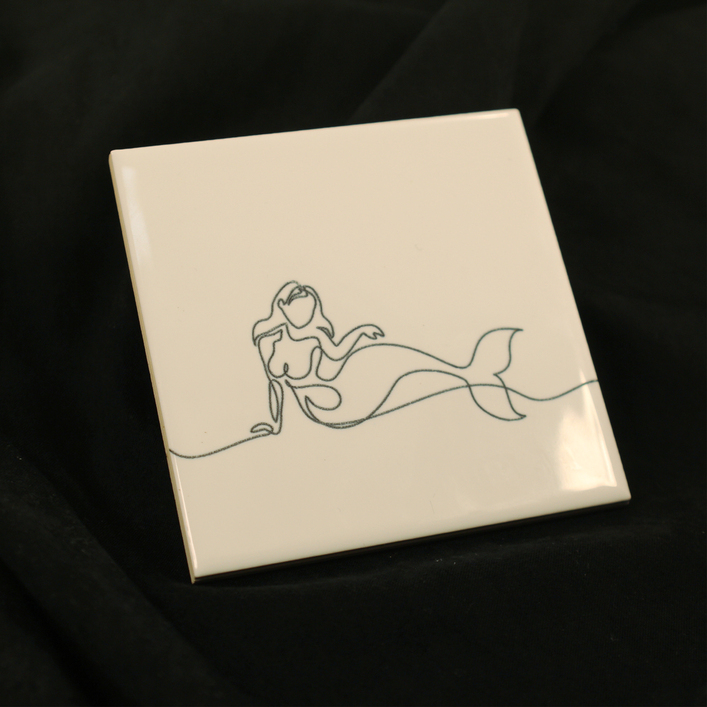
They photograph well…
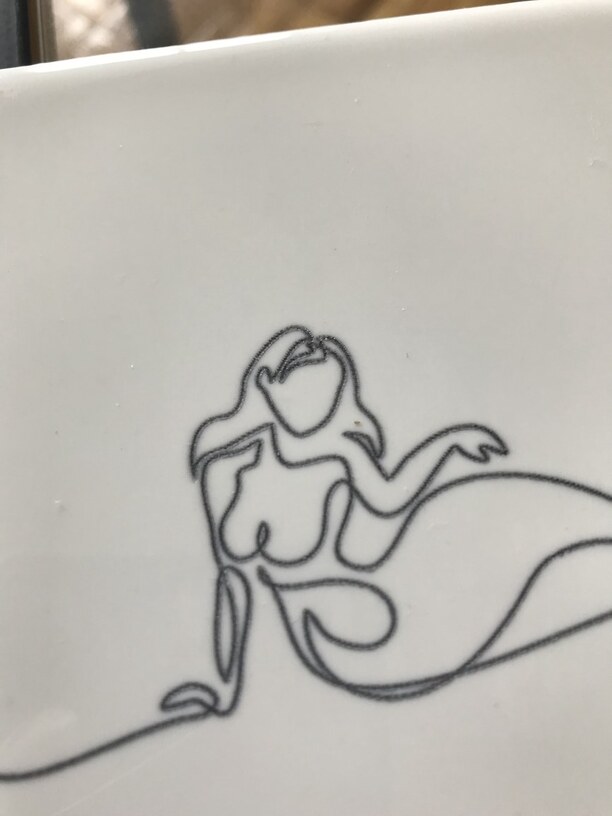
But when you look close, the flaws start to appear; when the line is almost horizontal, the resolution becomes apparent. Plus the excess cleaning process always left it gray and reduced the sharpness of the line edges.
Not to mention, at 20-30 minutes per tile for the larger designs, it was a lot more production time than I wanted to spend on something people aren’t interested in paying that much for. So I started to wonder, what if I could take advantage of the design and run this as a vector engrave?
And so…
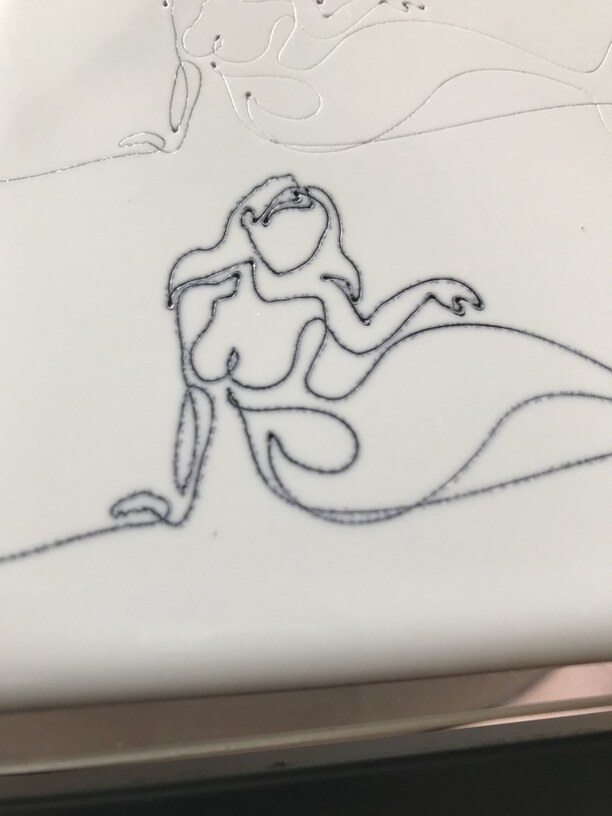
Using a vector engrave (lower image, 500/Full) solved the resolution issue, and cut WAY down on cut time, but it meant that ink absorption was irregular, so it exacerbated that issue. I tried pumping up the power hoping a deeper groove would etch more glaze and absorb ink better, but I noticed little burn marks at the turning points, and it occurred to me – just slow the laser down.
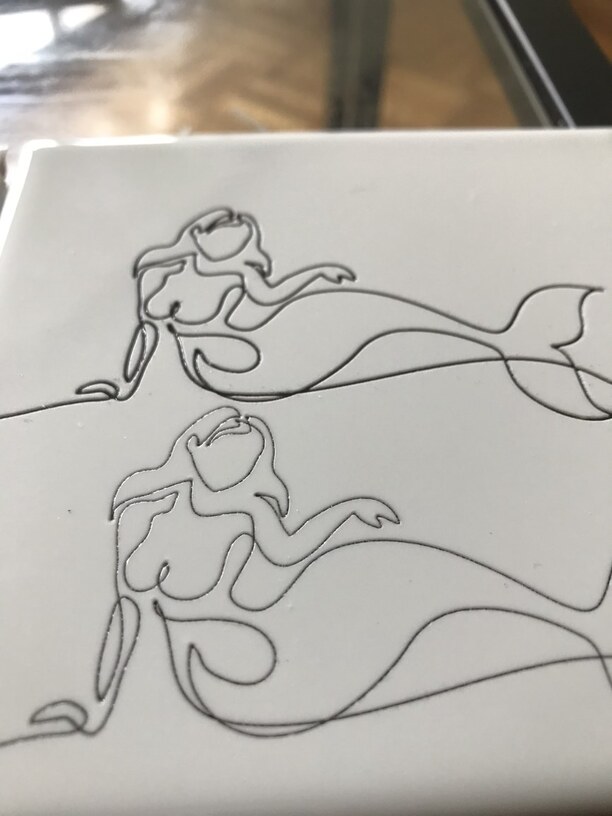
The bottom engrave is a pass at around 300/full, and I didn’t apply any sharpie – the black burn happened all on its own. I wasn’t quite happy with the width of the line anymore, so I tried one more thing – I raised the focal point of the laser to widen the effect and then did three passes at 150/full. The final effect was great – I got a sharp, clean black line and it even gave it real physical depth.
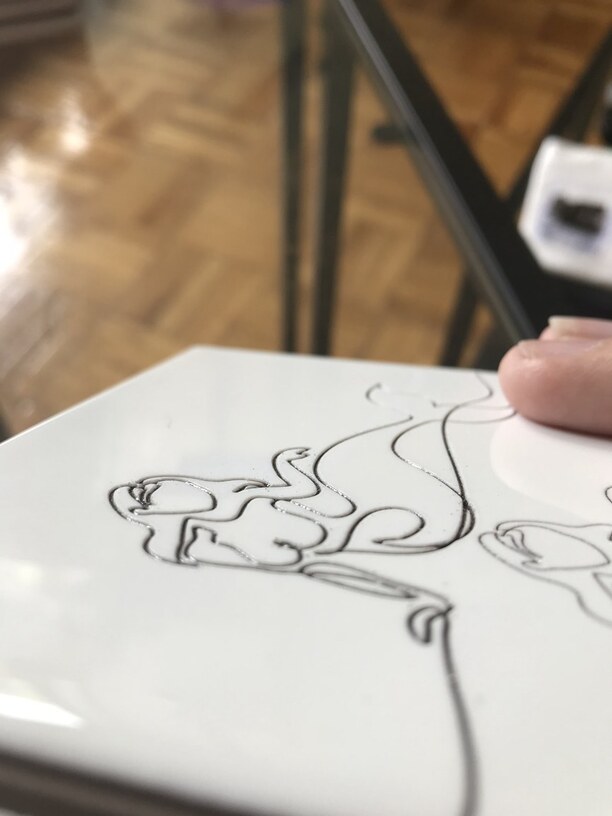
There are limitations, obviously, it’s limited to black because it’s created by burning the tile, and it does rough up the space a bit, but it still reduces the laser time to 5-7 per tile depending on design complexity. And even more importantly, it completely eliminates hand finishing time.
