I’m so sorry for the trouble, and the delayed response.
I can find some replacement y-axis belts if yours are damaged, but I agree with @PrintToLaser it may just need to have the tension adjusted.
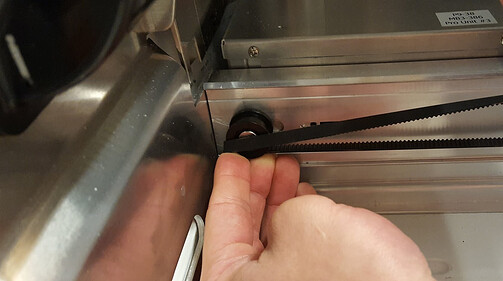
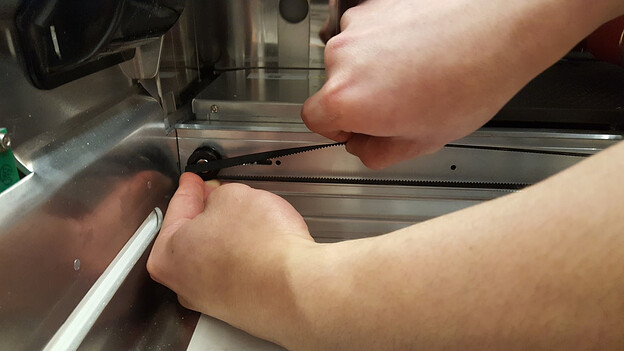
I found some instructions to fully replace the belt (copied below). I know it’s not exactly the same, but you may find them useful reference to you adjust the tension. In the second section called “Installing the new clamp and belt”, steps 5 and 6 include photos of the pulley that needs to be adjusted.
Steps:
- Remove the belt (just from the stepper, no need to remove it from the laser arm)
- Loosen the screw, adjust the pulley, tighten the screw.
- Put the belt back on
- Test
- Repeat as-needed
Can you give that a try and let us know if that works?
Or if you do need replacements, let me know, and I’ll track them down for you.
Here are the (full replacement) instructions:
Removing the old clamp and belt
Turn off your Glowforge.
Open the front door and carefully remove the crumb tray.
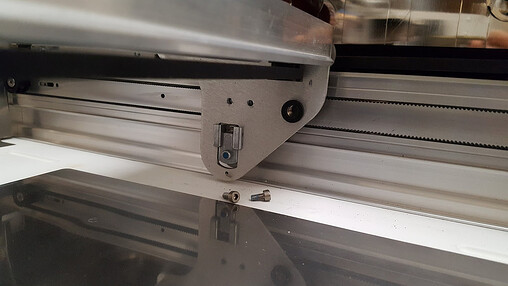
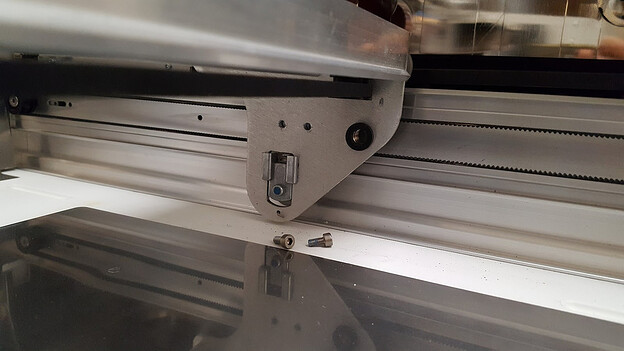
Underneath the laser arm on the right side, you will see two small screws. Using the tool we provided, remove both screws to free the belt clamp.
Using both hands, gently slide the laser arm towards the front of your Glowforge to reveal the belt clamp.
Slide the laser arm back towards the center and unhook the belt from the motor on the front side of the unit.
Installing the new clamp and belt
Grasp the belt by the clamp and pull the rest of the belt through the laser arm towards the back of the unit to remove it.
Pick up the new part so that the clamp is in the center of the belt. Make sure the holes in the clamp are facing you and the screw is at the top.
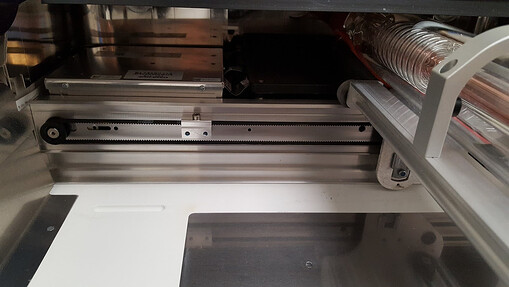
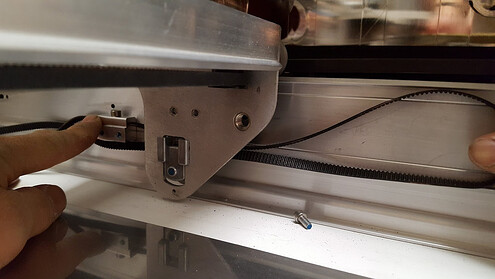
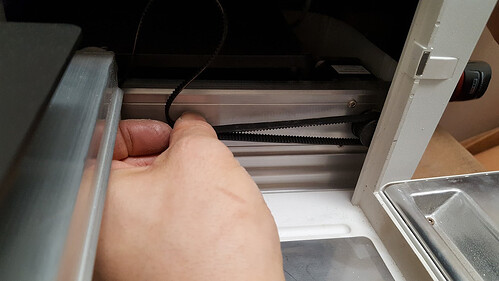
Thread the right side of the belt from the back of the laser arm to the front of the laser arm as shown in the first photo below. Make sure to insert the belt between the holes on the top and the metal part on the bottom of the laser arm as shown in the second photo below.
Loop the front side of the belt around the motor.
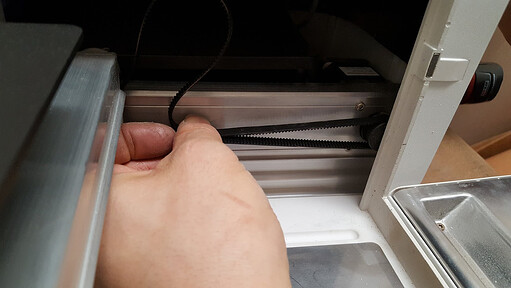
Using your left hand, grasp the far end of the belt and set it on the bottom back half of the pulley. Use your index and middle finger to hold it in place. The belt will not be fully on the motor.
Still holding the belt firmly in place with your left hand, use your right hand to gradually pull the top portion of the belt towards you. The belt should roll onto the pulley until it is secure.
Push the laser arm back so the clamp is hidden behind the plate that holds the laser arm to the rails.
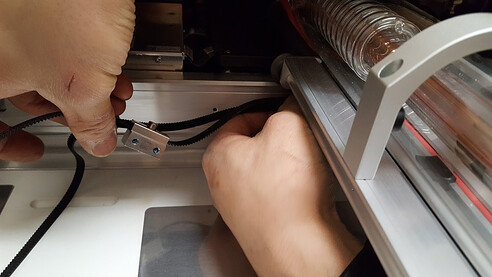
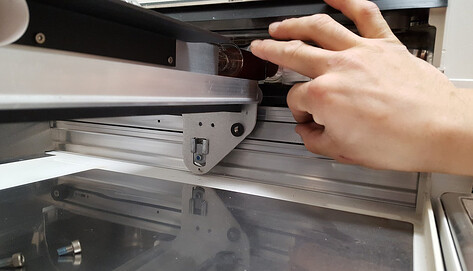
Line up the holes in the plate with the holes in the clamp. You may have to pull the belt up a little, as shown in the photo below, to get them aligned correctly. You can check to see that the clamp and plate are lined up by inserting the tool into the holes and ensuring that it goes through both parts.
Replace the screws using the tool. There you have it! Your Glowforge is good as new.
