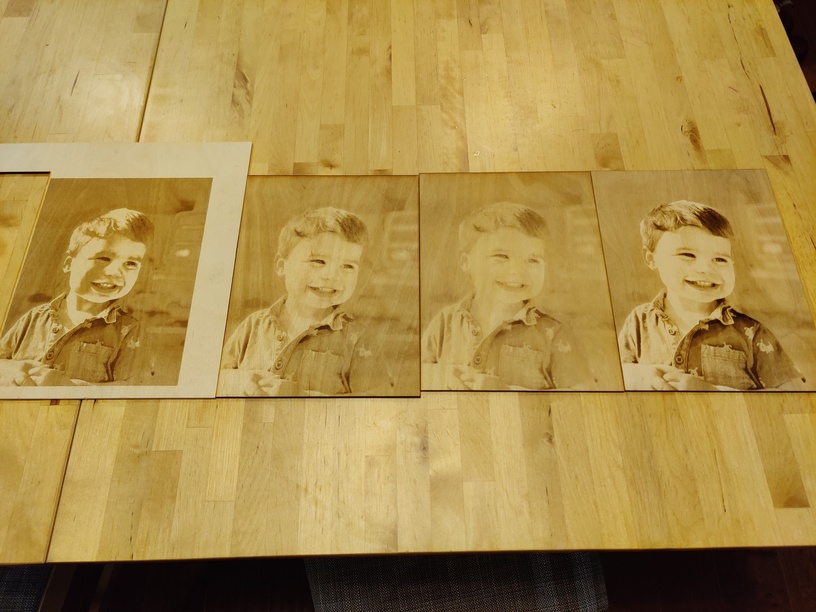
I actually engraved the one on the right twice - once with vary power and another time just the detail with dots.
I did do a bunch of test squares, too, but one in the middle I messed up by leaving them on leather settings after a leather project. ![]()
I actually engraved the one on the right twice - once with vary power and another time just the detail with dots.
I did do a bunch of test squares, too, but one in the middle I messed up by leaving them on leather settings after a leather project. ![]()
That came out beautifully, nice tip about the double pass.
Wow, that is one of the best photo engraves I have seen! Amazingly good job!
Looks great. Good job
That is a very impressive engraving. I never would have thought to use 2 different techniques. Beautiful work.
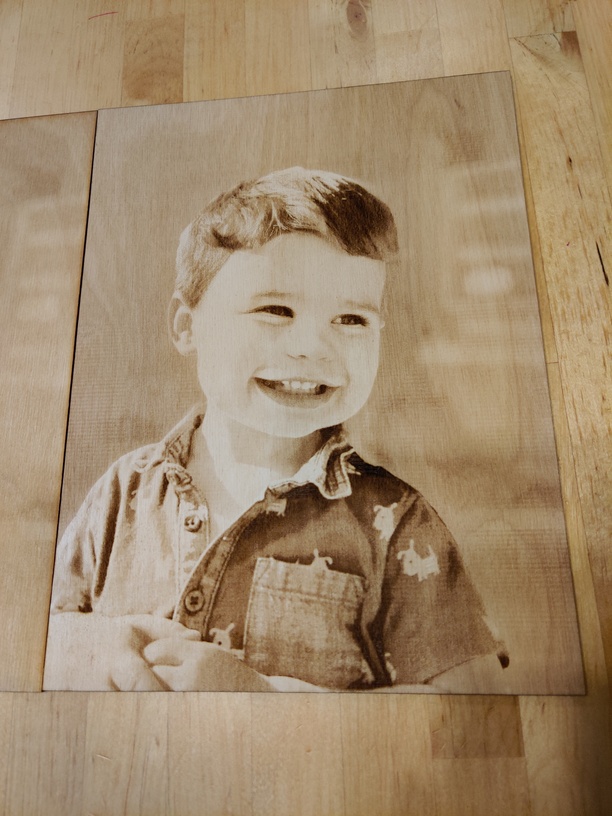
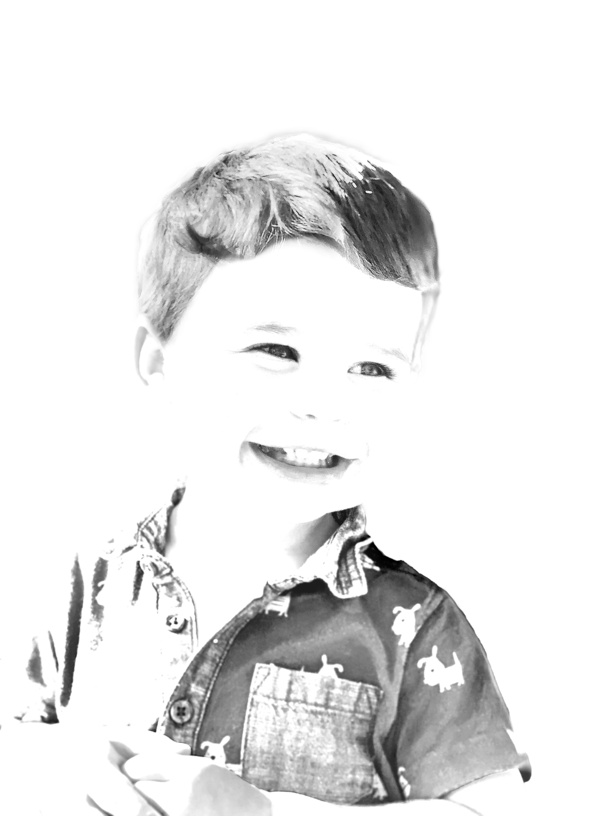
Thanks! If anyone’s interested in what I did, here’s the photo I started with:
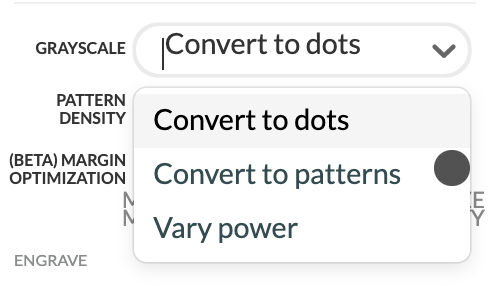
I really like the way that the vary power setting shows grayscale, but I feel like it didn’t show a lot of detail. So here’s the one I used with vary power (I lightened it up a lot, particularly the background and face).
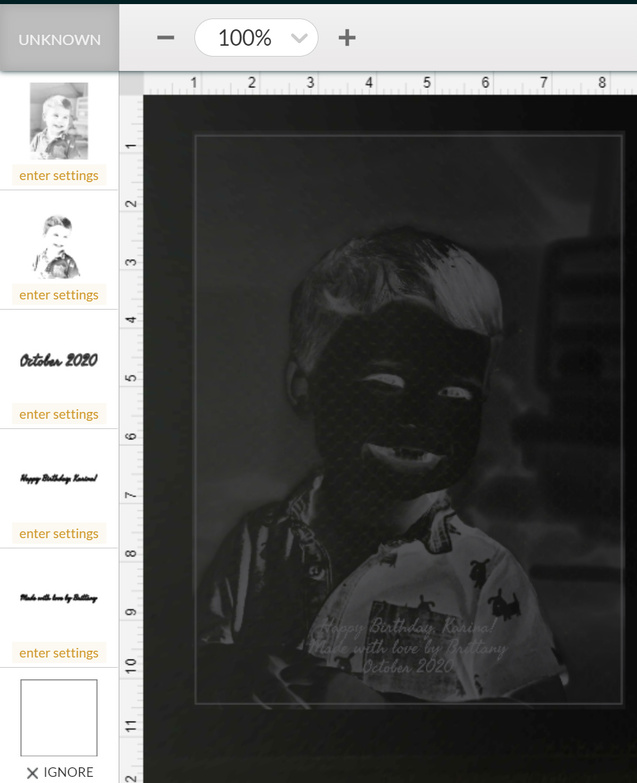
Then I set this version to engrave with the dots setting. I used Photoshop to remove the background entirely, and adjusted the levels to only include the details I wanted to darken.
Getting subtle detail with vary power is challenging, as wood does not necessarily get darker with more power, it often just engraves deeper.
You seem to have nailed it for this one, however!
Wow, most impressive!
Wow! Unbelievable! Great work!
You are not the only one.
Engraving looks GREAT!!!
What a delightful subject! Very nice work getting to the best finish!
Such a beautiful result! I’ve done the vary power/dots combo before, but you got a lot better results by isolating the dark areas to darken. I’ll have to give that a try.
Haven’t tried an engrave yet, but definitely feeling inspired now!
That’s the best photo to wood engrave I think I’ve seen. I would not have thought to double engrave it with two different methods. I’ll have to experiment with doing that. Thanks!
Wow, those look great!
Would you mind sharing your settings that you used for the engrave? the power and speed and ppi?
Also, possibly a dumb question, but how did you manage to line up the same print both times? I assume you didnt open the thing and remove it inbetween, but it is still sometimes challenging for me to line something up on top of something that has already been through a pass. you can get it visually close using the camera, but I still find that I am off sometimes, and that it decides to put the thing like half an inch off.
I think I need to be on the Beyond the Manual forum to share settings, but as far as lining up the print, I actually printed them both at the same time, or rather, one after the other in the same project. I created two images the same size in Photoshop and then added them both to the same project in the Glowforge app. I lined them up using the ruler function to be the same size and placement. I had to be a little tricky with the higher contrast “dots” version because it tried to ignore the transparent space in the png file, so I put a little white dot in each corner of the file so it would correctly interpret the right size.
you mention vary power settings, is that on the pro unit? I have the plus but don’t see that as an option. I am trying to work on a photo right now and having trouble figuring out settings. I have Inkscape, which I’m still a beginner with, and Adobe Illustrator, which I know very little about how to use.
Vary Power is on all machines. Like dots and patterns, it can only be set for bitmap images (jpg/png or embedded in svg/pdf)…
Inkscape and Illustrator are virtually identical in functionality, professional designers are split between them. So choose one and stick with it as you learn.
That’s beautiful!
Awesome job - thanks so much for sharing this method!