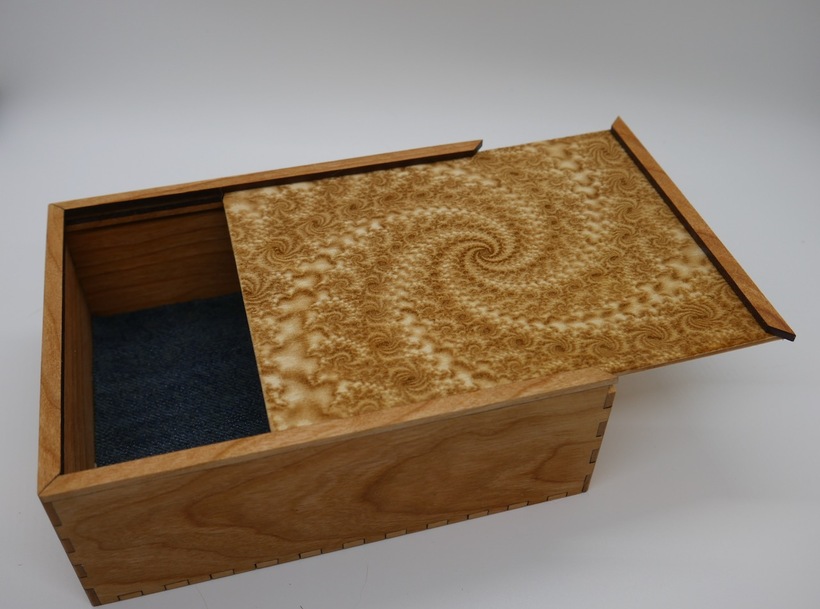
Super pleased with how this turned out. The fractal design came from an iOS program called “Frax” and I lasered it onto some birch ply. I liked it so much I built a box around it.
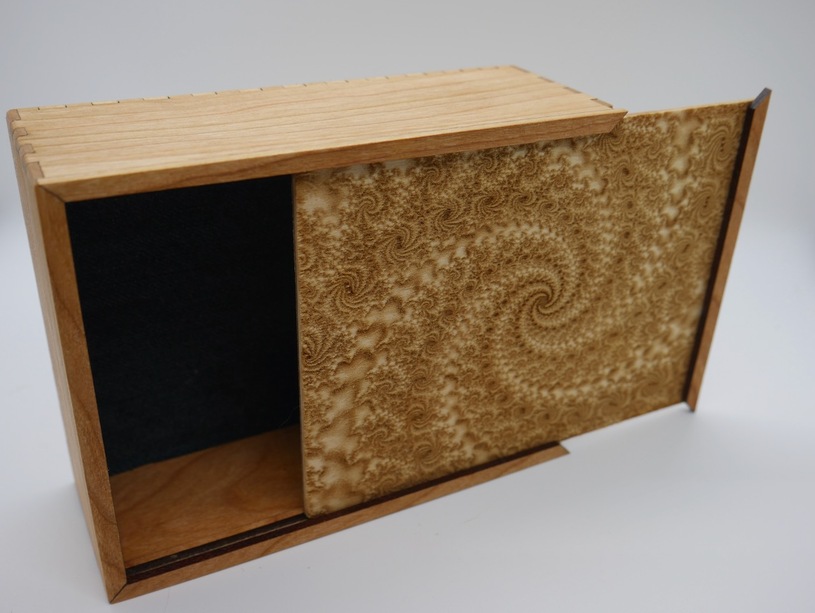
The lid slides off along with one side of the frame. This gives you some finger purchase to open the box. The upper frame and the lower rail are glued in.
The inside is lined in old blue jean material. I tried to etch the fractal design into the material but it came out really light. I need to play with settings on that.
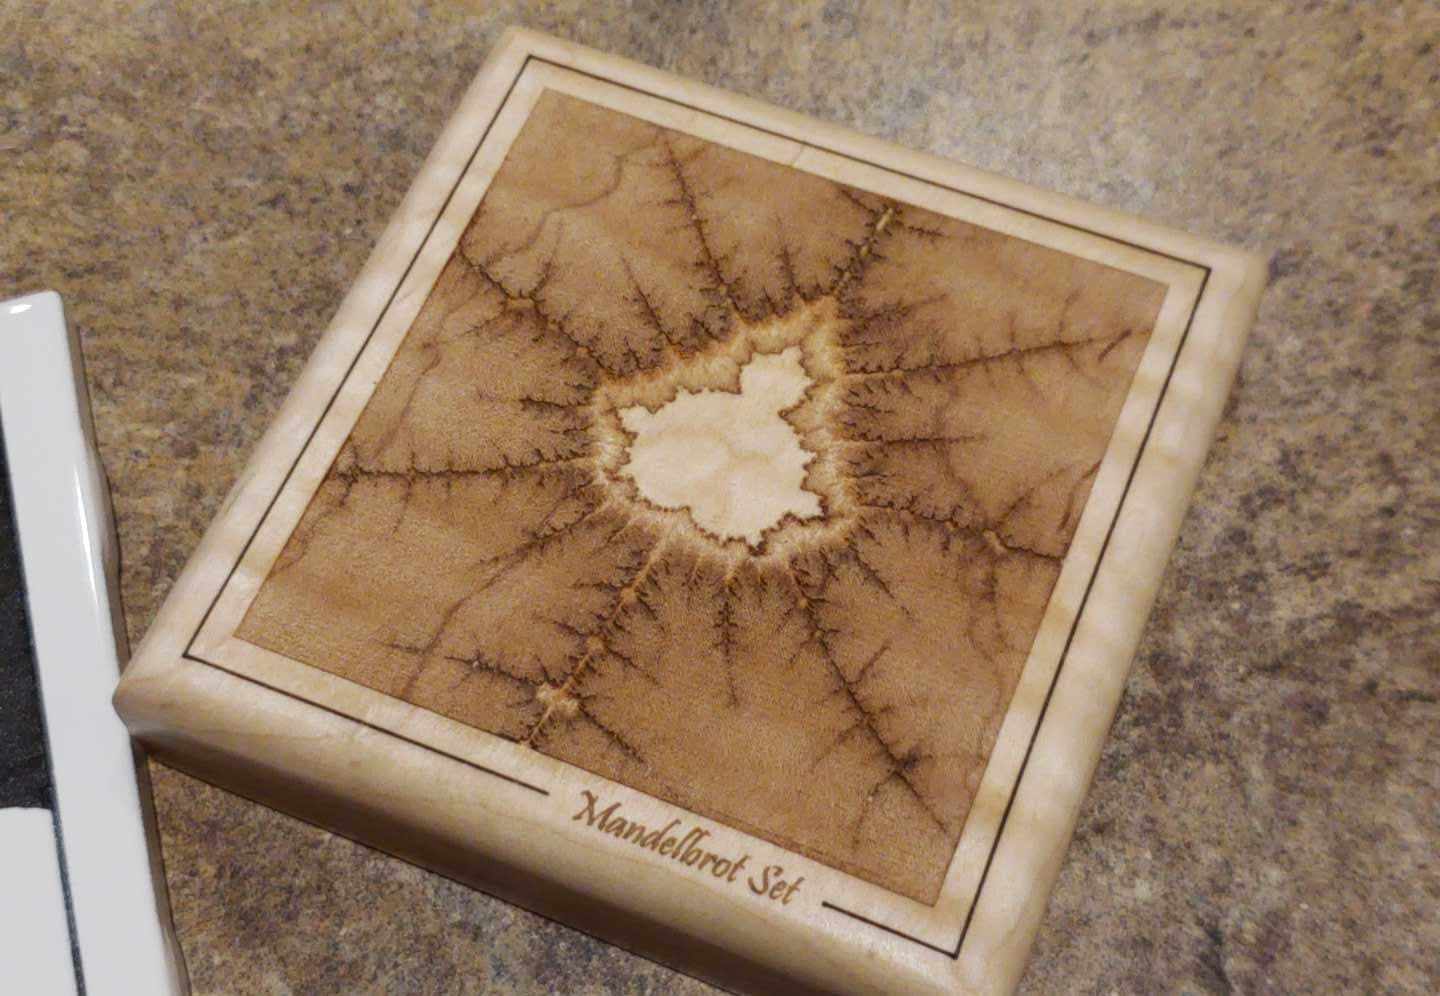
The texture is not very deep at all. I went dots instead of vary-power. It does have a really nice illusion of depth from the image itself.
I used the MakerCase box generator and then modified one of the ends to be slightly shorter to allow for the lid to fit on top of it. There are two rails that sit just below the frame and the lid slots in between the rails and the frame on top.
I did sand to remove the burned part of the finger joints and edges. The finish is danish oil which is my favorite as it is pretty much idiot proof and I am an idiot when it comes to finishes.
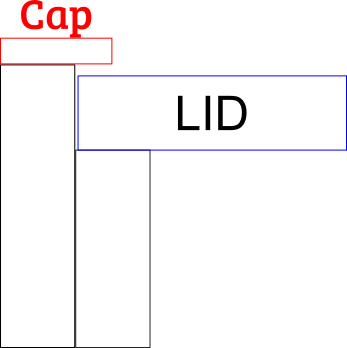
Sure. The box has an inner and outer wall to it, each wall is 1/8 material. The outer wall has the joinery while the inner is just glued to the outerwall. It’s just there to provide the ledge the box lid will rest on. Viewed from the edge on, they look like this:
The difference in height would be the thickness of the lid plus a bit for easy sliding. For the end you want to use as the front of the box, the inner and outer walls are the same height, allowing the lid to slide out from that end.
Once the lid is cut and fitted, a cap is placed along the top of the outer wall:
I mitered the corners as a matter of preference.
Since the front of the box has its inner and outer walls the same height, we don’t have a place to attach the cap. However, to continue the look of the top frame (and to provide a handle) I fit and glue a “false cap” on the lid. It completes the frame when closed.