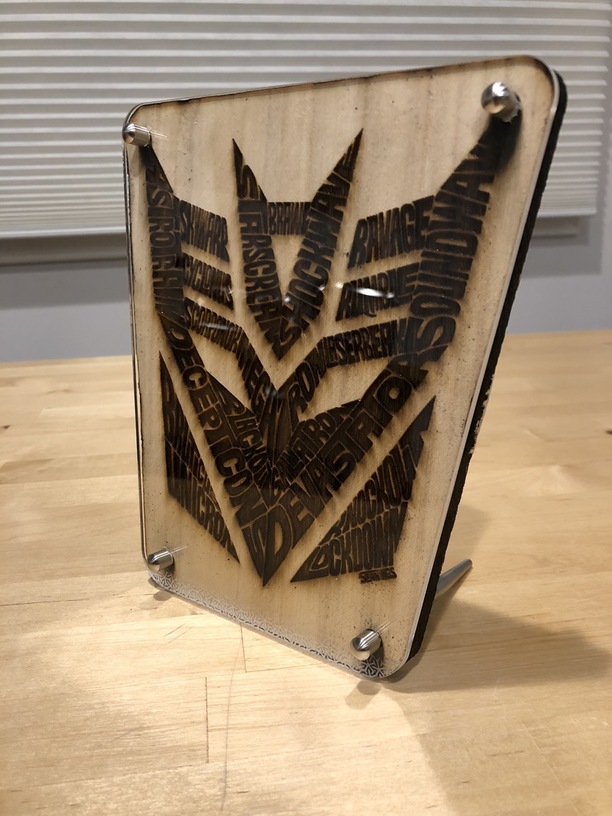
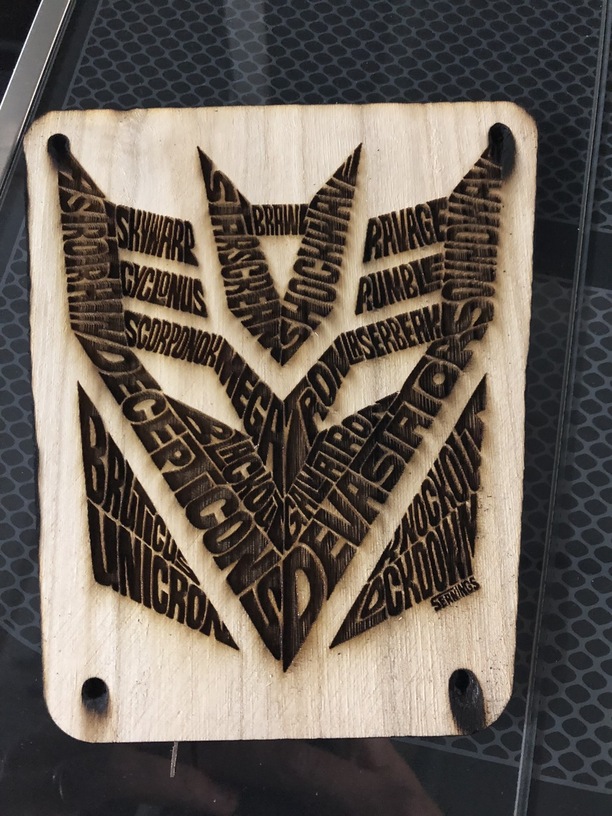
Sean Ing’s crisp and humorous word art is fun and exciting for my 7YO boy and also the inspiration for GF day#11 creation.
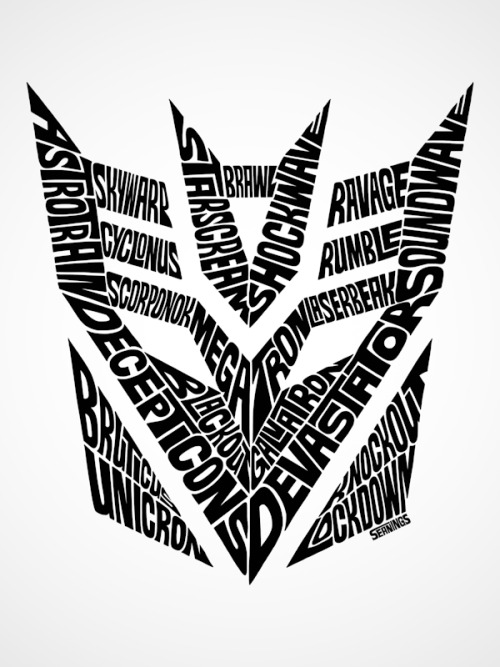
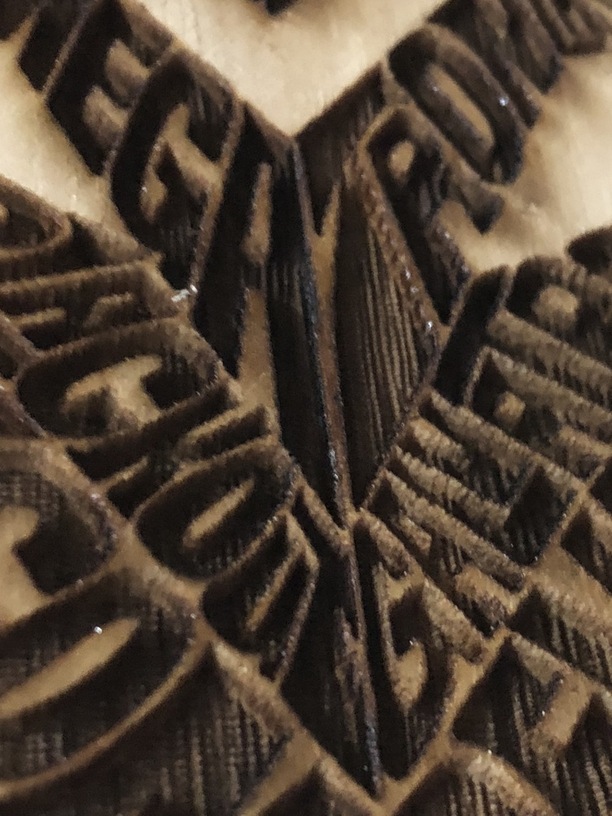
The vignette effect would have extended the engrave time, so using PixelMator’s colour curve editor I flattened the original 600x800 image. I wanted texture in the bottom of the letters so combined it using Sketch.app with a repeating circuit pattern at about 20% blend.
I shouldn’t have bothered, because the grain of the wood itself accounted for 50% of the burn depth variation, and looked creepy and fantastic.
The image was etched at max burn / speed into an old Taekwando breaking board (think “Hai-Yah, karate chop!”) wood scrap.
I originally had a cut outline with a small offset around the pattern but opened the GF lid to cancel that off after the etch was done.
Using sketch.app I added a rounded cornered trapesium frame and through holes for bolts, and after cutting these through the wood (too hot, see below), I replayed them on a scrap 0.116" clear acrylic to protect the surface from children’s fingers, also to strengthen the probably compromised wood.
I used sketch.app for all the vector and bitmap processing apart from fixing the original
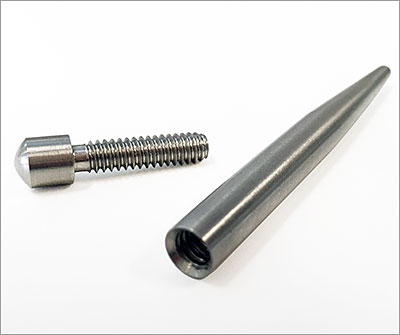
2" steel stand-offs pushed through the holes in the two layers made it free-standing, plus matching connectors at the top. Shopping details in the replies.

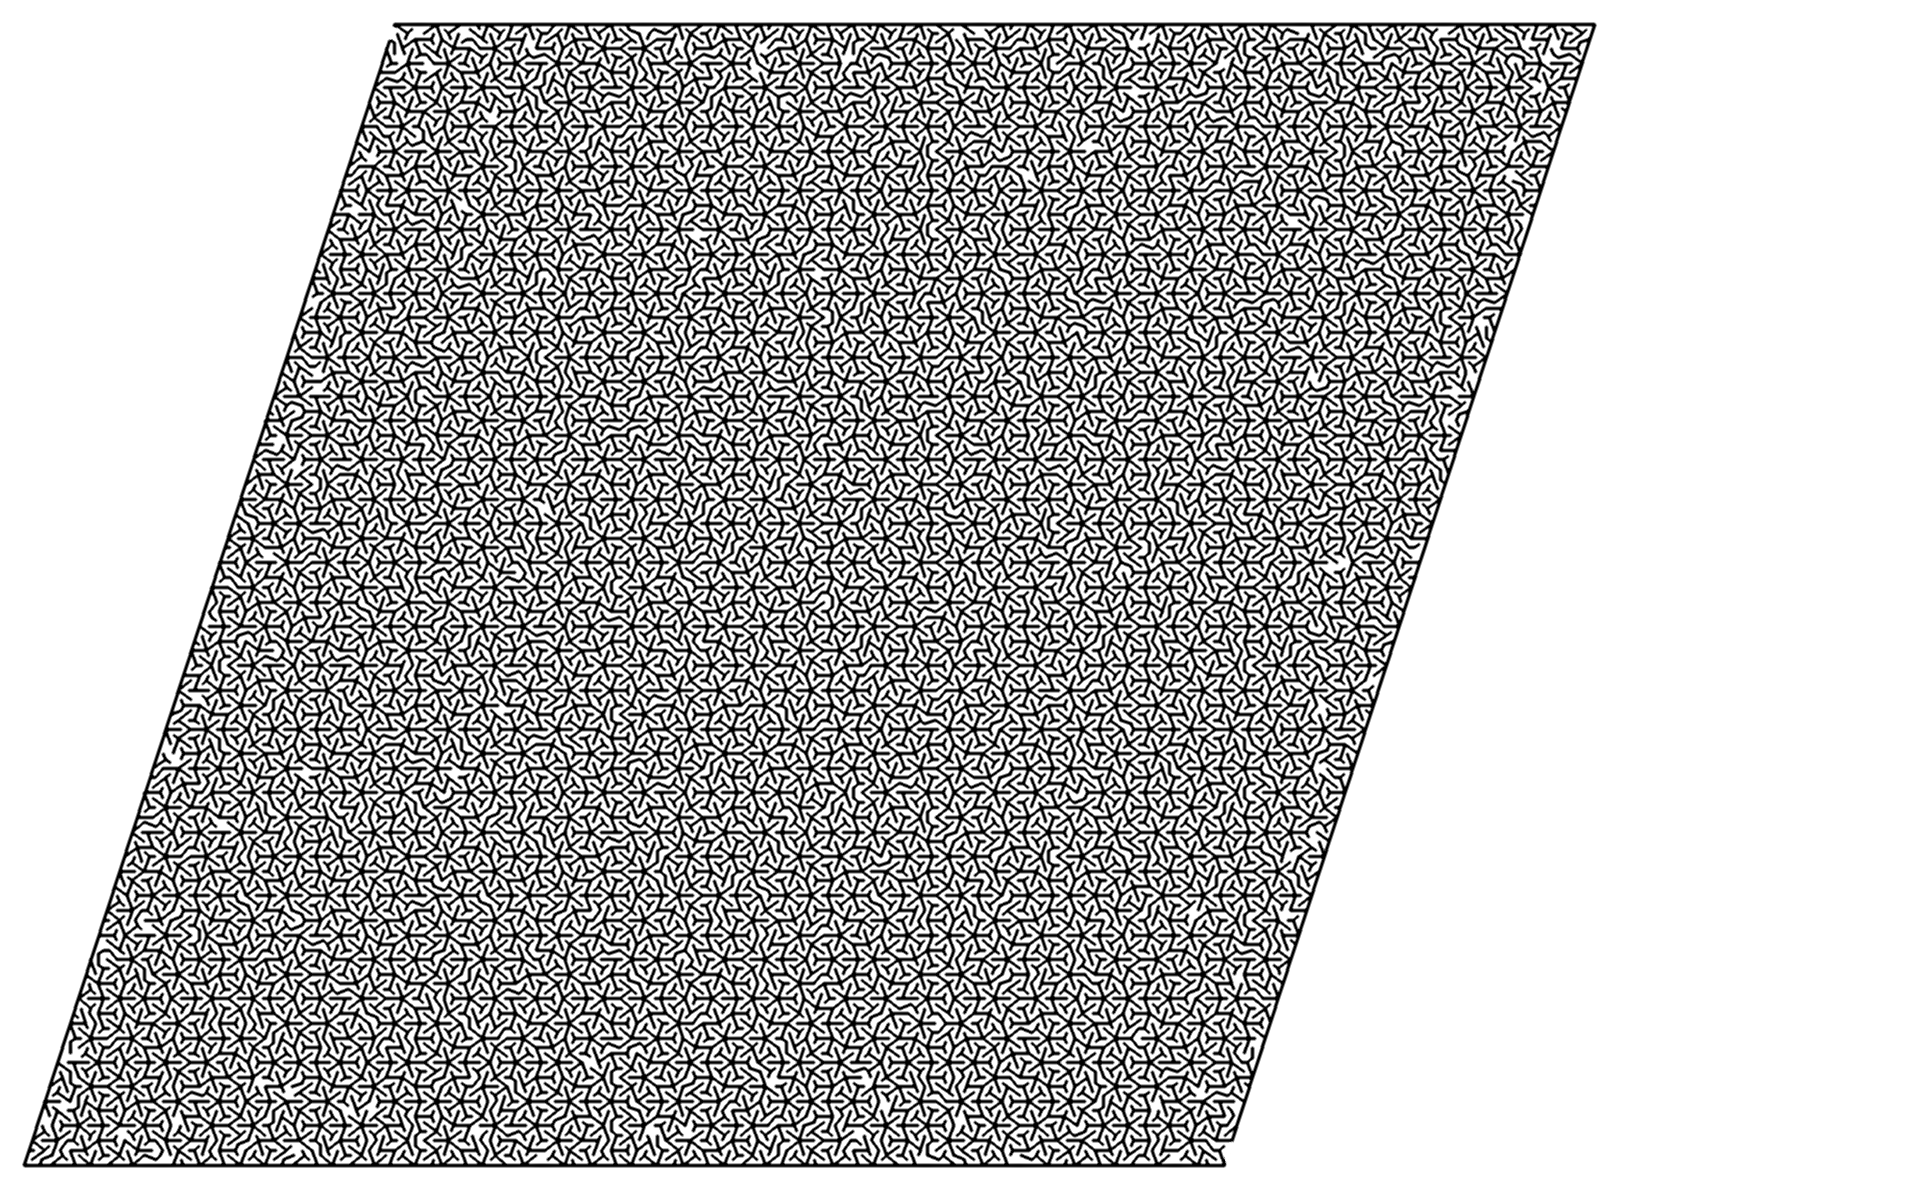
For good measure I added a faded-off penrose tiling pattern to the bottom of the acrylic. I wanted to add a window frost effect all around, as if megatron was looking through ice at you and melting it, but it was 2am and I was tired:
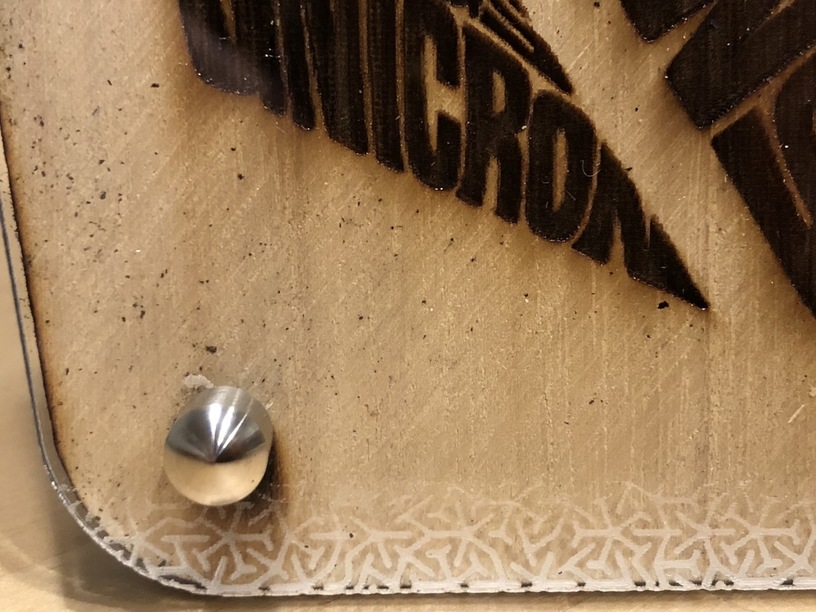
The cut holes through wood were accidentally doubled up and slightly misplaced so set embers burning a bit, creating a sort of smoking bullet-hole effect that luckily was in keeping with the esthetic. the whole cut should have been about 1/2" higher compared to the engrave but I got away with it:
Lessons learned:
-
don’t remove the acrylic backing tape until you check the holes fit the screws. I haven’t leaned how to translated real world dimensions into my designs so I winged it and they were too small. overcutting larger holes worked, but the flashback spalled the acetate once it wasn’t protected by the tape.
-
if you add texture or patterns to a wood engrave, it’s gonna have to be in your face, not subtle, at least for this material. The natural grain wins.
-
I need to work out sensible settings for my (non proofgrade) acrylic scrap, right now I keep running the same cut until it goes all the way through. That works until GF gets stuck “scanning your material” which it does every 5 or so cuts, at which point I have to start again and align by eye (I got very very lucky on this)…
- For multi-cut operations I’m going to see GF app hang on me. I need to be ready for that, perhaps by using absolute positioning in my designs : the GF app throws away scaling and positioning if I have to reset/refresh it when it hangs. Aligning by camera/eye is a crapshoot.
-
screenshots of the settings sidebar might be a decent way to keep a log of good settings.
-
Sketch.app does a decent job once you work out how to get svg exporting (use artboards, and click bottom of right tool drawer), but I still find it renders bitmaps (flatten to bitmap) at too low of a resolution for my taste.
