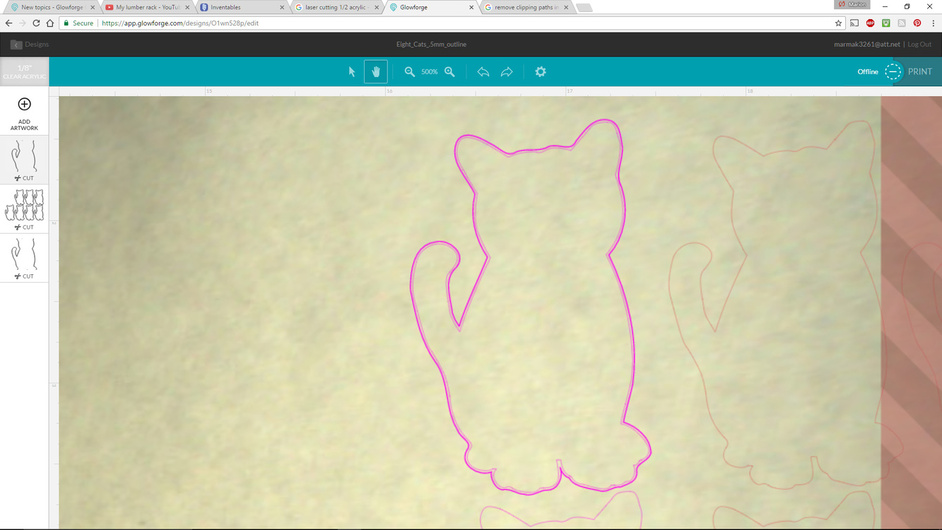
The trace to cut feature worked fine on the cats, other than trying to isolate a cat in the multiple cat file. But there is more than one way to skin a cat, so to speak, and preparing an outline from the original drawing might be beneficial.

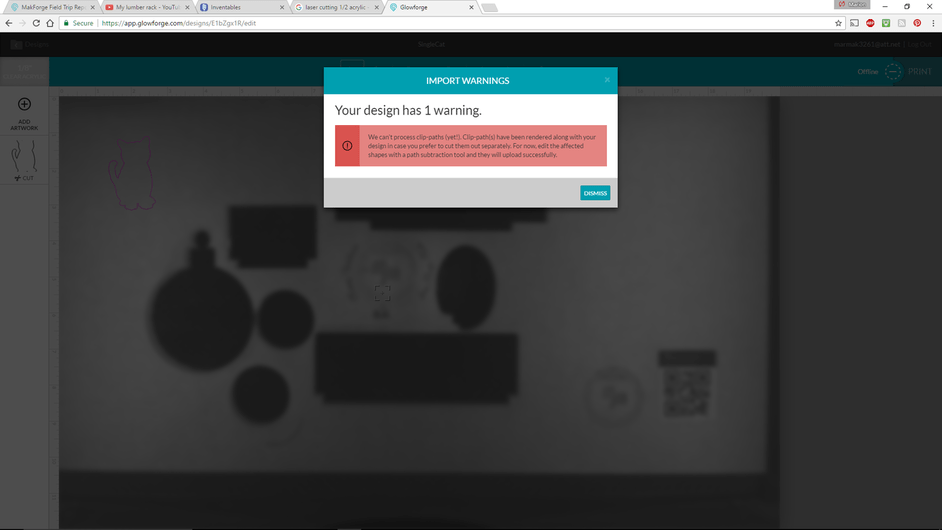
I ran into an issue working with @cynd11’s cat file to create an outline for using as a path to cut around the stickers. I have run into the clipping paths error before when importing something from AI to Inkscape to Glowforge. ignored it as it had no consequence, but now I’m trying to figure this out. What was in that file that made it a clipped path? Was it Illustrator’s conversion into a PDF, Inkscape’s end of the conversion, or something in the file itself. this probably deserves its own topic, so if anyone wants they can continue the discussion in a new topic. I’m just tying up loose ends here.
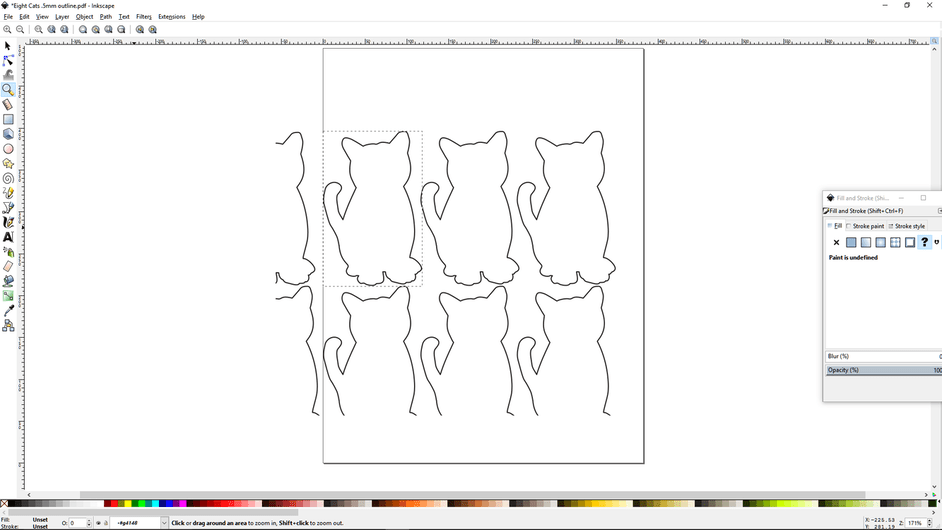
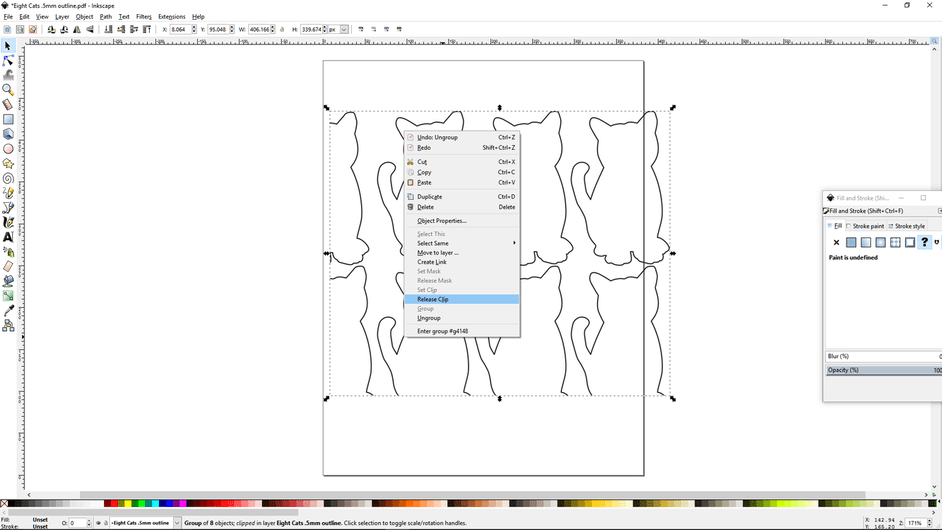
Here is the file opened in Inkscape and rotated landscape. Note as I pushed the group over to the bottom left, the left side of the cats and the bottom row of feet get cut off. Trying to select all only selects all the cats, so it’s not like there is a bounding box around the whole image, but in fact, the size of the image places a clipping path in the document. What the heck is this and how do I get rid of it? A clipping path can be understood as a layer or masque applied to an object that makes the object transparent or visible to it’s surroundings. They are helpful when you want to overlay objects within a design (at least as I understand it. There are lots of other aspects to check out!)
To remove the clipping path that came along for the ride: select all > ungroup > right click on the object > release clip.
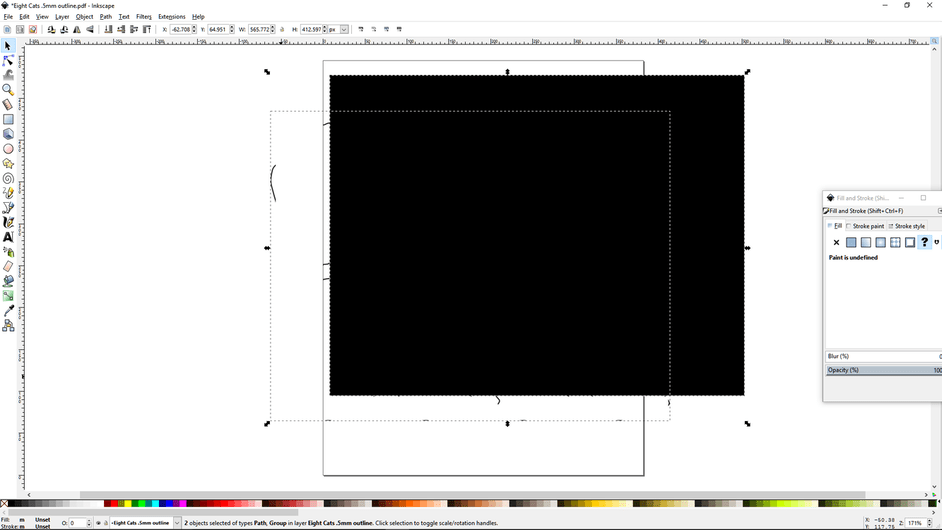
Now you have a big black box you can get delete and the image will import without any error messages.
The next issue was dealing with the failure of Inkscape to do a offset. I wanted to offset the cat outline so we had a little more room to play with in cutting the kitties out. You can’t just embiggen the file in Inkscape nor in the Glowforge interface. Doing and offset is the correct procedure.
When I haven’t been able to do an offset, it means that I don’t have a simple stroke to work with. Now that’s strange, because the file looks like a simple stroke at first glance.
It looks like there are simple nodes. And once it is the Glowforge, it does not cut over the line twice, an inner and outer cut.
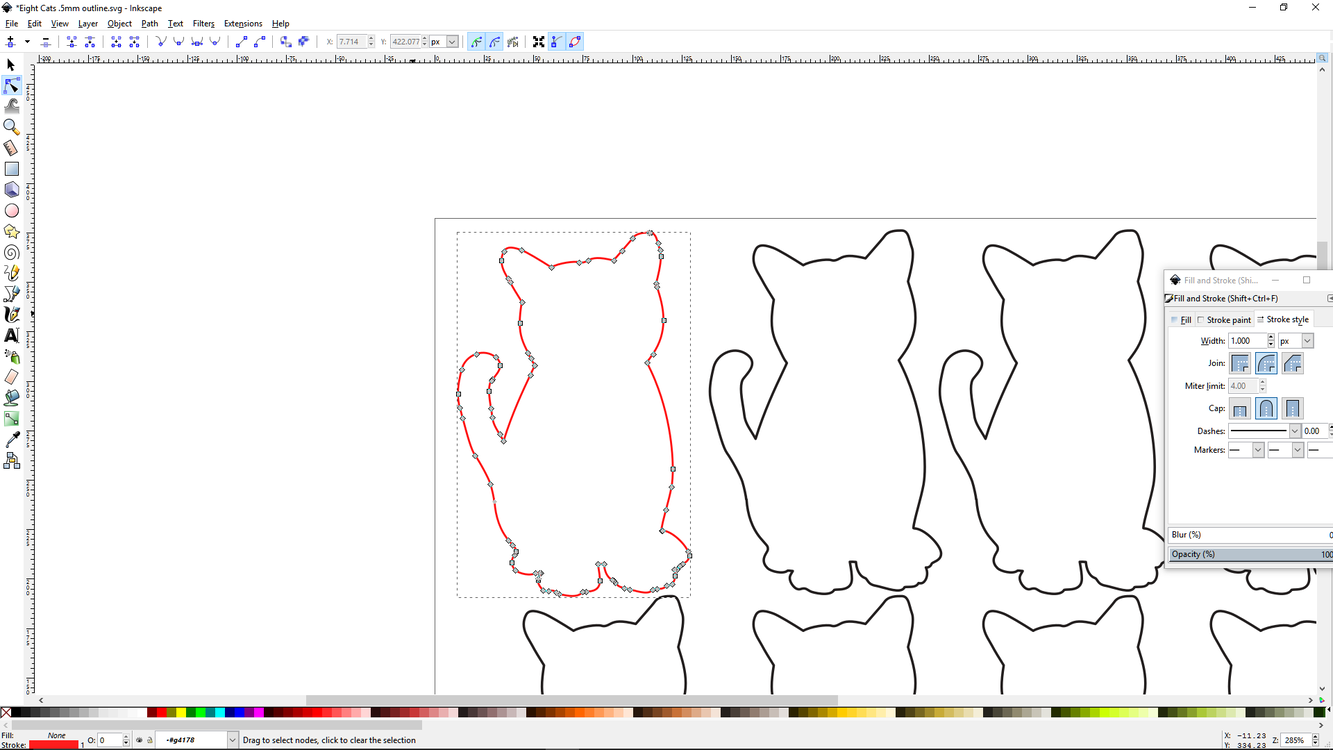
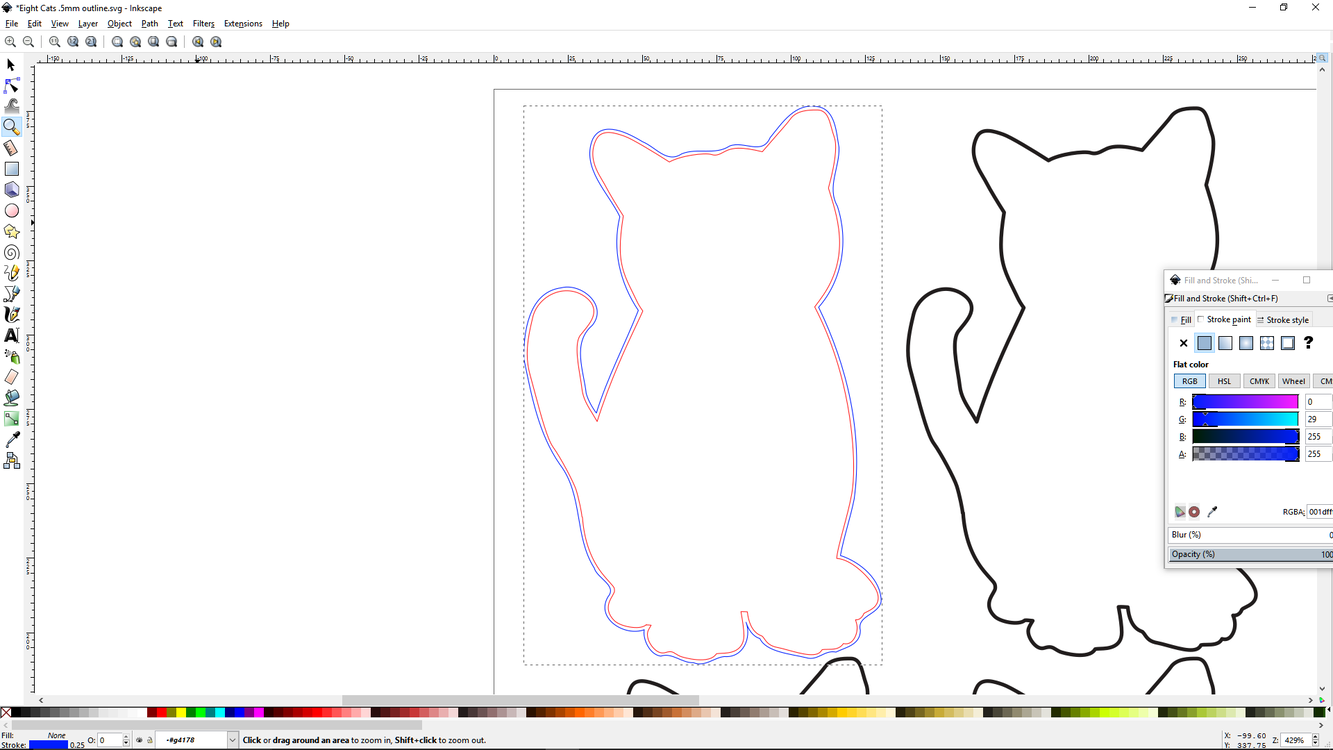
Actually, if you choose stroke to path, then we do get two paths, an inner path and outer path that is filled:
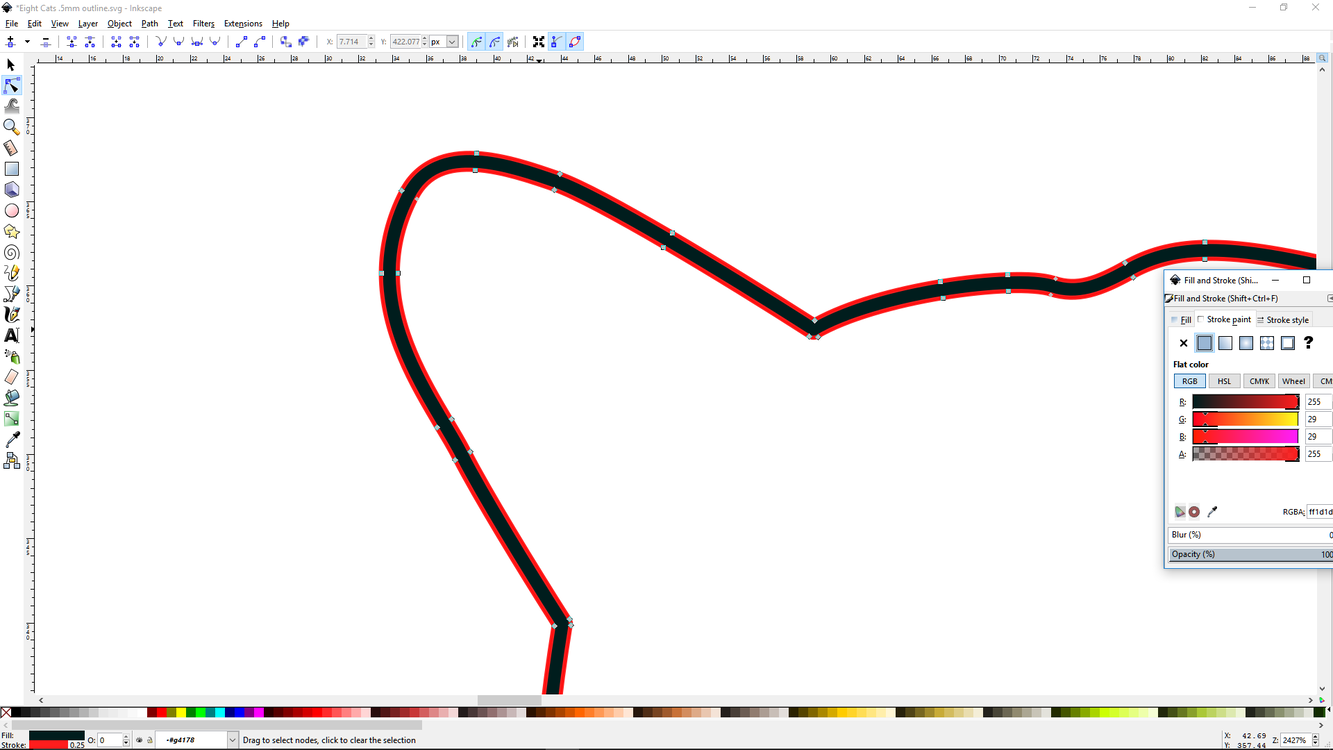
So you break this apart, remove the inner path and fill. Remove the fill and then you have a simple stroke to perform an offset on.
Now you can see that the kitty has a blue offset outline that follows the contour of the red outline. This blue path then can be chosen as a cut path and the red path can be placed exactly over the outline of the cats to be cut out and you have a little wiggle room. You can offset it more our less, but you have to have a single stroke to deal with.
I hope that helps folks in the future. It certainly helps me. Note the top operation will cut an outline using the offset stroke I mad…The second operation is the rest of the litter I didn’t break apart, and the third operation is the original outline that I can ignore.