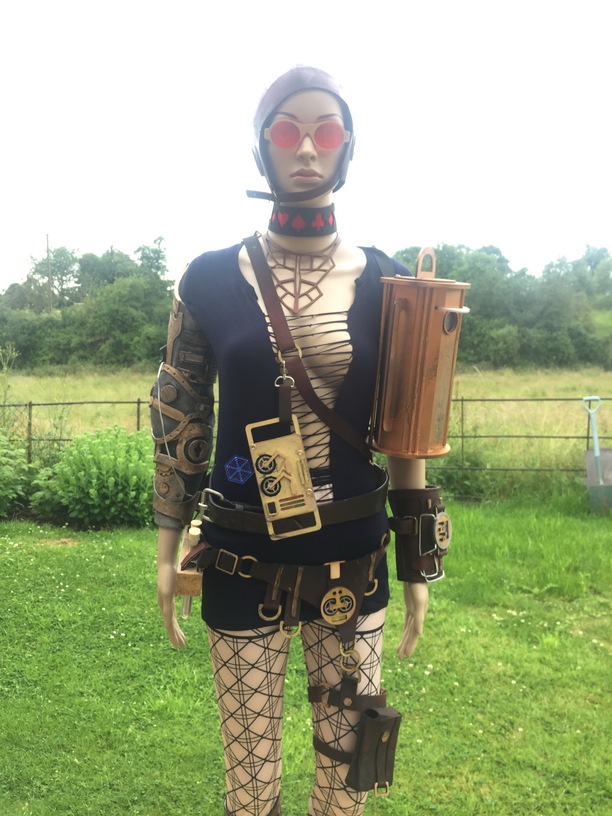
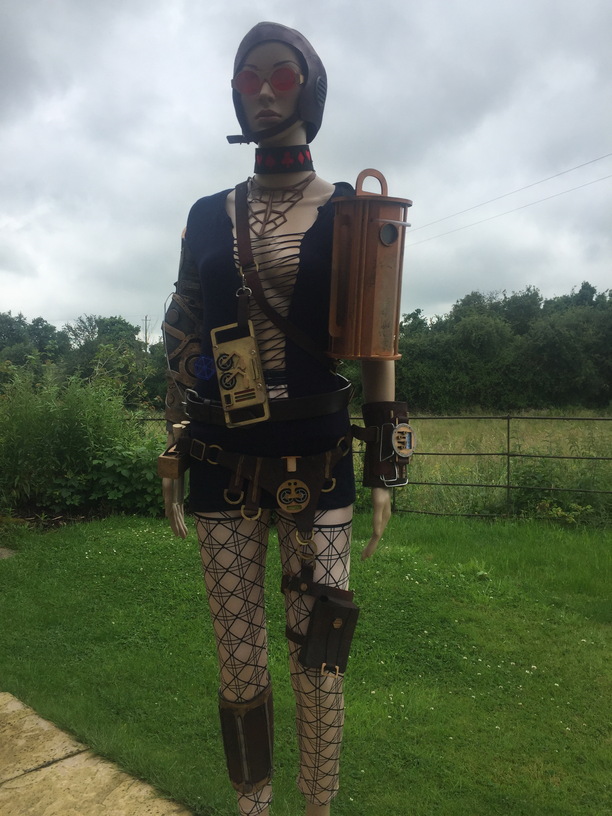
Everything you see on this model I have made and/or designed myself. 95% of the glowforge.
Really pleased with myself, it’s not perfect, but this is the first time I have ever attempted anything like this. It was one of my reasons for buying a GF initially. I am a professional photographer and I had been looking to make props and costumes for photoshoots.
These are all phone photos, so excuse the potato quality.
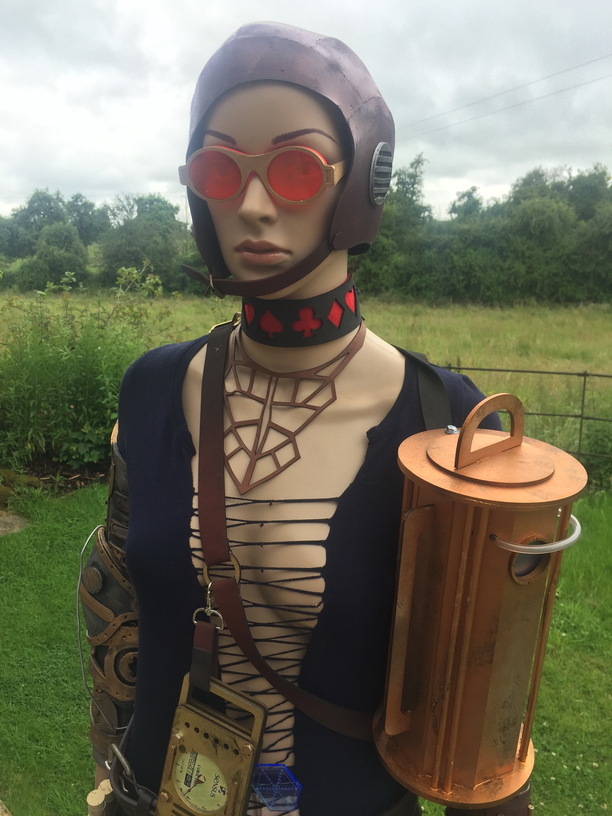
There are two designs that are not made, credit goes to LostWax for the mechanical arm and flying helmet.
Everything else I designed (including the leggings). Mostly it was just riffing between inkscape and the GF. As a tool for just making things up it was brilliant.
95% of the materials are either MDF (draft board) or foam (either 2mm or 6mm) with a little bit of assorted 3mm acrylics thrown in here are there.
The helmet is all foam - all the “leather” is faked, hand painted foam.
The glasses are MDF and acrylic. The choker is foam and felt layered. The necklace is actually leather - the only bit!
The Unobtanium Capsule is all MDF and some dowel. Don’t like the paint colour on this one, but didn’t realise until too late. Putting together the sides into the top and bottom was a real fiddle, for the next one I’ll work out a way that’s easy that joining 8 tabs in a circle! The lid twists open and is for hiding 21st century belongings like drinks bottle.

There are a couple of other versions of the arm that have been posted recently, mine is not as complete as theirs. This is a LostWax design that I’ve tweaked.
Incidentally, important PDF page by page into Inkscape was much easier and less tedious than I expected.

The Opto-Sensor is made out of layers, this let me put lots of relief into the piece. The glass and dial are set back into the face. The viewfinder goes all the way through.
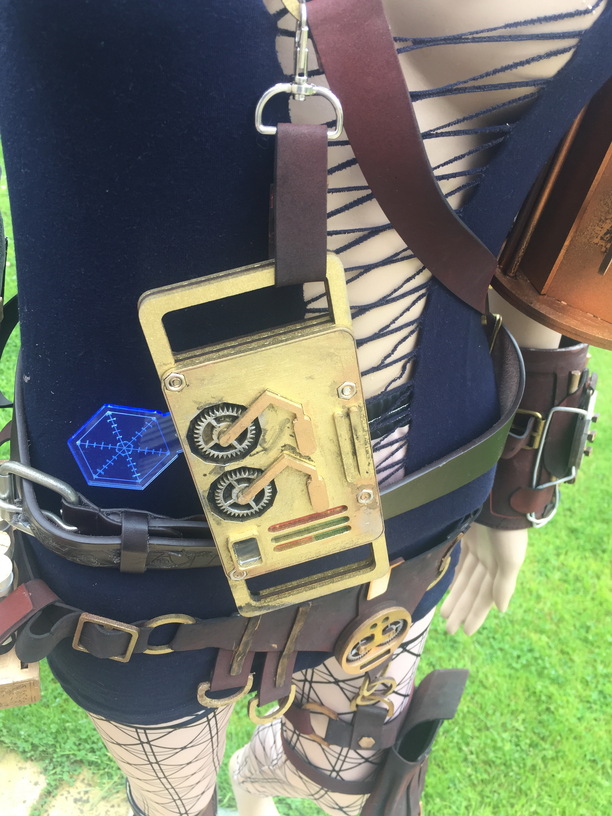
From the back you can see how gears are inset with entrapments laid over. Very pleased with the weathering on this one. If I make it again I think I would put a central box between the layers to thicken it all up.
All the “metal” you can see is coloured MDF or foam using Rub-n-Buff pewter and antique gold. Where required I’ve followed up with black acrylic watered down for stains and stuff.
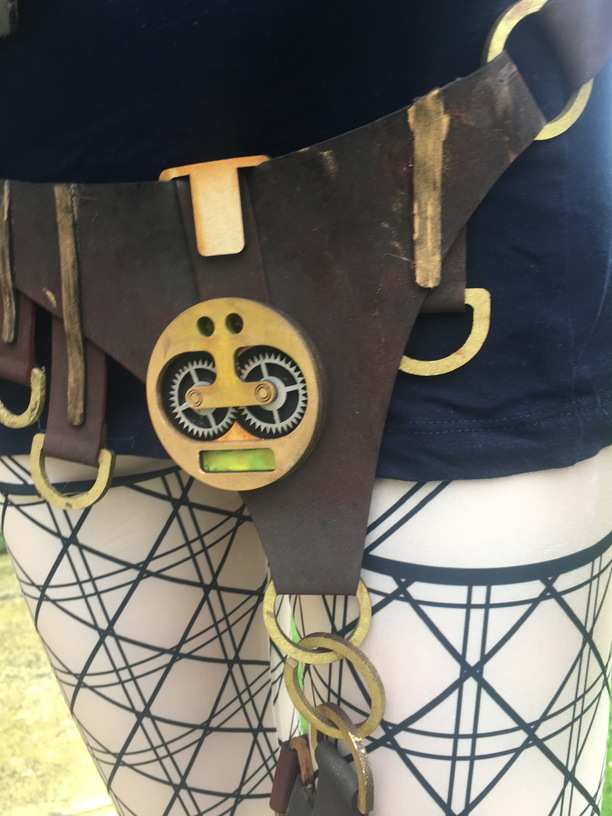
I’ve lost count of the number of times I’ve put contact glue on the wrong side of the darn things. This piece should have had dangling straps on front, but I glued it wrong. All the D and O rings, buckles etc are all made of MDF.
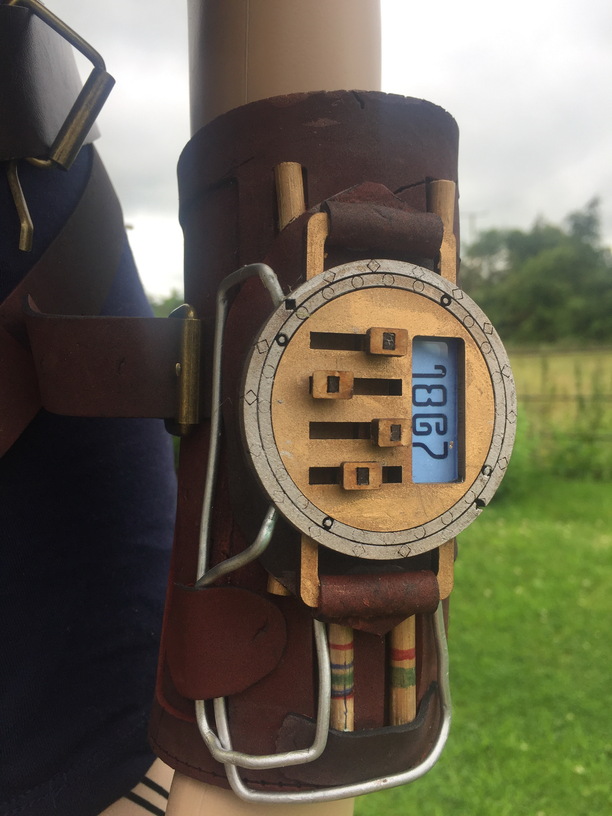
The ChronoMeter fits the wrist. The sliders move up and down. I would have liked to have made proper sloping bezels around the outside of the dial, still working out how to do that.
The holster was a nightmare, I made one version which went straight in the bin, this is the second and its better but not good. Basically it should be stitched and I didn’t want to stitch, only glue, so the design is a compromise to make it glueable.
Just to finish, the leg brace is more foam. The T-Shirt was cut on the GF. The leggings are pretty much the only thing not done on the GF I designed and had printed them printed a couple of years ago.
I spent 4 days (which is the holiday time I had) making the whole thing from scratch with no prior experience. Often I was reading off the 'net how to do something and making it at the same time. The GF has been brilliant, then design, make, re-design, finish cycle has been really easy. Each day I would complete at least two items, designed, cut, painted.
