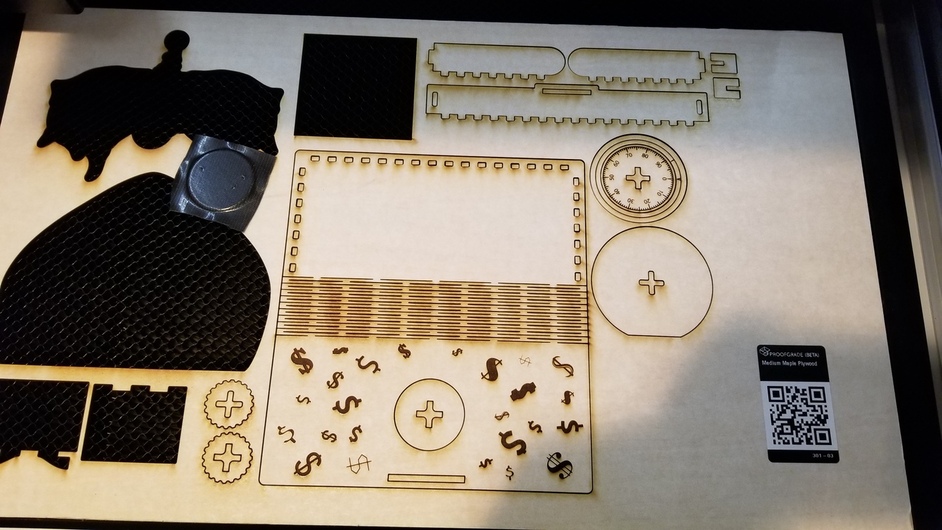
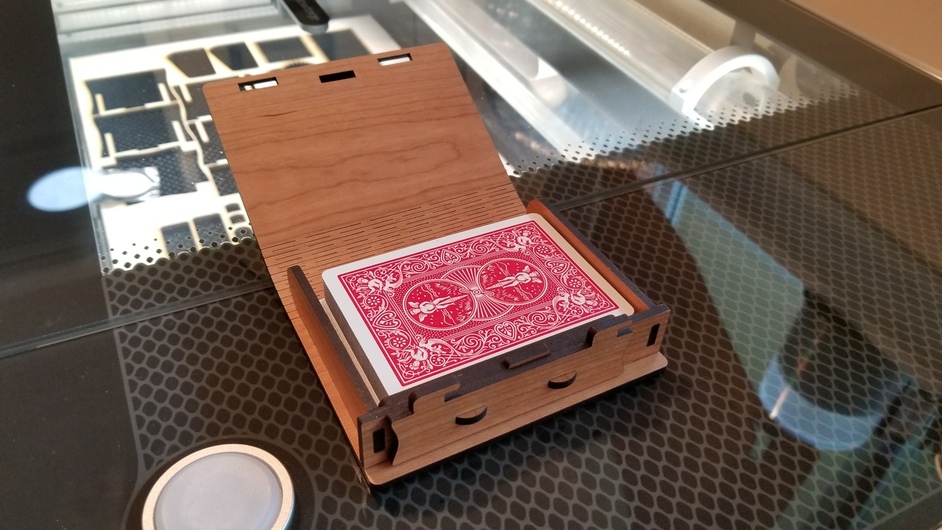
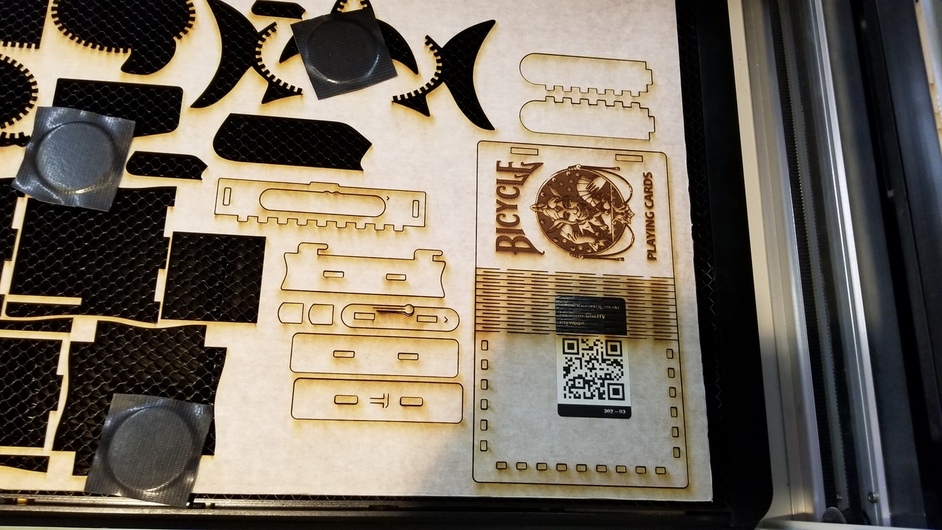
Did nothing more than load the pdf into the GF UI and position the pieces. After printing, I followed the instructions in the video on their website (you’ll need a little hammer of some sort).
I don’t understand how you placed the design in the GFUI and printed it out with no adjustments. I tried the sample download and the parts would not go together using PG because PG is thicker than the 1/8" material Cartonus calls for.
There is another thread on resizing the file using Inkscape but your explanation does not take that into account.
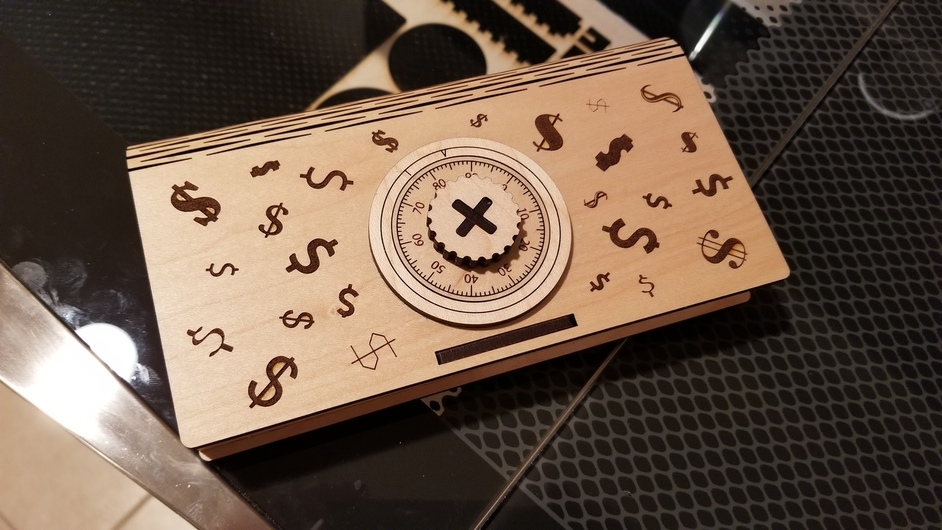
I put them together using proofgrade with a little hammer like shown in the construction video. It was tieght, but went together fine with the hammer. Would be hard to put together without a hammer. Sample was the same.
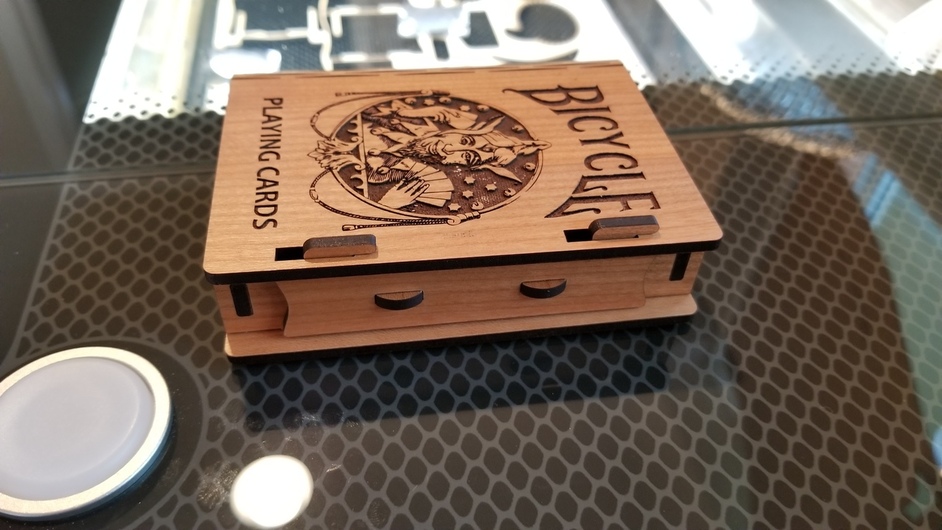
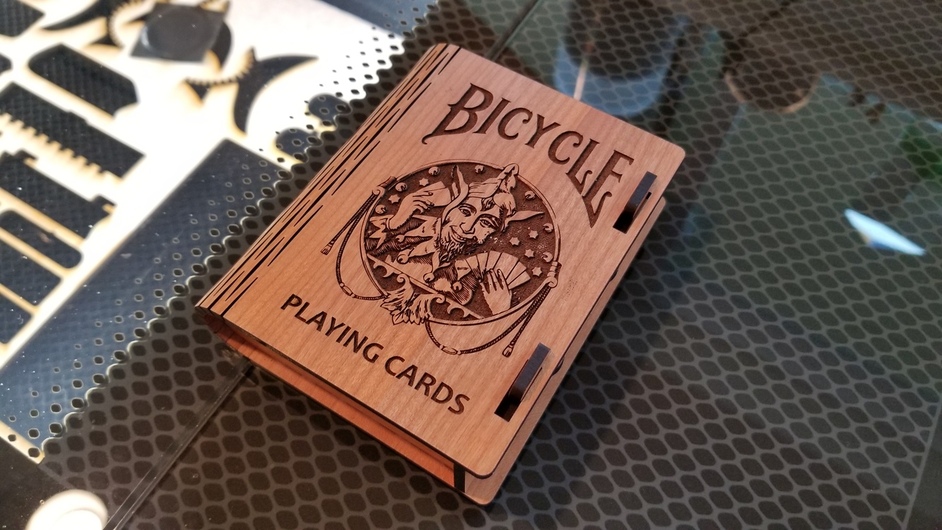
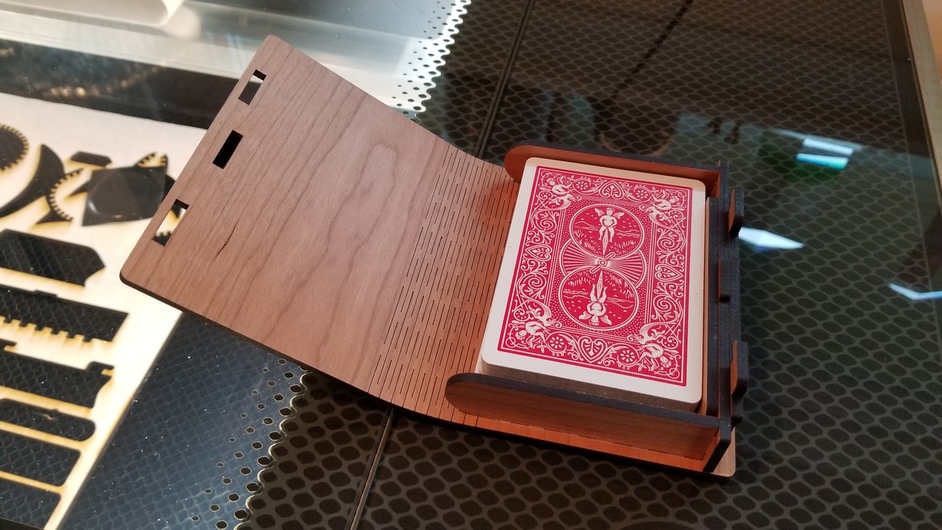
Used plywood. Made the wallet box with maple ply and two card boxes, one in cherry and the other using walnut. The walnut was harder to put together than the others.
Yes I saw your photos and was quite impressed. That’s why I queried you on the material. Would be interested to know the thickness of your material and if you are correct, then wondering why GF is now shipping thicker “1/8” material.
It’s a valid issue. I’ve found that some of my old PG stock is a different thickness than my latest order. I’ve re-sorted my stock so that I’m using up the older stuff before the new stuff. Figure the latest stuff is more likely to be what the sizes will be in the future than the earlier stuff. Up until now I would just put my latest order on top of my existing leftover stock. Now I’m rotating it.
It’s been an issue where something I did awhile ago wouldn’t fit tightly or was too loose. Started remeasuring the material and noticed there were differences in the 1/8 stuff vs original medium vs latest medium for instance. Hoping they’ve stabilized with the latest manufacturing.
Oh, and it’s different for a given size between material - medium Draftboard, maple, cherry and walnut ply are all slightly different. Gotta resize the project file if a tight fit is required and I switch between materials.
Well that doesn’t make me a happy camper. I had a good size credit built up because I cancelled the filter so I just bought a bunch of PG walnut and maple plywood and it looks like it is not going to work with many of the designs out there.
I created a small tab & slot test piece that I use all the time now. Cut it and take the masking off and then I check how tightly they fit together. Measuring it with the masking as you do when it’s new doesn’t work because the 2 layers of masking is enough to make a tight design loose.
I usually make the test piece on a part of the PG that can’t be normally reached by the laser - one of the extreme edges. It involves some trickery with the GF to be able to get the edge in a place I can cut