I’ve been doing a couple of things in Fusion 360 that help me when I’m making box-like things with tabs (which I do a lot): applying multiple textures to bodies and running an interference check. Neither are earth-shattering, but they are both often overlooked.
First is applying multiple textures to a body.
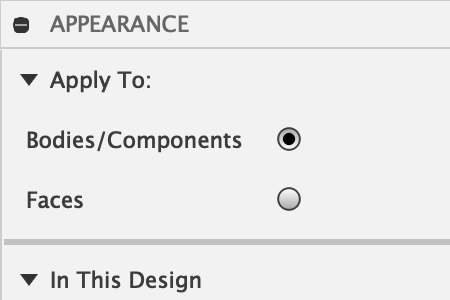
When you go into the Appearance settings panel, there are two options at the top under “Apply to” – Bodies/Components [which is the default] and Faces.
I apply the “Hard Board” texture to an entire body using the “Bodies/Components” option. Then I select the “MDF Board” texture, switch to the “Faces” option, and apply it to the faces of the body that would be the front and back of my laser-cut stock material (e.g.: the sides with the paper masking and Proofgrade QR code).
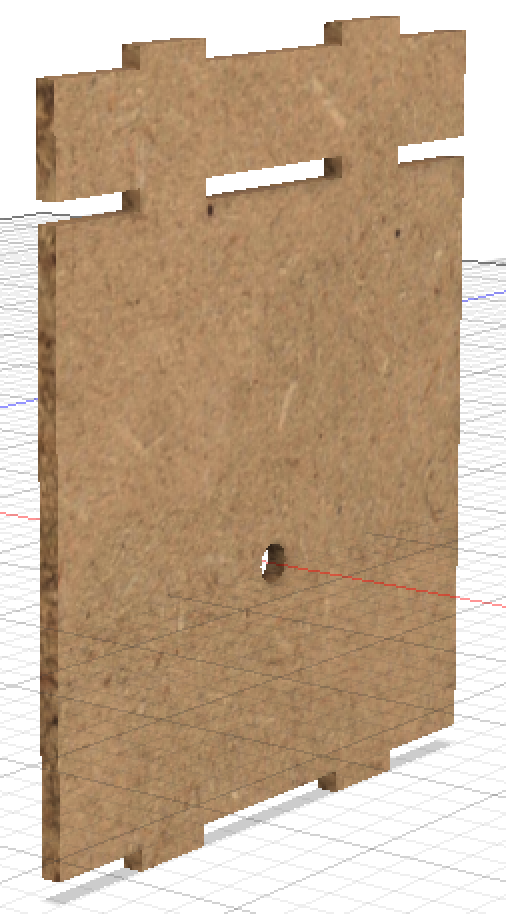
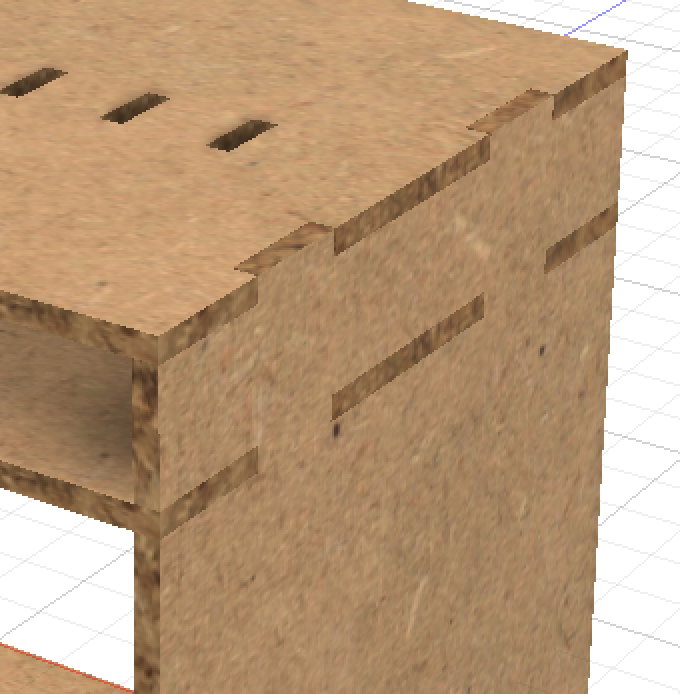
The body ends up looking like this - light Draftboard-looking faces with darker, burnt edges. It doesn’t look all that impressive on a single body…
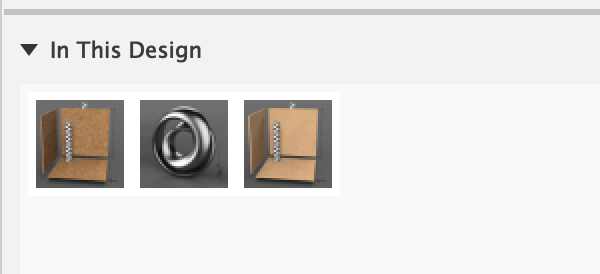
…but with all the bodies together, a design looks like how it would be when assembled, and I can quickly spot when tabs are not properly where they should be, or I haven’t cut out a hole, or there are obvious overlaps.
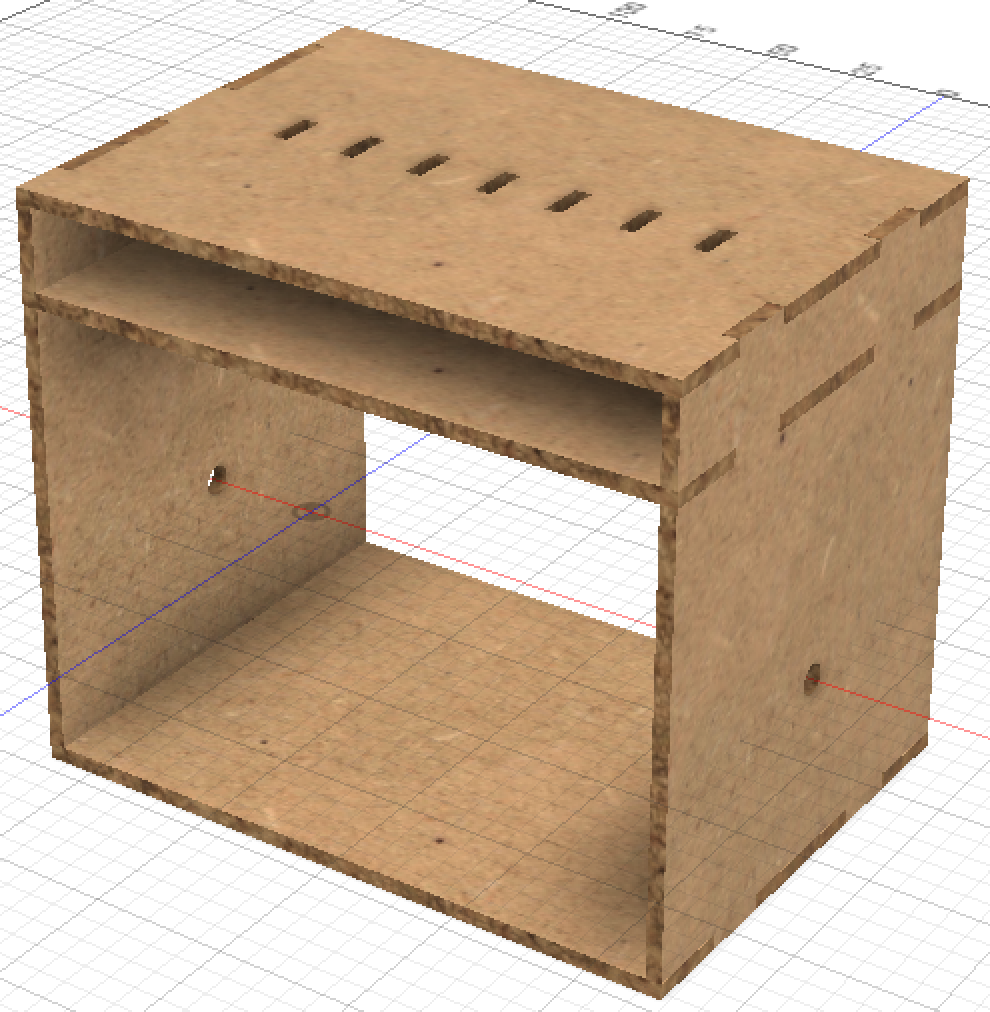
For reference, here is the same object with just the MDF Board texture applied to the entire body, not mixed:
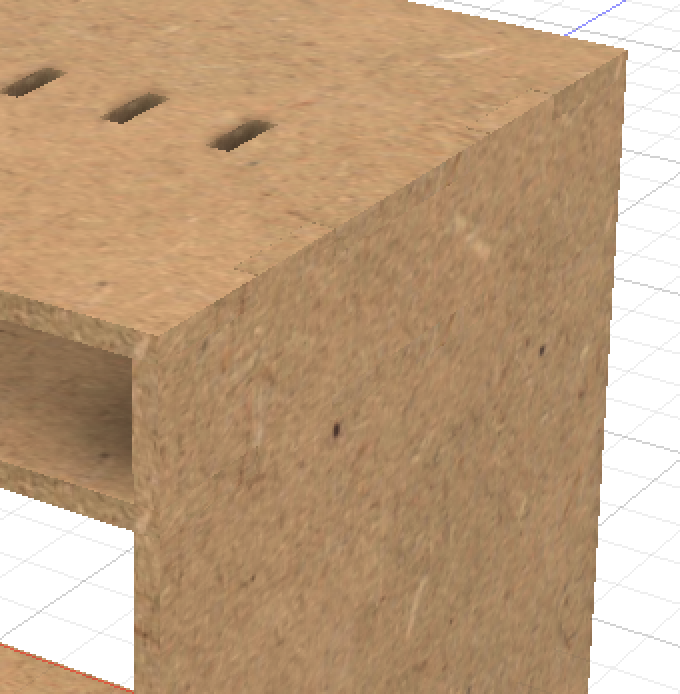
You can barely make out where the tabs are.
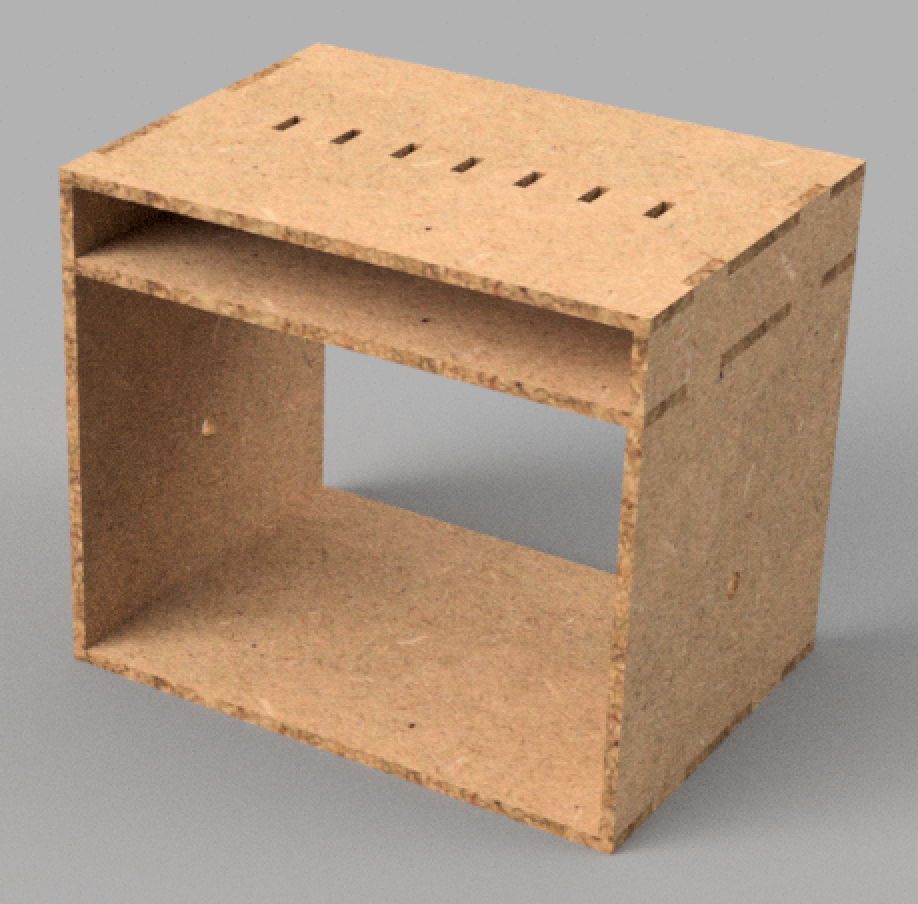
Compared to:
Much easier. They also render really nicely. ![]()
You can also make it much more obvious using two textures with greater differences, like a red plastic and a white plastic.
The second tip is using the Interference tool in the Inspect menu.
Sometimes, with complicated assemblages, I can’t see the all tabs in every part of my design when they’re all on-screen. The Interference tool lets you select all the bodies that are being joined by tabs and make sure that there are no overlaps; that is, a hole that wasn’t cut out or two tabs in the same spot.
Go to the Inspect menu (the icon with the ruler and dimension line) and select “Intereference”. It will open a small dialog.
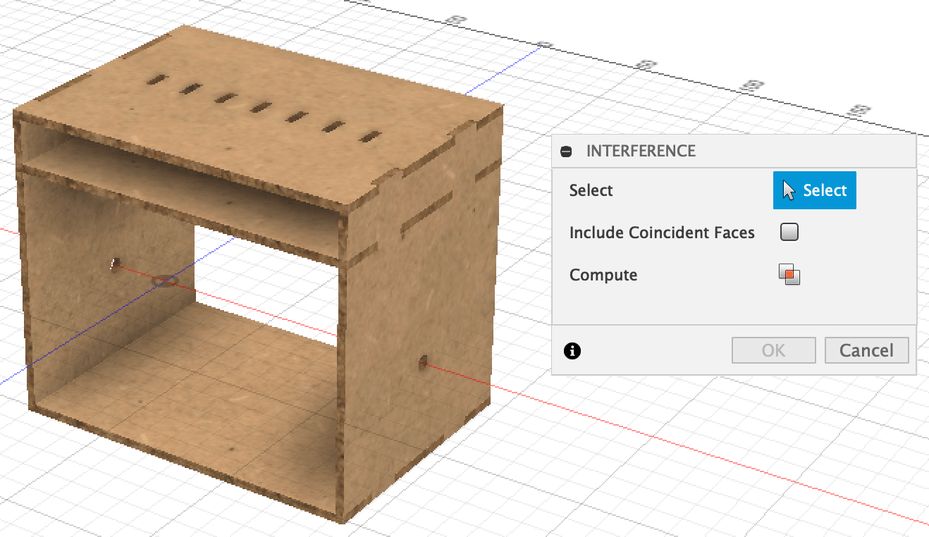
Select all the bodies that with tabs that should be joined (here I just drag-selected all the bodies).
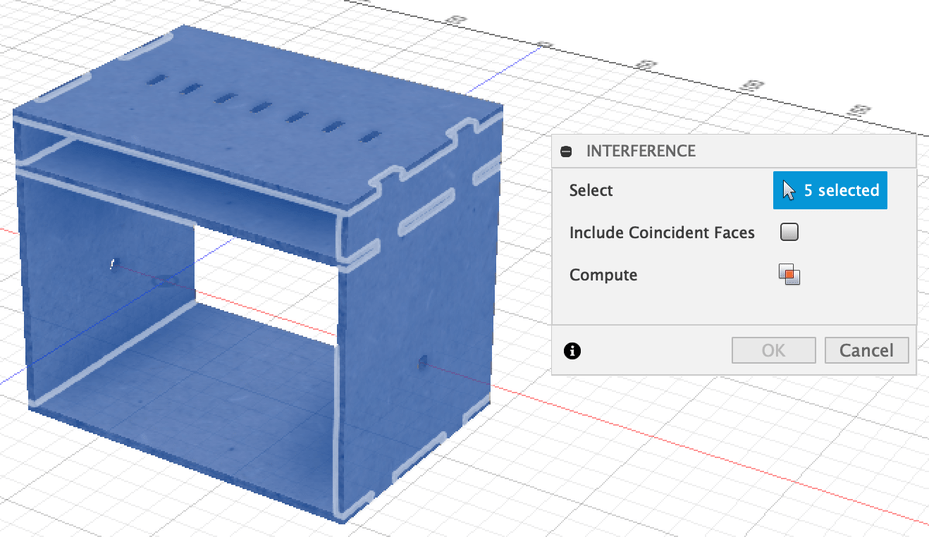
Then click the “Compute” button (the one that looks like two overlapping rectangles with a red center, like “Difference” in Inkscape/Illustrator, and that doesn’t appear to be a button)
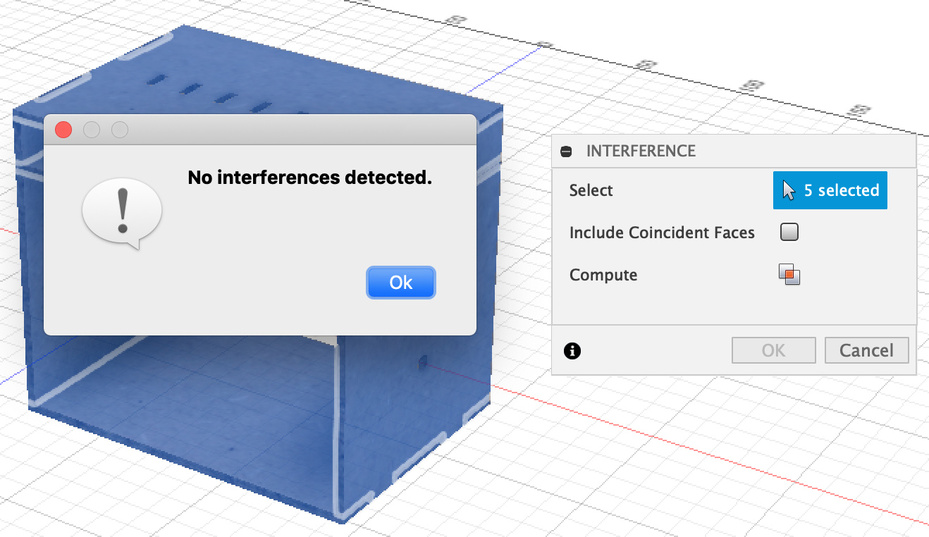
Hopefully you’ll get a pop-up dialog with no interferences detected. You can cut your pieces out knowing things will fit (not taking into account kerf).
If you DO get interferences, you can click on one of them to highlight the problem area and correct it by cutting a hole, removed a tab, whatever the right fix should be.

