I have a question for the Fusion 360 gurus. I want to do something, but I don’t think it’s possible. I’m wondering if anyone with more experience might be able to confirm.
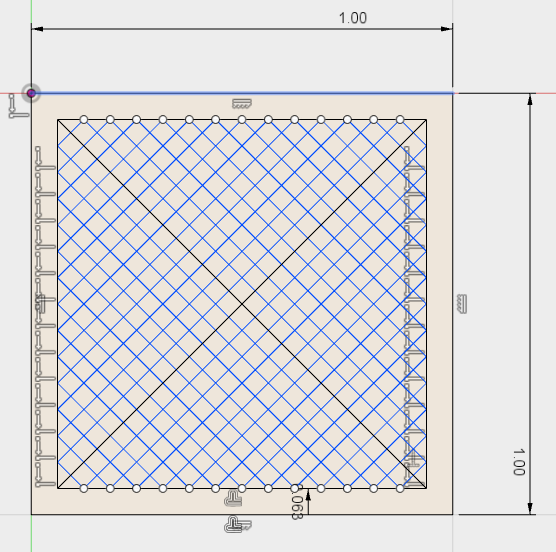
I have a sketch that looks like:
I export this as an SVG and with the laser-cutter, I cut the outer square, but I only score the inner square and lines (cut at low power so that the lines are burned on the surface, but not cut). This gives me a 1 inch square with a grid etched on it. I’d like to render it in Fusion 360 to see what it will look like before I cut it.
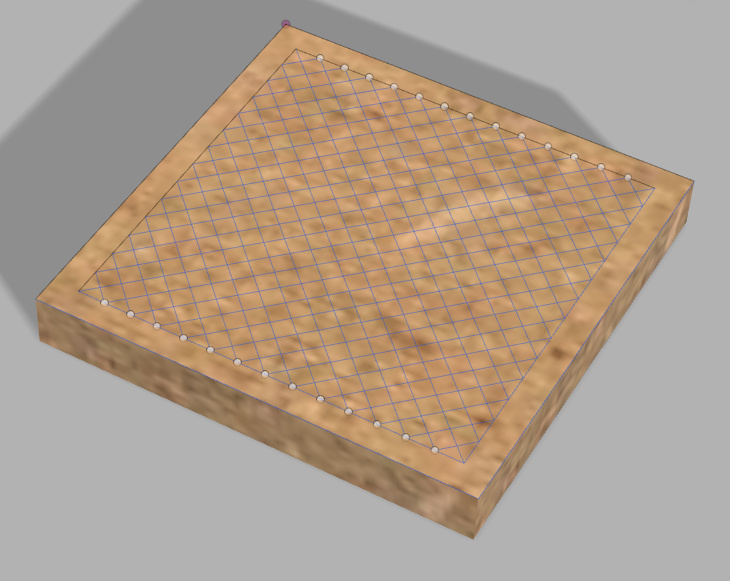
Is there a way in Fusion 360 to extrude a surface and then add the lines to the surface so that they appear in the render? I’d like it to looks a bit like the following image, but with the final render quality:
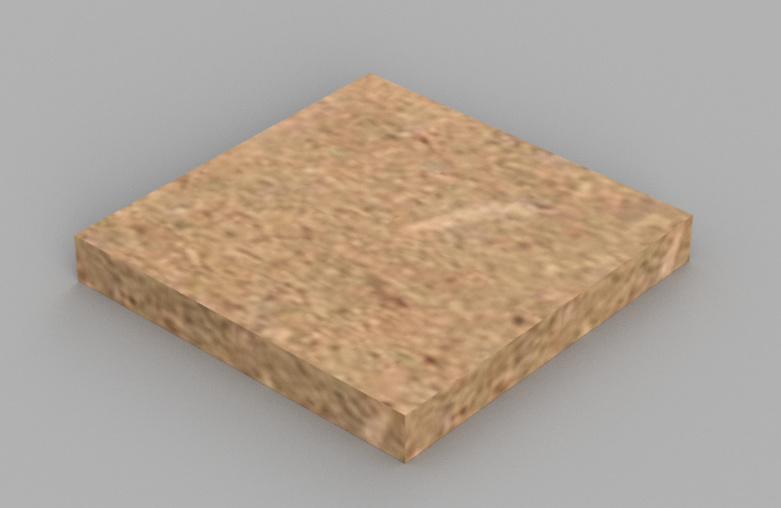
The blue lines would show up in black, and no white “points” showing up. I grabbed this image in the Render window, but it’s the preview before the render. If I click on Render, I get:
Thanks for any tips or tricks that anyone can throw my way. If I don’t get an answer here, I’ll post the same question to the Fusion 360 forum.
My understanding is that the F360 renders the surfaces of the model/object. Your overlay is only 2 dimensional (no height), so it doesn’t see it as a surface to render.
If you gave it even a minimal thickness (height), it would render. You would need to set it’s properties to a different material to make it stand out from the rest.
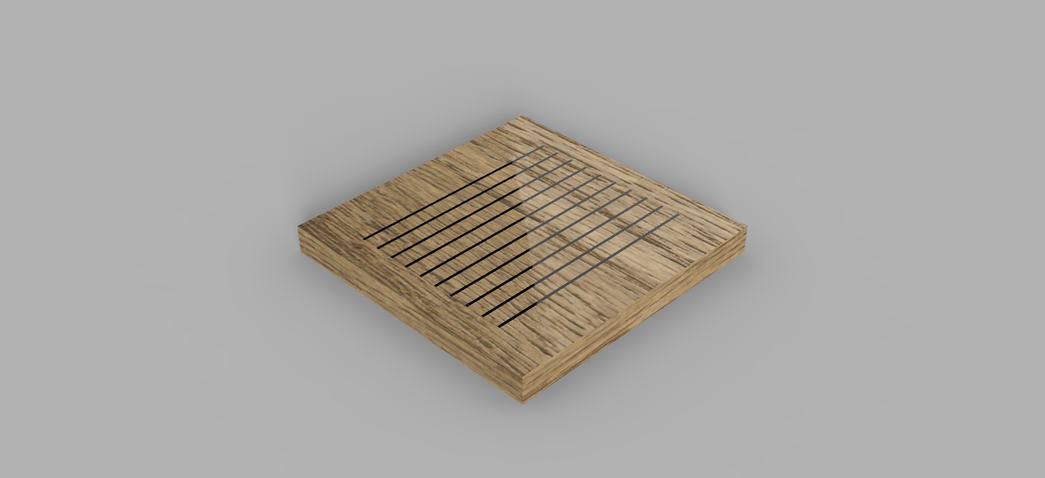
I can suggest a complicated and annoying way to do it:
In the Patch workspace, use the Create > Extrude tool, select all of your lines, and extrude them a small amount downward. This will create surfaces from your sketch.
Go back to Model and Create > Thicken the surfaces to turn them into 3D bodies.
Select all the new bodies and change their appearance to something that contrasts with the wood (e.g. black plastic).
Use the Modify > Combine tool, Target Body = original wood piece, Tool Bodies = the new 3D lines you created in step 2, Operation = Cut, Keep Tools = on.
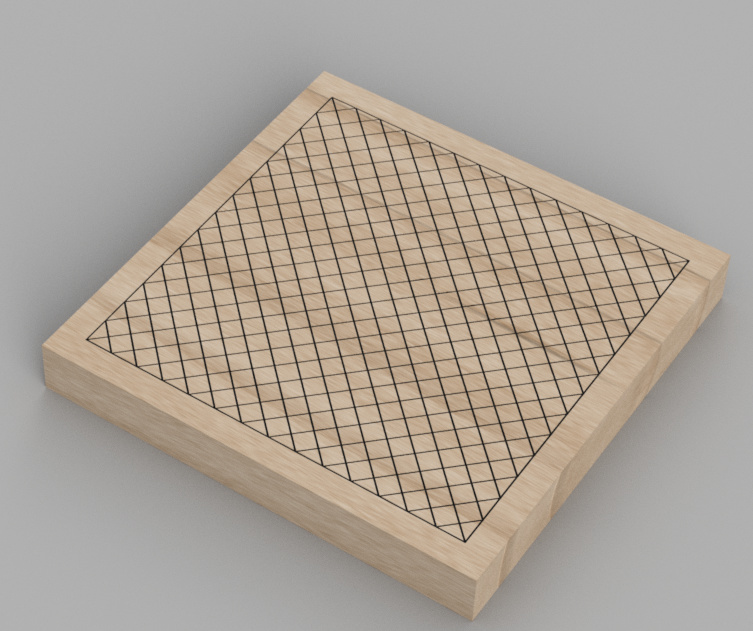
I didn’t go to the trouble to recreate your exact design, but here’s an example render:
All my likes. It works. I had no idea how to approach this. And had no idea that patch could be useful for glowforge work. I’d alway thought of it as an advanced modeling environment where mortals don’t dare go.
Now that I know this trick I think it will be a go to for several things.
It works! I was even able to inset the lines a bit from the surface (like a real laser would do).
As you say, it’s complicated and annoying, but it works. I also had to do the “thicken” in several steps, otherwise, it crashed my Fusion 360. If anyone has easier methods, I’m all ears. But at least this gives me one way to accomplish what I want.
Another way to tackle this would be with a material or texture map.
I am not familiar with F360 enough to outline the steps, but if you make a fairly high res image of just the lines on a transparent background and map it on the top it would potentially give the result you want. You can usually use an image as a bump map as well to create minor perturbations in the surface and mimic scored lines.
You can import an image as a “decal” and place it on a face, but at that point maybe it’s easier to fake draw the whole thing. Or maybe someone could figure out how to script this particular problem away. Fundamentally, though, the issue is that it’s a tool for manipulating 3D geometry, and the rest is an afterthought or not thought at all.
I guess I have a slightly different perspective (pun intended).
I spent a lot of years using 3D apps for modeling and rendering architectural models, and textures/shaders/image mapping etc. was a huge part of the process.