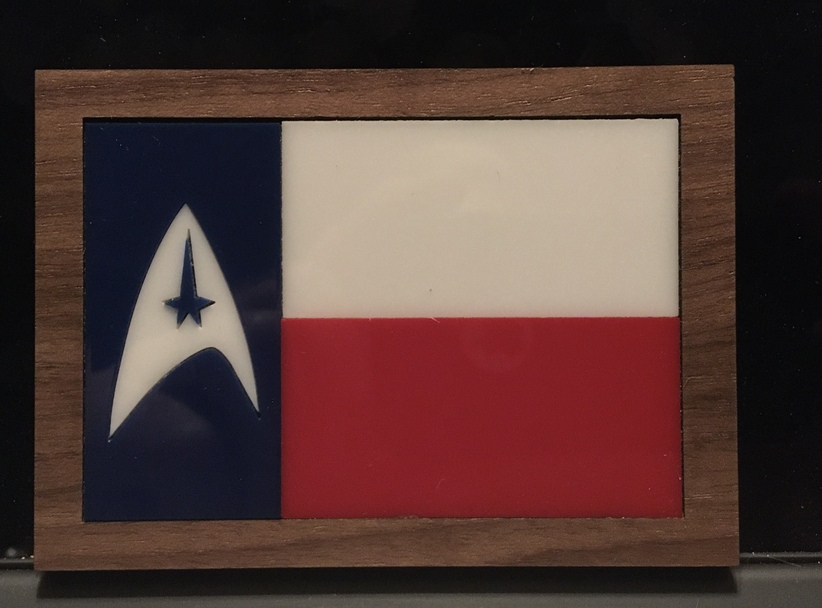
Made this today on a whim. I grew up on Star Trek TOS, and I’m a Texan. So…
![]()
I was going through my sketches of designs that I’ve done and haven’t done, and I have something similar to this that I’ve been wanting to make. I drew it up over a year ago, so maybe I’ll finally get around to it. Cool design, especially being able to combine two themes the way you’ve done!
Nice combo.
Ohhhhh, great idea!
Thanks. The first thing I did was research the exact dimensions of the Texas flag:
Then I created the Star Trek TOS badge based on the series’ exact dimensions. The Texas Star can only be 3/4ths of the width of the blue field and centered. So I proportionally shrank the badge to 3/4ths width and centered it in the blue field. I used proof grade material for the entire project.
Depending on the state flag, I’d imagine this sort of whimsy could be done for other states as well.
I was also looking at a Star Wars theme as well…
I know it kind of sounded like I had a flag planned, but mine was just going to use multiple colors of acrylic, and a walnut frame. You’re far more technical, and I can appreciate the amount of work that has gone into this!
Thank you! Some things to keep in mind:
Be careful of the detailing. If you have something as small as my plaque (2" by 3.5"), the small stuff will be incinerated. The arrowhead in the middle of the badge is right at the threshold for maintaining detail without melting it completely.
Another thing to watch is the kerf (width of the cutting beam). It’s hard to see, but the right side and top side of the walnut frame are 1/32 inch thicker. I did this to account for the kerf when cutting the plastic. This makes for a closer fit for the acrylic pieces. I pushed all the pieces in the frame to the left and down, then measured the gap on the right and top. I adjusted the design accordingly, and re-cut the walnut. I didn’t change the exterior dimensions, just the inside cut.
BTW, the frame and the flag pieces are glued to a second panel in back made from PG cherry plywood.
Put your phaser on “Forge” Captain! Great idea!
Forge Long and Prosper
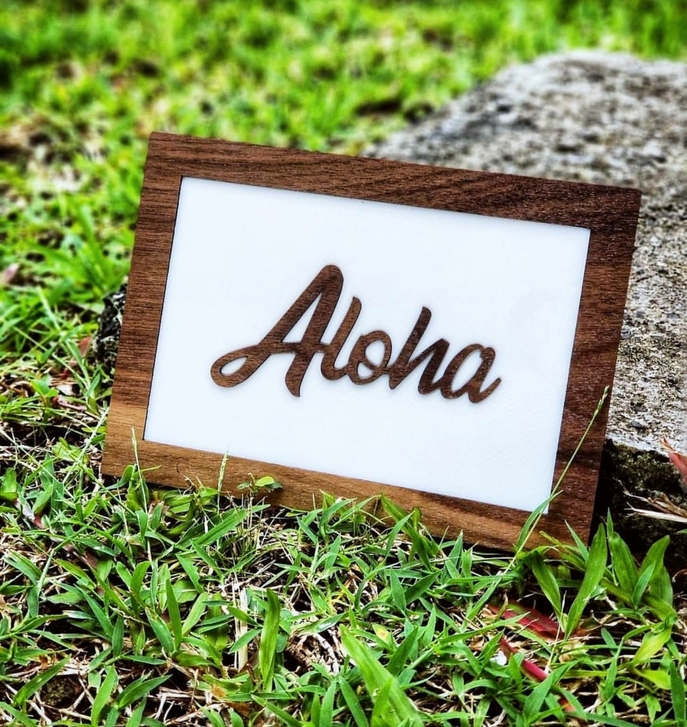
I’ve actually done a fair amount of inlay, so I’m familiar with the dreaded kerf. This is a project I did over a year ago. My idea is taking this concept a step further and adding multiple colors to it. The wood, Aloha, and acrylic were all engraved so they could seat together nicely. For kerf I’ve been adding .001" which is a lot less than 1/32", but occasionally I bump that up a little, just depends on the material. I find that I usually only have kerf issues when there’s buildup from the material being burned away and getting left behind in an engraved section.
You’ve really got me wanting to finally get to my project, so maybe within the next week I’ll finally get to it, but I’ve been saying that for over a year so we’ll see haha
Outstanding…the Lone Insignia State
Fellow Texan and Trekkie
Love the design!..now on a CA flag should I replace the bear or the star…one would be significantly more subtle than the other!
I need a banana for scale!
Unless that whole flag is only a couple of inches across you should be able to get finer detail than that. I’ve successfully cut acrylic using PG settings that were less than 1/4" across. Are you using PG settings or your own?
Yes, I used the PG settings for acrylic, for wood I use my own. The body of the arrowhead is 1/8 inch across.