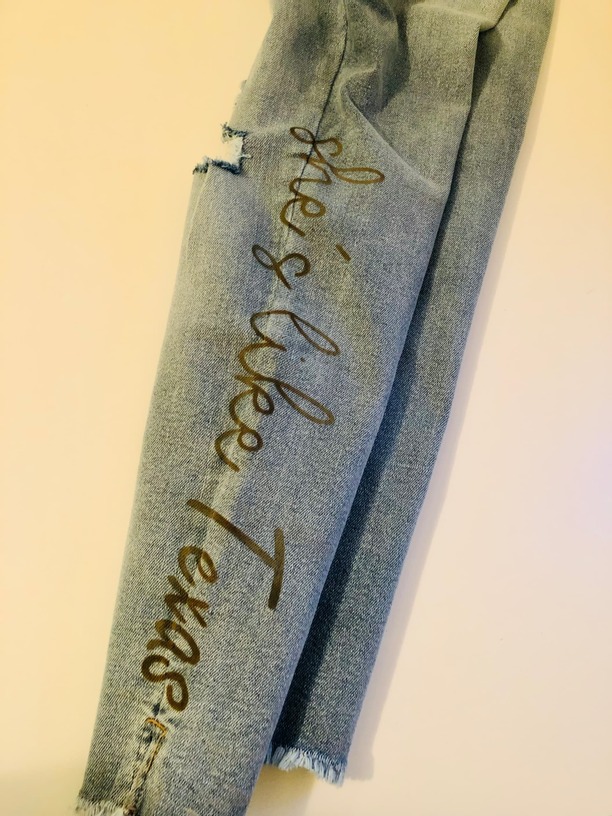
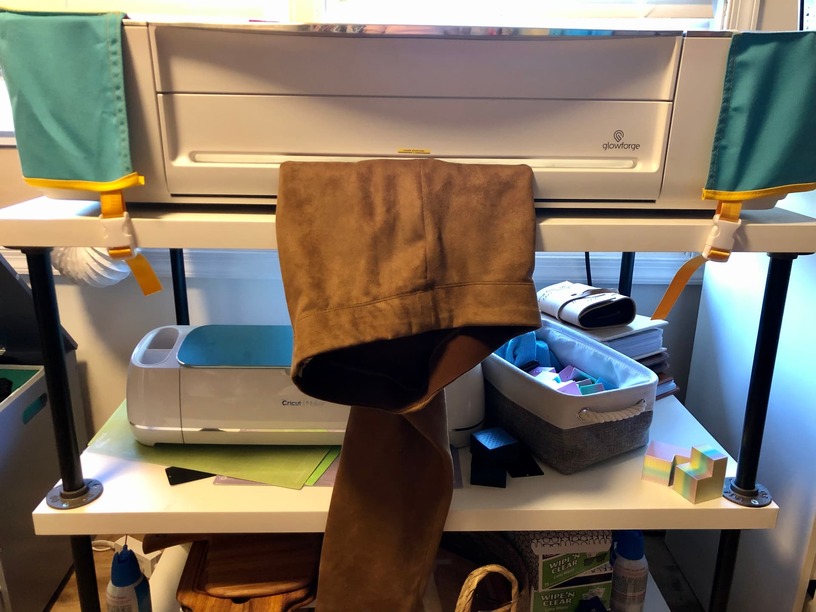
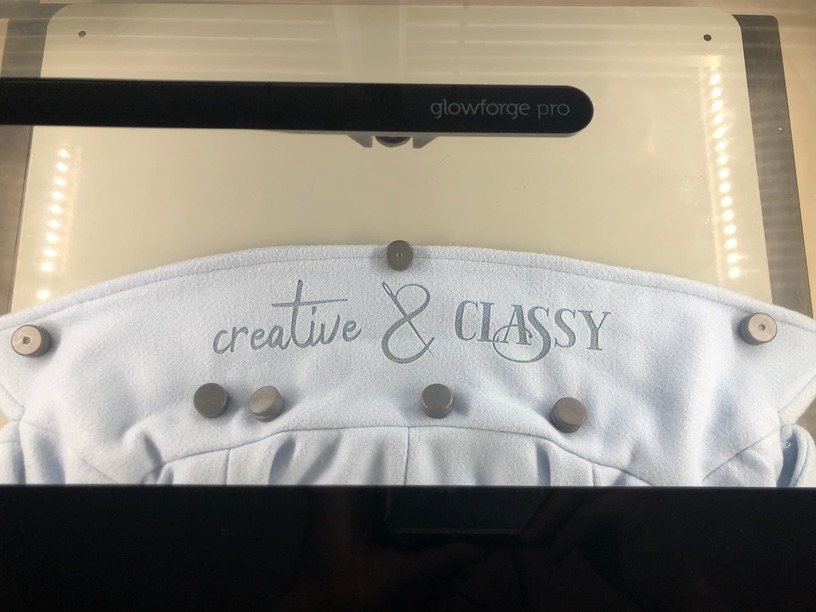
The way I set them up in the GF was with a magnetic white board that was held up with 3D printed blocks I had made and then used ceramic magnetics to lightly hold down the coats collar.
The settings I used was 550 speed and 22 power.
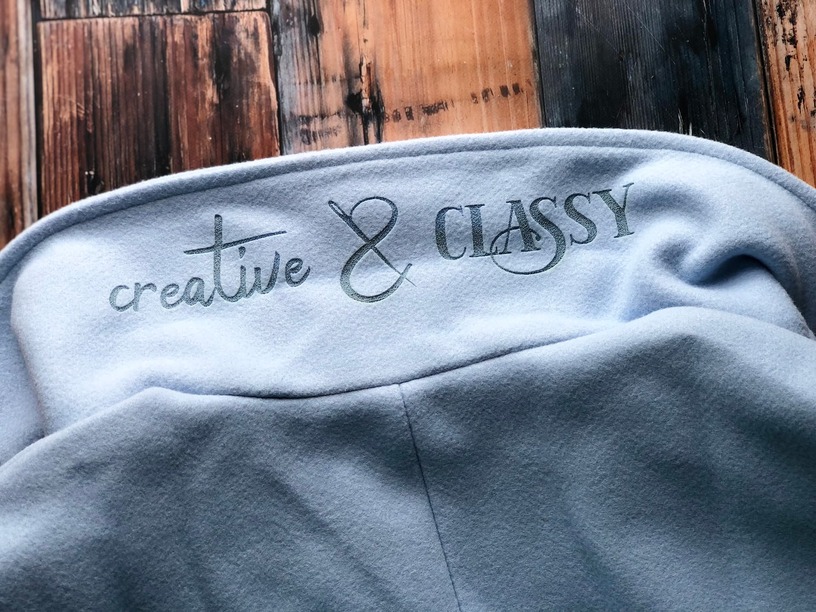
Now it will probably be a while before its cold enough to wear them but I love how they turned out.
Those look great! But should they be printed on the other side and other direction so that when you’re wearing them, people can read your collar? Then you can share your knowledge about your various crafts (sewing, GF) with them. Just a thought.
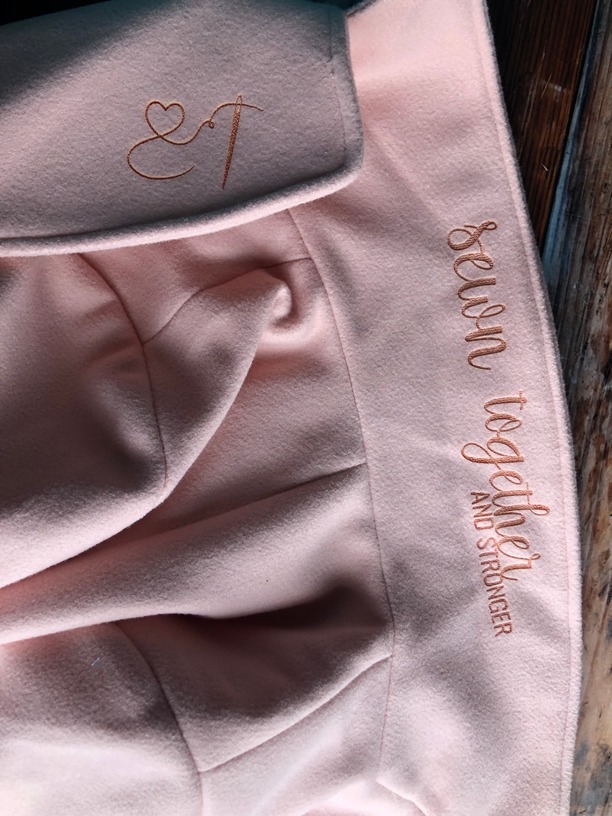
I like that idea. I think I might do that next I didn’t do it for mine because my hair is really long anyways so it will just stay covered up. My mother in law really liked them and she has short hair so I think I might do one on the other side of the collar for her So far I have done the underside of the collar and sleeves but there are tons of options.
Lets see…I have been roped into give a few presentations on creativity over the years (which is weird to me and I hate public speaking) but the main tip I tell people is to be highly aware. Aware of self, vision, and the properties of the materials you are working with. I think lots of people think its important to be confident but I am not confident at all but I became highly aware and that was really when creativity took off for me.
What I mean by being self aware is knowing things that you might get carried away in. For me with sewing, I can easily get carried away with cutting fabric and end up with a bunch of cut fabric and no time to sew it because I spent all my time cutting it. So I always watch out for that because its an easy way to start off on the wrong foot in a project by being your own worst enemy. (if that makes sense)
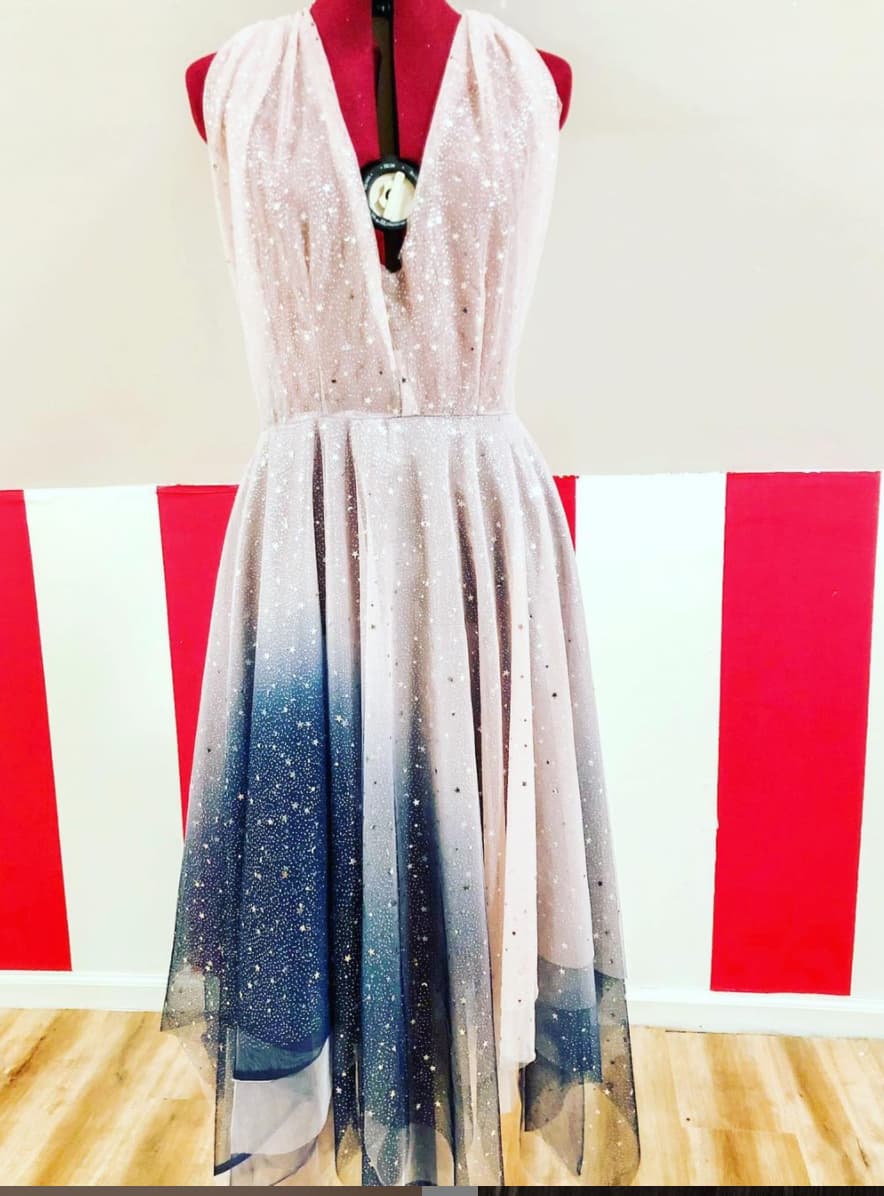
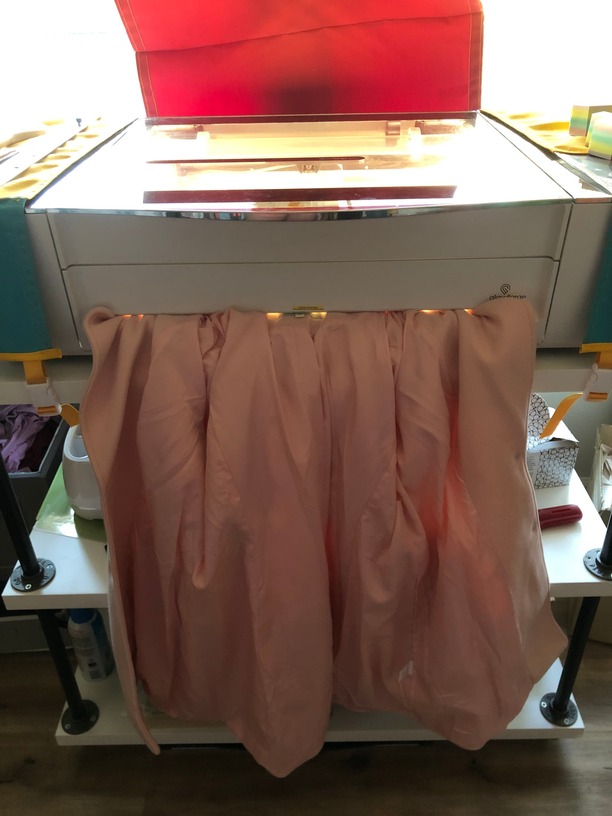
For being aware of the vision; sometimes you get a new material in and you might not know what you want to make with it but you usually know what you do not want to make. So when you start designing with it you will have some decision points and instead of focusing of all the possibilities, focus on the original vision and what you know you do not want and let that lead. For example, I got in some pretty tulle ombre star fabric and I wanted to make a dress out of it. With tulle I knew I wanted a full circle skirt because the flow that if offers and the material does not carry a seam well. The thing is that most embellished tulle has a few inches at the edge that is left blank and that really cuts down the length of the full circle. I personally like the longer look of dresses and was not going to settle for a shorter one and so I decided to only cut the waist as a circle and leave the rest as is. I then layered it and staggered the layers so it made a choppy look but ended up being perfect for the fabric. I let the material lead and made decisions based on what I know I do not want as opposed to exactly what I want and this was the result:
As for aware of the properties of materials; its sort of like being aware of your vision but you also tie in the acceptance of properties. Basically, just let the material do what it is expected to do and plan around it. Do waist energy trying to change materials from acting how they should. Just let the materials lead the way. When doing these peacoats I knew the fabric is highly acrylic based and so I let acrylic properties lead the decision for the settings. If I wanted a darker burn on fabric then I am sure that is an option but would really impact the actual durability of the fabric in the end and it would not hold up well. So I just let the fabric be its self.
Ant the final tip I give is to just have a sense of humor and laugh at your design failures. There has been many times I try and do a snow white inspired design and come out looking like Ronald McDonald. But just laugh at it and carry on.
These are just tips that work for me and I certainly realize not everyone is the same. I do know a lot of creative blogs focus on the importance of awareness.
Wow thank you so much for this solid advice, it makes complete sense.
^ This makes me think that actually adding constraints rather than looking at a blank page will drive more creative ideas. I see artists doing this regularly when making a series of 100 X and they have rules around it to constrain them, and then they come up with some works of creative genius!
The dress is absolutely gorgeous! It was a really easy to understand explanation so thank you so much for putting the time into this. It definitely helped me and I’m sure others as well.


 As with all your other work these are great!