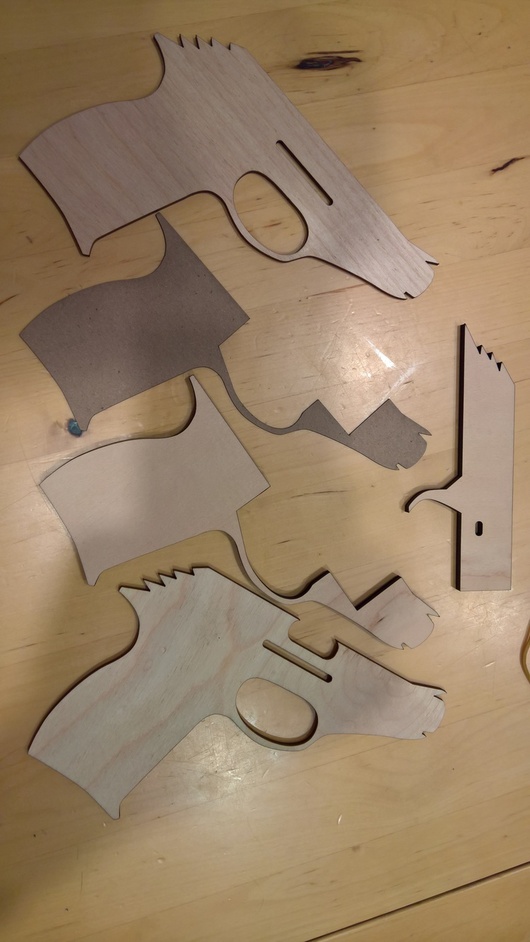
I was looking to make something mechanical and fun. I’d seen some cool rubber band guns recently and wanted to see if I could work out the basics of making one with the Glowforge. I grabbed a picture off the web to use for tracing an outline and then added some ridges on the front and back to hold the rubber bands. I figured I could make a 3 layer sandwich of 1/8" plywood and 1/4" plywood with a sliding piece for the trigger mechanism. I cut out the design and an extra piece of chipboard to give the sliding component more space to move in the body.
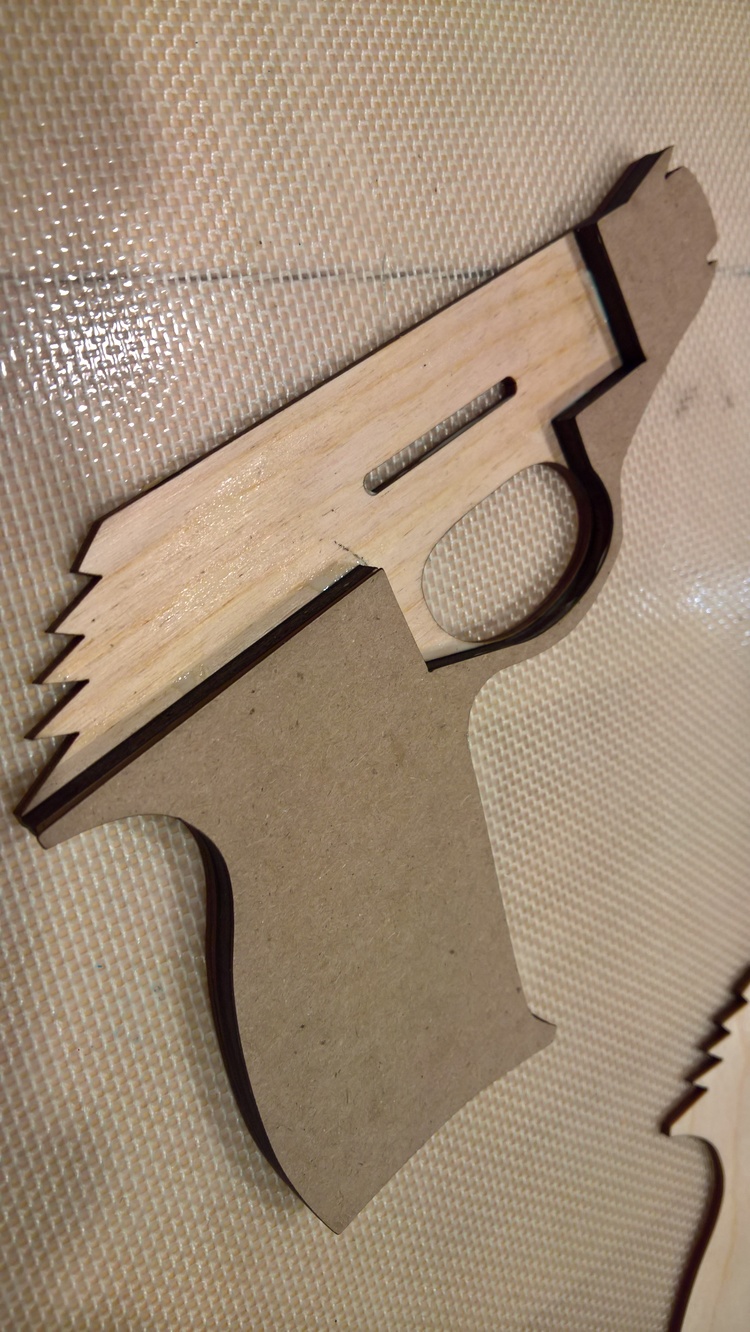
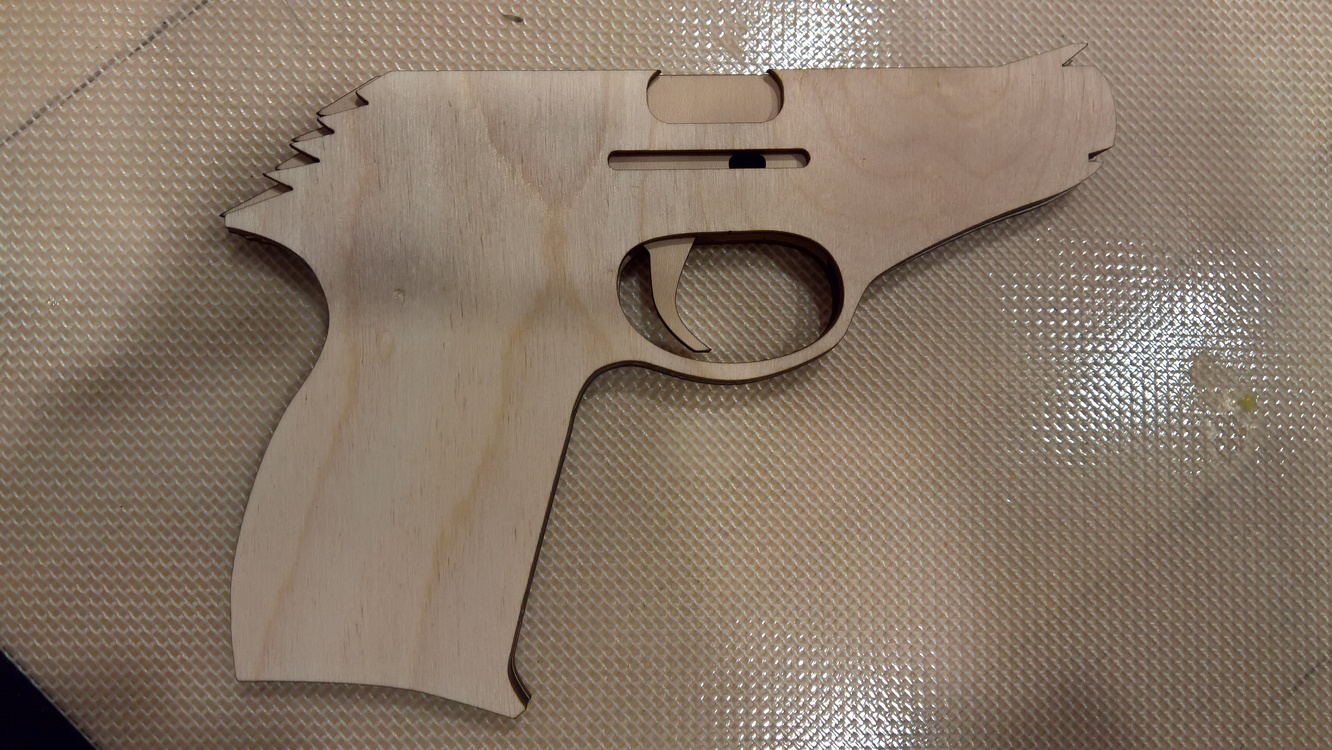
applied some wood glue and it went together pretty fast.
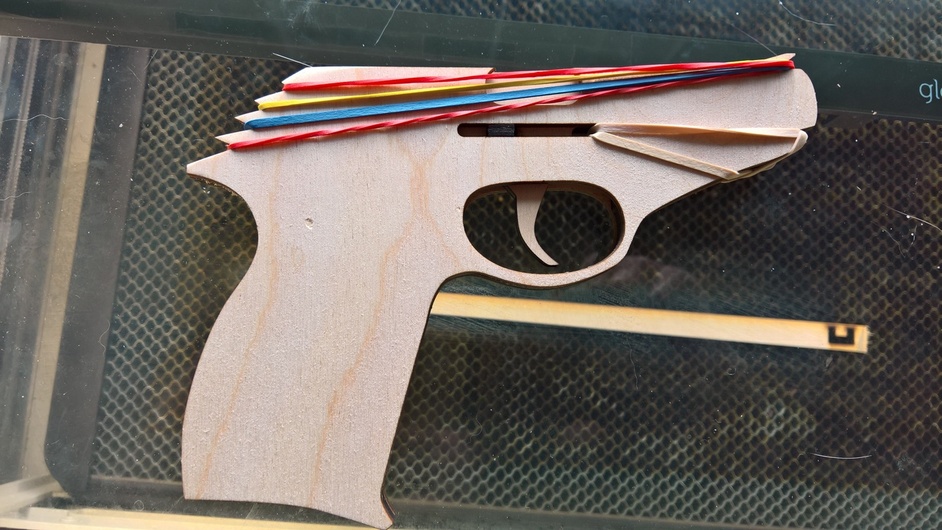
I didn’t want to use any springs so I designed it to use a rubber band to pull the trigger back forward. It holds 4 rubber bands to shoot one at a time each time you pull the trigger.
the trigger sliding part was a bit unstable so I put another piece in to help keep the back end down. It helps, but still working out some of the tolerances. I think I may move that part further back in the gun to track better. It does seem to mostly work how I was hoping though so I’ll call it a successful experiment
Don’t forget to paint the barrel end orange if you plan to give it away. Someone will probably complain that it too much like a real wooden gun shooting real wooden bullets.
It’s a game-changer, but not due to multiple bands at once. The neat thing about this design is that its ‘semi-automatic’, each trigger pull ratchets the rubber band array up one notch, and the top-most band is released.
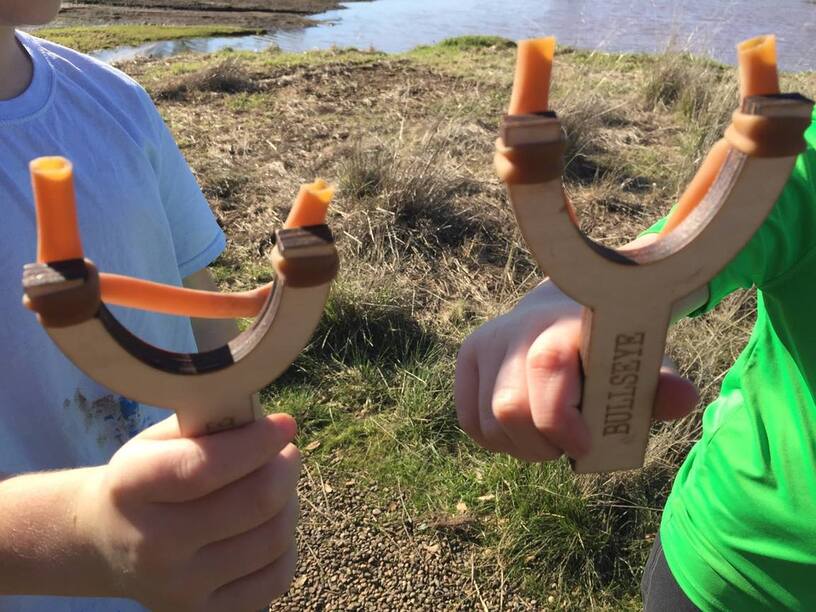
That is a cool design - I like the mechanics of it. Making simple (non-electrical or electronic) toys is something I’m going to do more of with my kids when the GF arrives. We made some quick slingshots the other day on the K40.