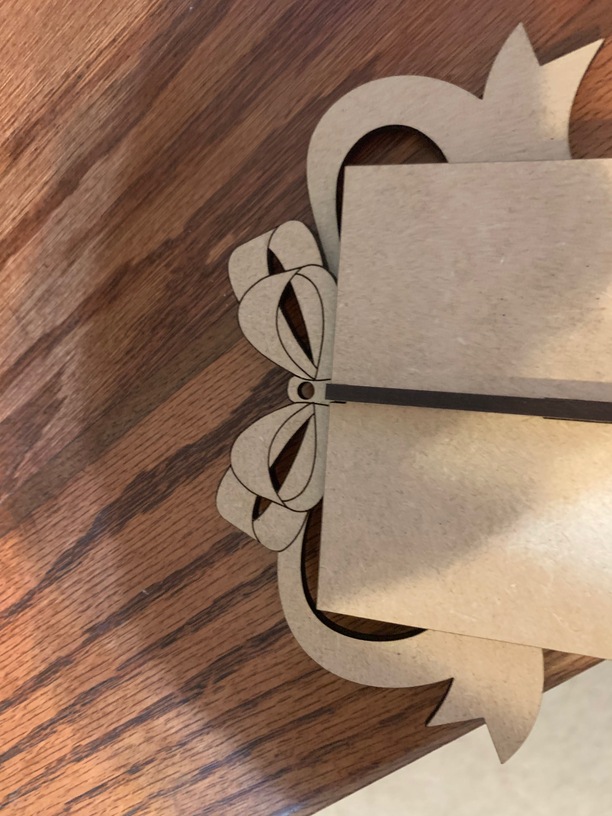
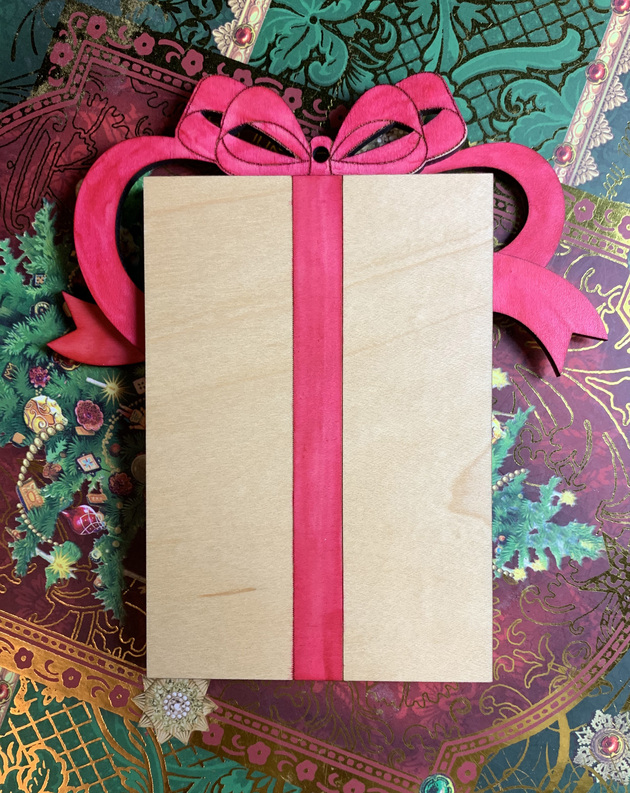
Thanks for your generosity! I increased my Inkscape-fu by manually tracing the bow and smoothing the curves before you posted the vector. Here is a pic; the engrave came out great. This was just a test in draft board, but will likely get used by the kids for the next birthday party they get invited to – draft board is great for them to decorate themselves.
2 Likes
That looks great! I intended them for draftboard as well. I like the idea of painting them.
Fabulous! Thank you!
1 Like
You are welcome!
Hey @designvh619, just wanted to share what I did with your awesome design! I hate painting, and just happened to have some red acrylic that I mistakenly ordered that wasn’t transparent. I knew it would be really hard to glue the acrylic with what I have (that watery stuff) and keep the slider working. So, I added magnets! It’s kind of messy because acrylic glue, and I still need to clean it up, but I like it!
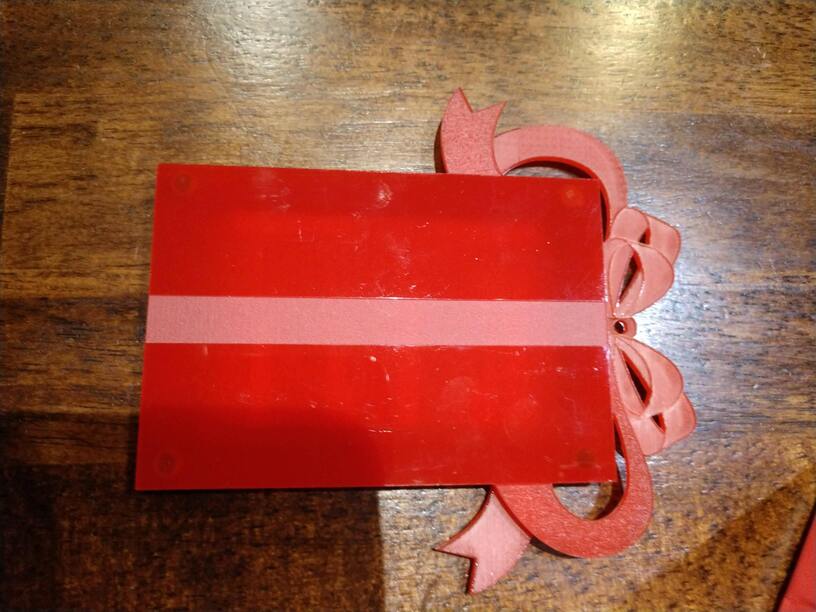
Ha, and now that I look at the pictures I see one of the magnets has escaped the pocket. I’ll have to re-glue that one ![]()
7 Likes
That is a great Idea!!! You should definitely post that file if you want. I think people will like the variation!
1 Like
Ha! Thanks, I may just do that. In my case, it only makes sense because I was making two of them. So I was able to cut/engrave one side, then flip and engrave the other side in the holes left by cutting the first time. If you only needed one, I’m not sure how to get a jig to flip and engrave both sides in the right place. My process is a little confusing, and I’m amazed that it worked actually 
ETA: and now it seems I have to make 5 more for teachers. But I don’t mind at all! Lasers are so fun!
3 Likes
I wrote a tutorial on that (flipping non-symmetrical designs) but can’t find it. Must have posted into an existing thread.
Basically, in your software, mirror the design cut path, aligning the bulk of the cut (in this case, the rectangle) and assign it a separate color. Lay your reverse side engrave in, also as a different color to everything else.
After removing the first “print” from the material, run that second cut, and carefully remove additional cut parts (tape works well here) then put the cut part into the “new” cut outline, and run the reverse side engrave.
2 Likes
Oh, I see. So you do the aligning in the software and then just run the second cut to make the overlapping parts cut out a mirrored hole you can stick the flipped piece into? Sweet!
1 Like
Yup. Most people think shapes are symmetrical and those are indeed easy to flip, but the bow on this one is a perfect example of using a second (mirrored) cut to align things for a reverse print.
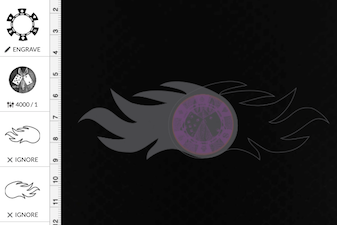
This was the file I used as an example. The final piece only has one “flame” but because there is so much overlap, I actually flipped it horizontally, using up a little more material but precision for the engrave was important - there’s a 1mm “lip” on the edge to be preserved.
2 Likes
Wow that will be really helpful, I am sure I can use that going forward! In case anyone wants the file I did use, here it is! So I engraved the filled sections (also with custom To and From on the plain square pieces but I took that out so you can add your own) and cut the rest (there may be an engrave for the ornament hanger hole, I am not sure why that is there but I ignored it since it was being cut anyway). Then, I took all the pieces out, flipped the top two left ones and stuck them in the holes where they would fit on the bottom and re-did the engrave just on the bow and the ribbon stripe. I took the bottom two right pieces and flipped them to engrave the magnet holes and the other side of the bow.
Word of warning, I wouldn’t recommend proofgrade settings for this if engraving acrylic. It got really flamey on the underside but was much better when I bumped the power down from full to 100.

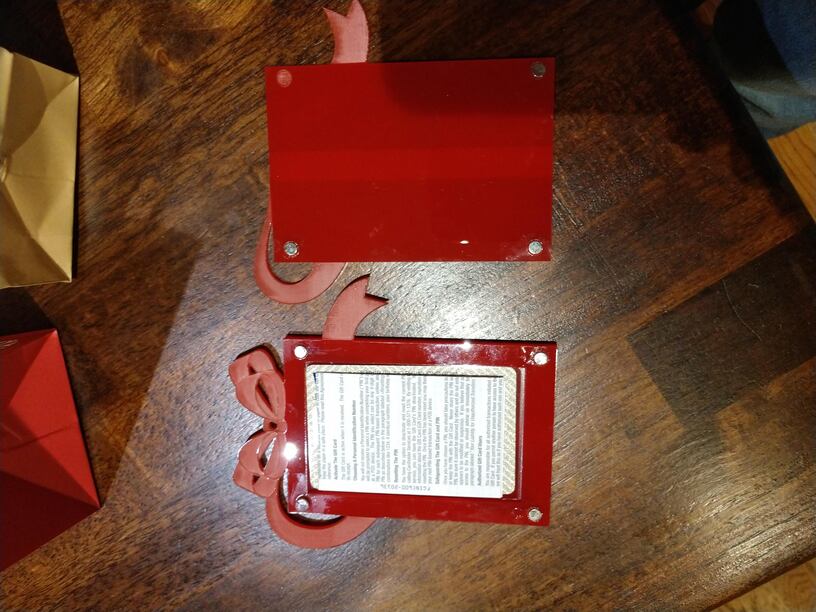
After that, I glued the magnets in the pockets (they are sized for 5x2mm disc magnets I believe). Then I glued the card holder piece to the back of the plain square piece, and that’s it. It’s a great design, and now I apparently get to do a lot more of them for teacher gifts, so yay!
6 Likes
Gorgeous!
3 Likes