Don’t disagree with any of that. Played around with laser cutters before ordering but not a regular user like @jacobturner. After ordering I started to get serious about it, climbing all over the units at work and talking to the operators at length. But when I went on-line to check typical settings used with 40W lasers I saw numbers that were all over the map for the same material. Decided I would trust the settings coming from people here and Glowforge owners more.
2 Likes
Love the avatar change but always felt that I was sitting down to some good, old time, mountain folk wisdom with the other.
As to the topic. I am so wanting to try materials other than PF but have soch a big Queue.
I know it will be useful and a relief for folks to know that they can actually put their own materials in and have it work out.
5 Likes
could we get hoppered the option to print a registration mark for an exact 0,0 used for upper left when importing a design?
@mary_jimfier Very true, I have a 100W CCL (cheap Chinese laser) and never give the speed and power numbers I use because they are pretty much meaningless to anyone else, even with another 100W CCL. So much depends on the material and the variations within it. GF is providing proofgrade materials to overcome this problem and I’m sure the performance of each GF will be within small percentage points of every other GF. It will “just work” as @Dan has said.
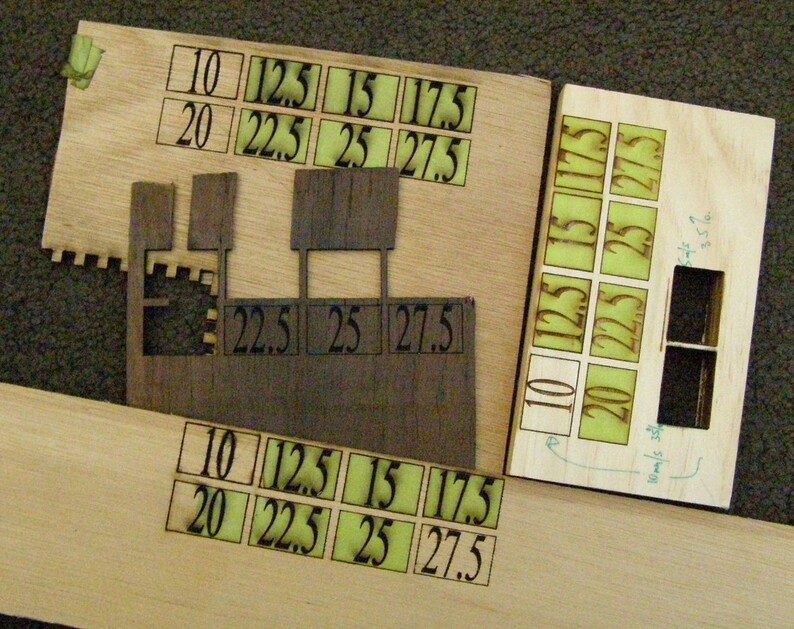
A representative sample of my tests, cuts around engraved figures, covering the work piece with masking tape minimises “smudging” …
6 Likes
Thanks 
Not answering for Dan, but since this is a forum where we all help each other and I’m the only one of two (and I might add the only one giving demonstrations, such as they are) I will chime in. Posted my latest video here. Edit: [Trying to be helpful and understanding for you @ihermit2] I am still trying to understand your need for a registration mark and many others’ needs for 0,0. I can understand that to get a top edge of the material truly parallel with the gantry, there needs to be a registration mark on the honeycomb.
You are probably so accustomed to a workflow using it that the way the Glowforge operates is a different beast. Not having a CNC router or other tool, but having spent the last two years reading and designing and gathering components, the base and the squareness of the bed is crucial. Using a camera to place where you want it is different.
The honeycomb cells have to be parallel. then the whole tray needs to be perfectly registered to the bottom of a Glowforge. All of which are pretty accurate, but that is beside the point. I have got to get uploaded the screen capture of the process of placing an item. I’ll post this and then get a YouTube up for it.
You either start with a catalog design or upload a custom file (top right of screen below title bar next to trace. Your design appears on superimposed on the image of the materials that are on the bed. Then you place the image where you want. You can resize it (proportionally only as I can recall) and you can rotated it as you wish. You can zoom in to a high level and line up your graphics lines where you want.
That’s what the end result that following video demonstrates. I hope I am helping further the discussion. Stay tuned for that screen capture of the process. I put it in it’s own topic.
10 Likes
I’m not actually accustomed to any work flow yet. Anxiously waiting the glowforge to start forming bad habits. but everyone always seems to worried about where things will go to I thought I’d toss in a suggestion. Also thought I was on the alignment thread. so sorry for the derail 

2 Likes
Roger! Would help even more if I understood how you plan to use it.
1 Like
I honestly don’t just overthinking the wanting a hard and fast 0,0 problem that people seem to be having.
Now, I have zero laser experience (or CNC, or Cricut, or anything else.) So, I’ve been trying to figure this out strictly in my head. Also, I don’t think that I will end up having the extreme accuracy needs that some others here have and may not understand what they are looking for.
One scenario that I could come up with was printing custom 2" alphabet blocks with the braille alphabet for a local school. I create a file with pink 2" squares (ever so slightly larger, I think?) to fill the piece of material that I have to create a jig. With my 11.5"x20.4" work area, I fit about a 5x9 array of the squares.
I save six copies of these pink squares (maybe one file, six layers.) In each file, I put whatever letters I want to show up on each of the six sides in chartreuse (a different color.) I’ve used the pink squares in my file to center align everything.
First, I put in the wood or whatever for my block jig, maybe having the piece big enough to push up against the inside of the machine and still fill the work area. Then, I open one of my six sides and set pink to cut and chartreuse to ignore. I don’t move the placement after it is dropped into the Glowforge camera image. Press round, glowey button.
Once that is done, I fill the jig with blocks and set pink to ignore and chartreuse to engrave. Each side has a decorative element that gets pretty close to the edges of the blocks and the braille in the center, so that makes accuracy more important. Then, I open up the next file. Again, I don’t move it after it’s dropped in to the camera image. Pink, ignore. Chartreuse, engrave. Glowey button. Repeat 4 more times.
A month and 1,000 different prints later and another school wants the blocks. Can I reuse my jig, shoved in the same corner, and get this done?
My other thought would be to zoom in and use the array of squares to align it using the camera, but I would loose some accuracy there.
Hopefully, I’ve explained in an understandable manner. If I haven’t, I’d be happy to clarify.
5 Likes
Super helpful, thanks! Copying @tony who’s been thinking about this problem.
1 Like
Similar to @scatterbrains’s use case is the shot glass jig I wrote about. I’d like to be able to quickly reload the jig and print more right after the first batch finishes or print another match a month later. I created a CorelDraw template with spots for 20 glasses that I can use to drop designs or customer logos on to quickly align the artwork to the template. The faster I can set up for the engrave, the more profitable the job will be.
5 Likes
The max height going to 2" must help with these plans. 
1 Like
Yes! As soon as I heard about that change, I bought a case of 72 shot glasses where the top diameter is something like 1.85". I’m planning to sandblast some until my Glowforge arrives and then change over to laser engraving.
6 Likes
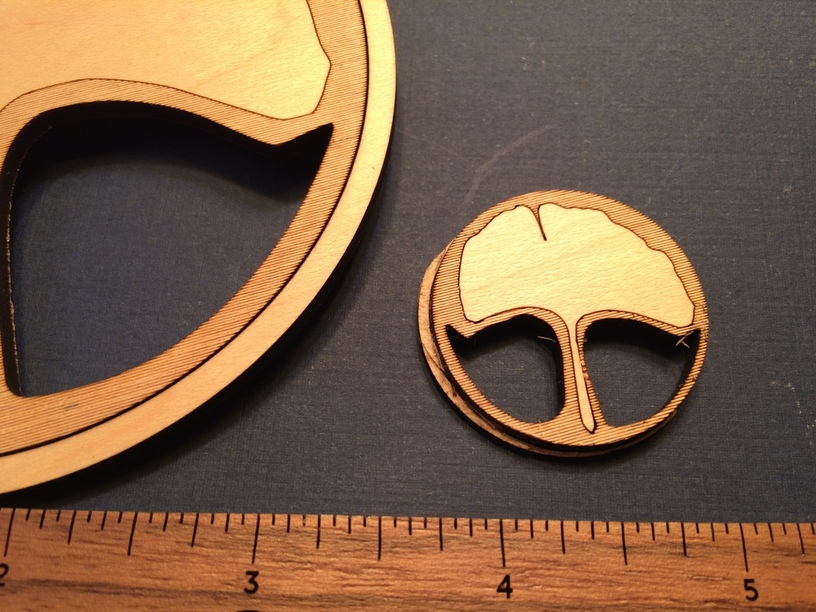
Here is a small version of the file, reduced using the Glowforge UI. It didn’t cut through all around it but I’m not sure how much is lacking. Left it in till I finished the squares.
Also, the inner circle was to be scored. In the small and the large it was almost trough. Will check my settings and colors because I have to revisit the design.
And here is a large version, 4.25". I need to make it 2.5".
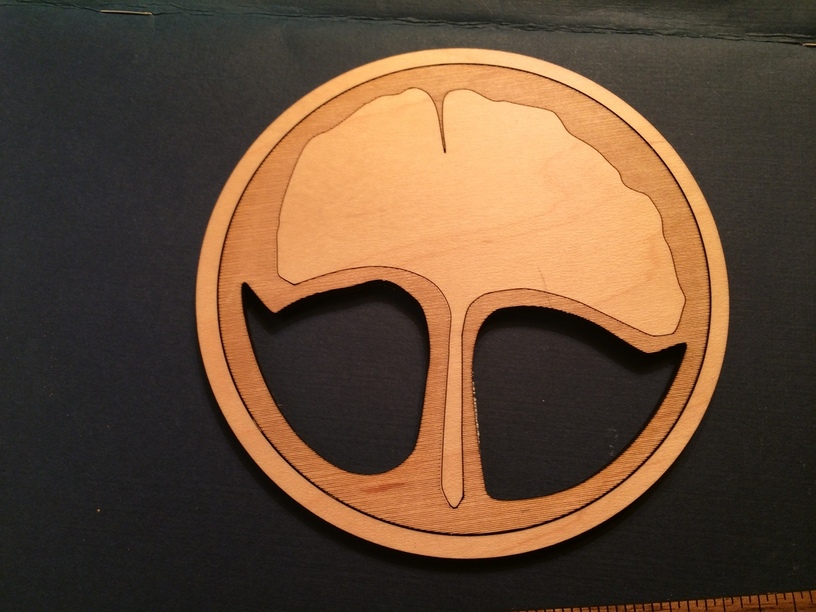
It did very well I like the light engrave. How about putting it back in the circle and aligning it and run over the engrave one more time. That would be a test.
And the case of cuts not going through and turning over to finish other side?
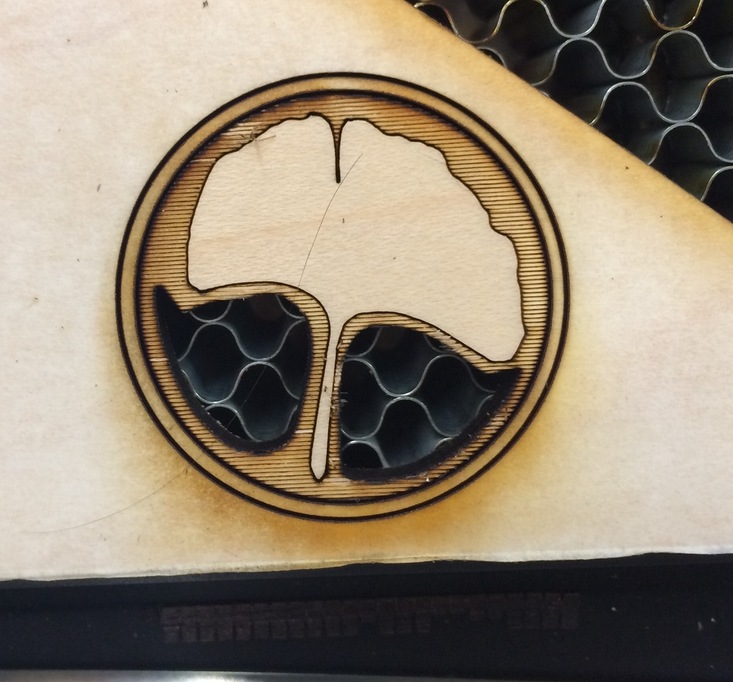
This pic has a score waiting to be finished. Scoring other side and a ring drops out.
16 Likes
Are you manipulating the power levels or are you using the proofgrade ‘defaults’?
2 Likes
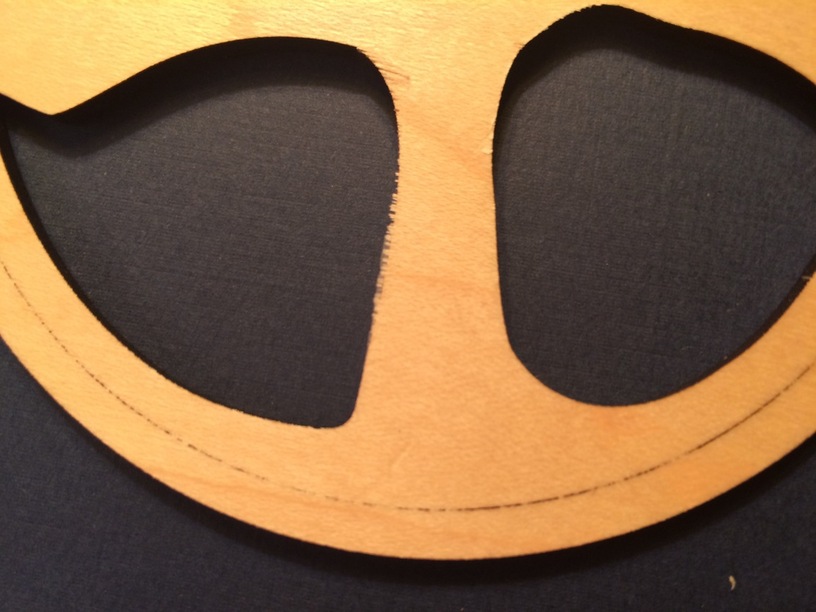
Defaults. This is my own design but I chose what I needed. Not that the back veneer is slightly torn as it hadn’t cut all the way through. I’m curious about this. Am going to do it again with a few changes.
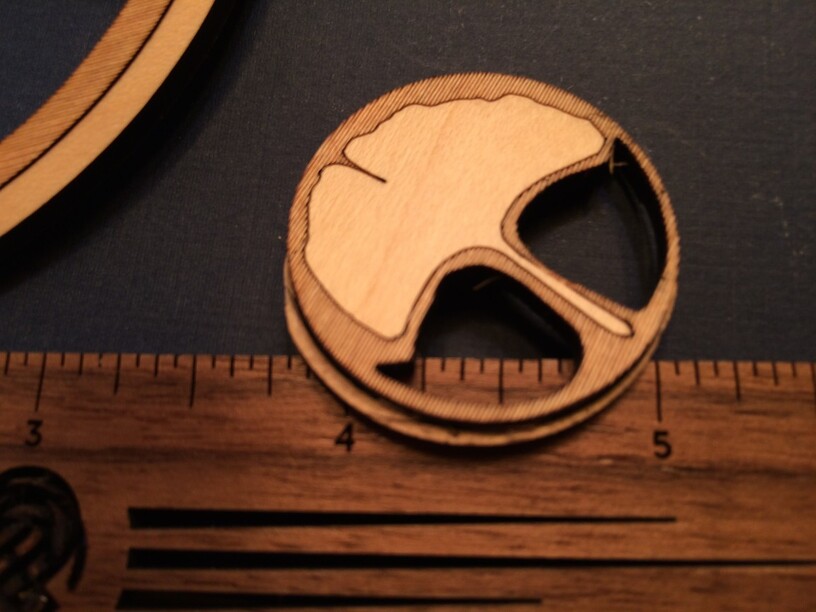
And back again with results of the flip. It’s hard to place accurately when zooming in. The shadows kind of blend in. I didn’t have a precise line all the way around.
I resized an imported circle in the GF workspace itself and did a light scoring on the back of the image to nibble through to the other side’s scores on the outer edge. I’ll post a YouTube as soon as I dub audio of the whole process.
It’s off center. There is room for improvement in placement and positioning if we are going to do cut throughs from the other side. I will continue to explore the user aspect of this positioning challenge, specifically for engraving double sided coasters, The ginko can be a coaster easy enough. Just leave the holes out, line bottom with cork or engrave, score as desired and finish with an epoxy or waterproof finish.
6 Likes
If the Proofgrade cut didn’t go all the way through with the defaults, that’s a bug - please let @rita know ASAP.
One known problem is that with single-point autofocus, you can only be certain that the beam is in focus near the center. Until we enable multipoint autofocus, objects off-center could be out of focus due to warp and have cut-through problems.
And wow, that’s lovely!
13 Likes
Thanks for the feedback. Will inform support about these encounters with non-through cuts. Yes, they are at the edges.
Otherwise this Glowforge does what I want it to do! It’s a blast.
8 Likes