Settings: 800 speed, 80 power, 270 LPI
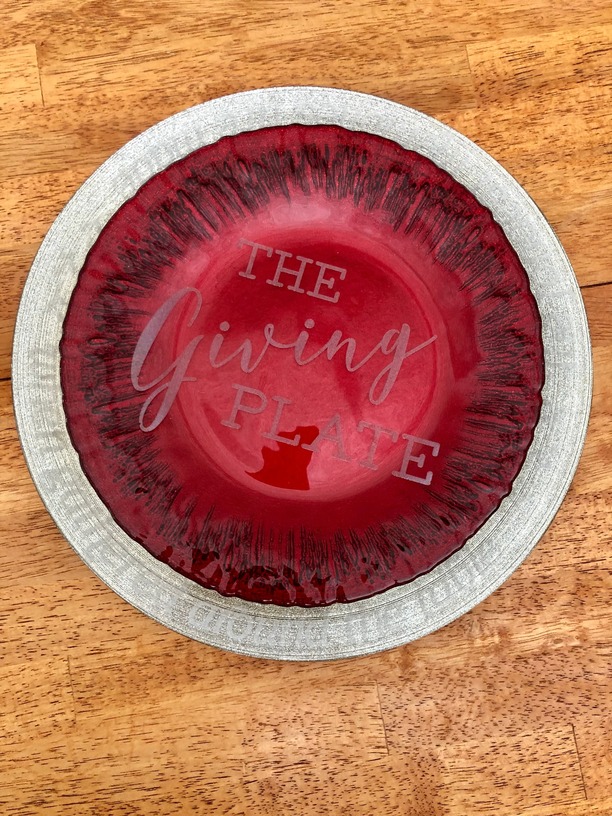
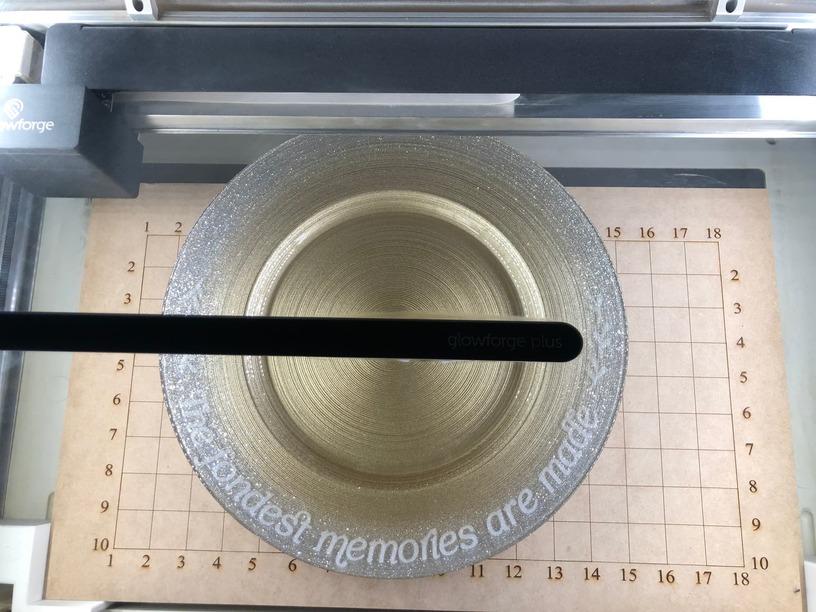
Source: I bought these at Homegoods yesterday. They had tons of them and I recommend going there first because they are pricy everywhere else. I the red small plate was $9 and the gold charger was $12. But they had them both in various sizes. The brand of the plates is artistic accent.
For engraving the red plate, it was able to sit in the glowforge face up and not be too deep to engrave the center.
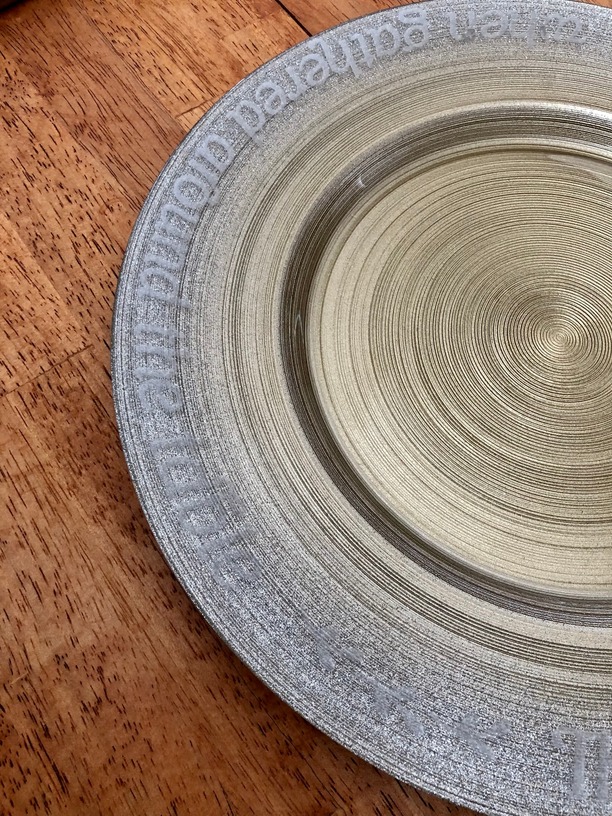
For the gold plate, the center was to deep compared to the outer most edge of the plate. Therefore I was only able to engrave the edge. The plate is 13" in diameter and I wanted a design that goes around the edge. The max width the GF can print is closer to 11" for these settings and so I had to divide the print into two sections. I used my grid jig to line up the plate with the app. After it printed the first segment I then rotated the plate and used the grid to make sure I put it back in the same spot. I rotated the design in the app as well and printed the second segment. It perfectly hugged the rim of the whole plate.
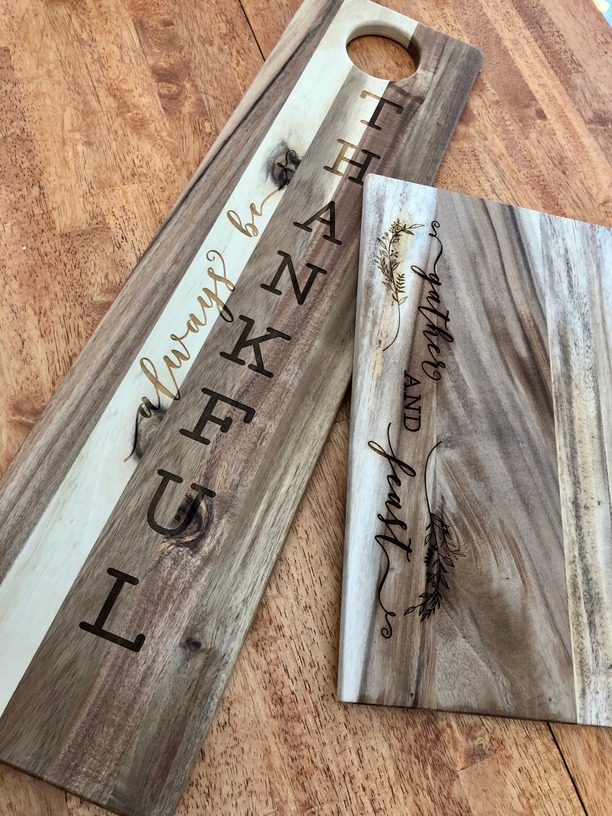
I also picked up this 30" long Martha Stuart charcuterie board and its matching rectangle (it was only $6 at homegoods!). They also engraved really well with the glowforge:
I need to sit down and better explain the grid. It makes sense to me but I do not think I have explained it well.
I commonly see people ask about having a grid in their glwofroge. From my experience, the grid for one glowforge is not going to be on point for the next (the GF focuses on precision and there is slight variations in manufacturing). So the only way to get a grid of your machine it to ask it for it. So when I make the grid I am asking my machine where it thinks points are when at its specific setup (if I relocate it then I should redo it just like with the calibration grid).
So, i get the jist…to make one for mine, do i go in and i.e. set the precision to 1,1; 1,2; etc. and create score lines for that and then when i put it in place as you have with the legos, it should print center when i place the object on the grid?
What do you mean center? When you put back in your blocks and line it back up, it will print where ever the coordinates on your grid are. Do you have a specific setup/use case? I can let you know what you would do for that one.
So is this for ‘repeat’ engraves? Or, can i put the coaster (like your example) on the board like you did and know if i put in those coordinates it will be in the correct place?
If i use your file to print the jig…how do i know for sure ‘where’ to place it so 1 is actually 1, etc. Not sure i’m making sense or if i have it clear in my head.
Are you using the legos? If so, when you line up the legos you are then using those to line up a lifted board and the glowforge will print 1 where 1 actually is when lines up with the legos. Basically, the X and Y stay constant and it will be fine no matter where you are on the Z axis. Hopefully that does not cause more confusion.