If you are not familiar with LazerMask, it’s a stick-on masking product which can be engraved away by a laser. The exposed glass can then be etched with an abrasive blast. This is pretty great because you don’t have to make a sticker and weed it… The laser vaporizes the mask, and then you just etch it. This lets you etch complex designs. And did I say… No weeding?
I developed Glowforge settings and shared them in this thread:
This process is great but it has one significant drawback: you can only work on glass items that can be engraved in your Glowforge.
I figured it might be possible to engrave the mask on some other surface, pick it up with transfer tape, and then stick it to the glass. This would let me do large items and curved surfaces.
It turns out, this does work. My first try was good enough to keep and use, though there is room for improvement.
Engraving Surface
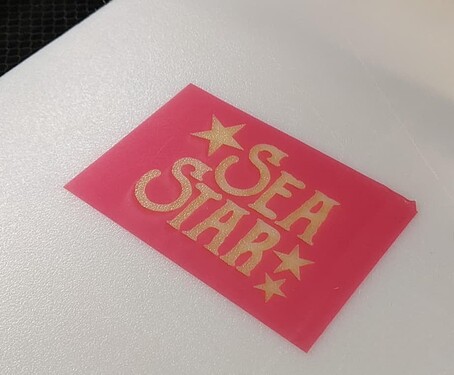
Textured HDPE, like you’d use for a cutting board, seems to work very well. It’s slippery, but the mask sticks well enough to stay put during engraving. It is also laser-safe.
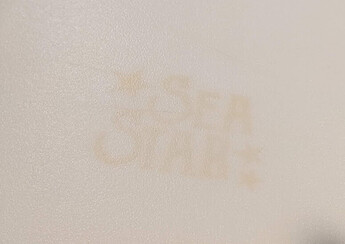
Here’s a post-engrave shot. You can see the HDPE has yellowed, but it didn’t melt. (I used the same engrave settings listed in the linked thread because I was pretty convinced that amount of power was required to get a good clean edge on the mask.)
After engraving, if you scrub the HDPE, most of the discoloration goes away. More importantly, it still feels like new – there is no stickiness or texture added. I’m optimistic the HDPE can be reused many times.
Transferring
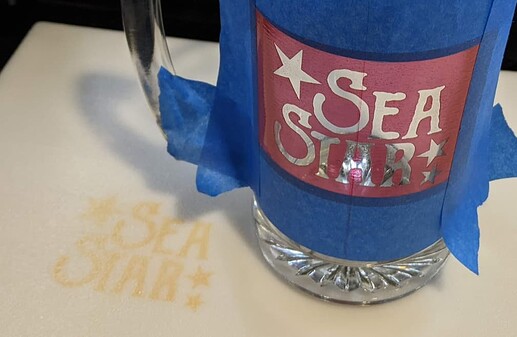
I used low tack paper transfer tape to pick up the engraved mask and apply it to the work item. It picked up the red mask sticker pretty easily except for the islands in the A and R. I had to loosen them with a pick.
It worked out because this was a simple design with only a few islands. If it had been a million halftone dots, it probably would have been a mess. A slightly tackier transfer tape might work better.
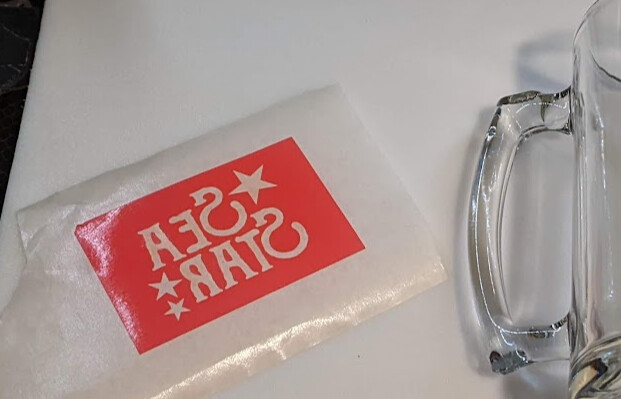
But, the next step is putting the sticky mask on the work item, and for that the transfer tape needs to release easily. I had a hard time getting it started, the corner wanted to peel up. Once I did get it started, pulling back at 180 degrees had it release easily enough. The islands didn’t give me any trouble.
I’m hopeful that medium tack will make it easier to pick up little bits while still releasing when needed… I’ll get some and find out.
Etching
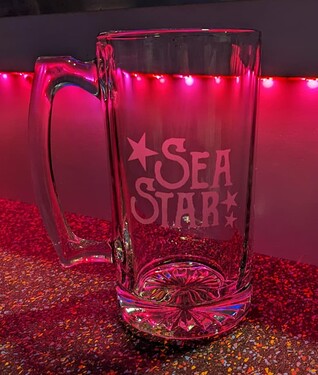
I smoothed the mask down firmly and etched as usual. I had no problems with the mask coming loose despite the extra transfer step.
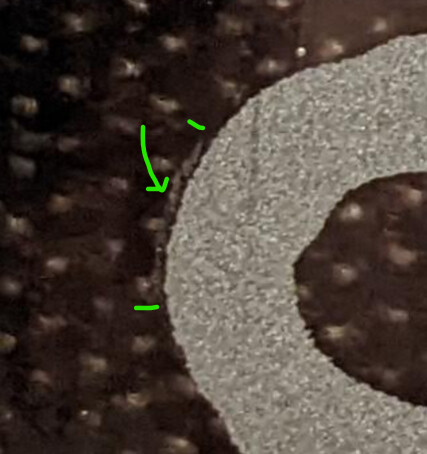
When I inspected the final result, I did see a couple of places where the edge was unsharp, like the edge of the mask was not stuck down well enough. The marring is very small and very faint, probably only the maker would notice. Hopefully, just taking some extra care in smoothing down the mask will eliminate this in the future.
I hope this helps other glass etching fans!
Edit to add:
I’d like to know if a Seklema mat might make a good engraving surface for this process. If anyone with a mat is willing to do some tests I’ll send you some LazerMask. Ideally you’d have some low-tack transfer tape too. PM me if you are interested. Alternatively if you have a few square inches of scrap Seklema that would be enough for me to figure it out, too.
