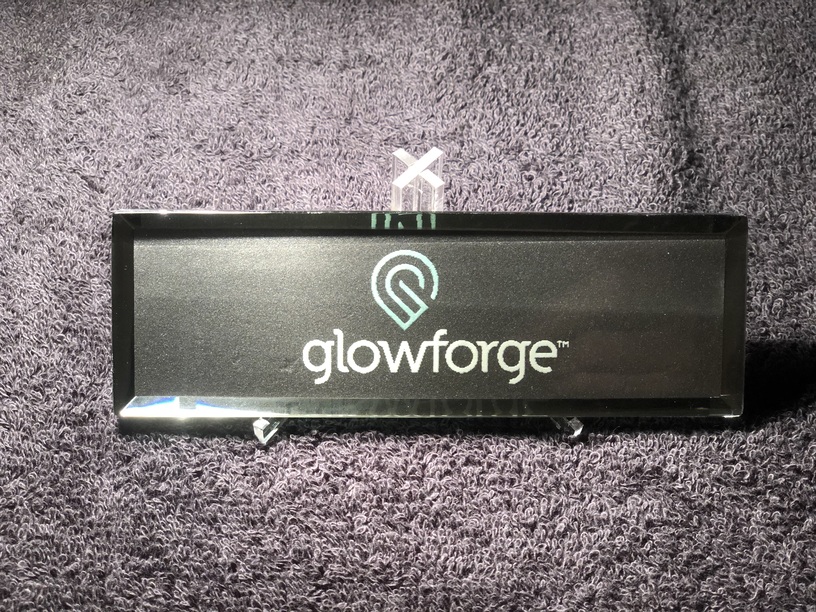
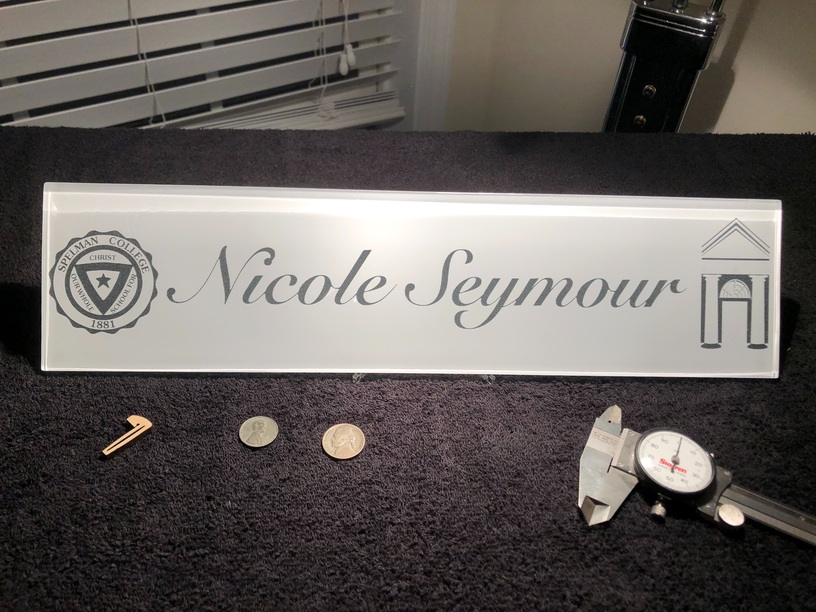
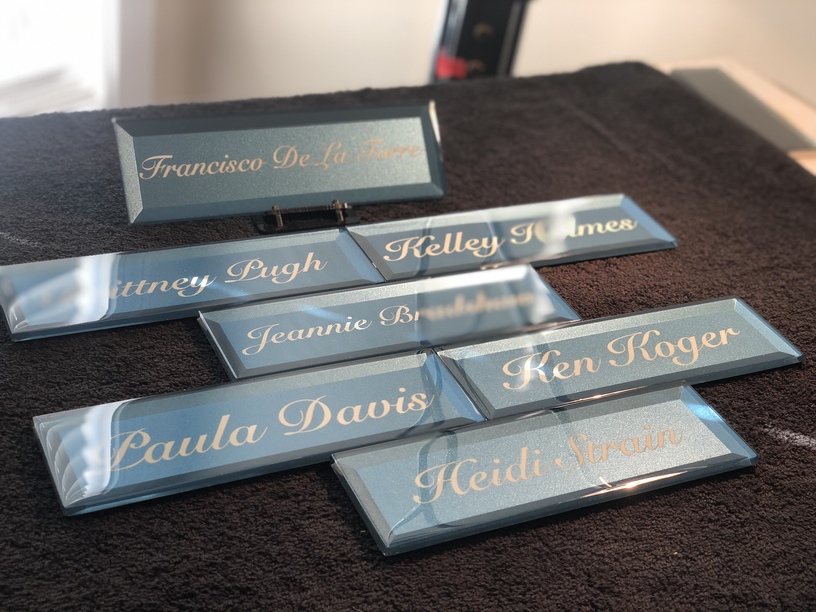
I thought I would share some of the name plates that I have been doing lately. A colleague of mine ask me to make these giant 4"x16" plates for his wife and sister. He provided the logos and the format that he wanted. The Glowforge did the rest.
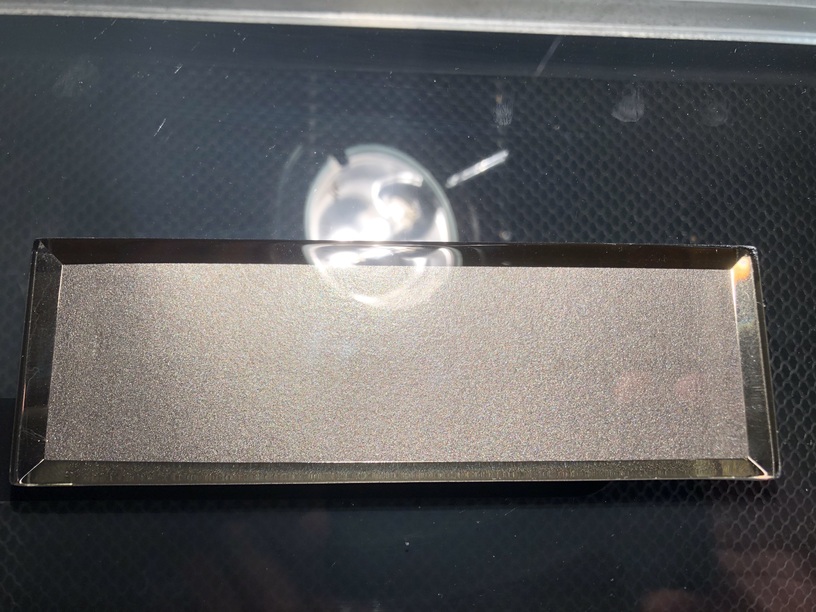
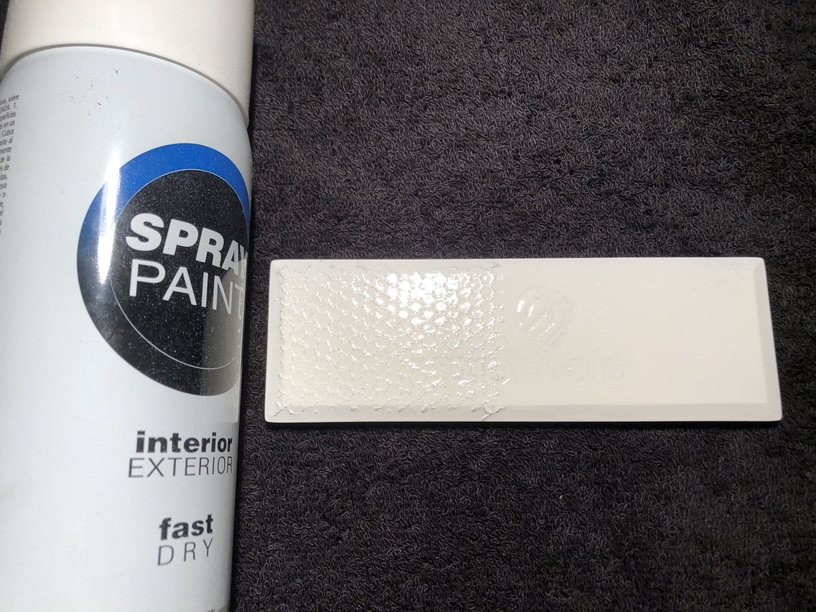
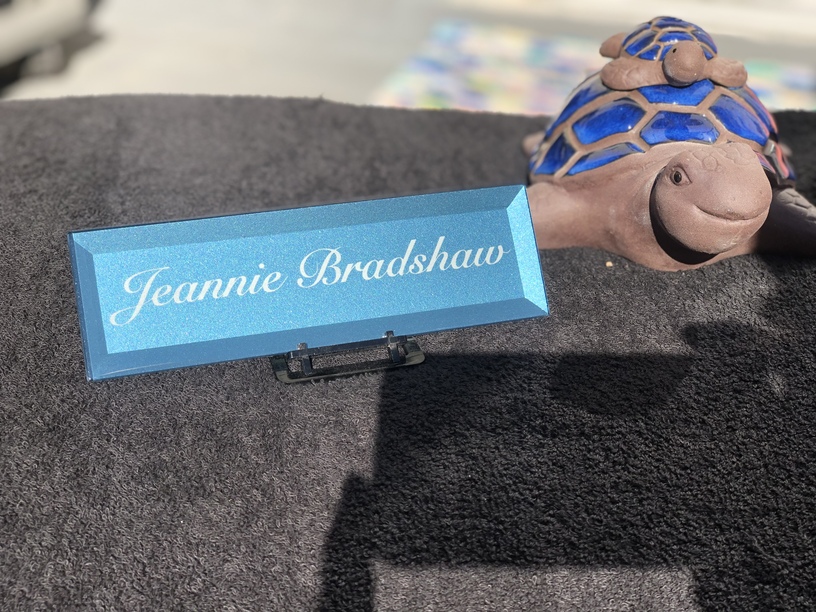
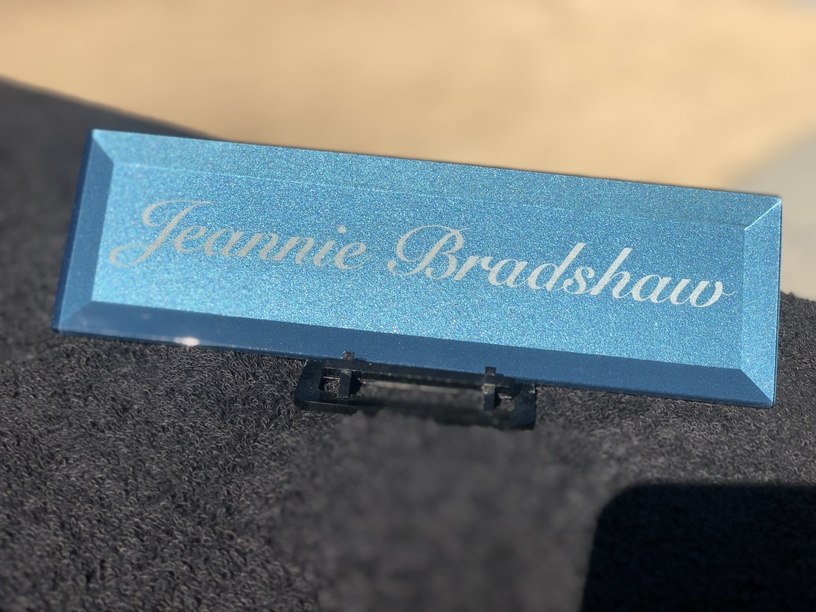
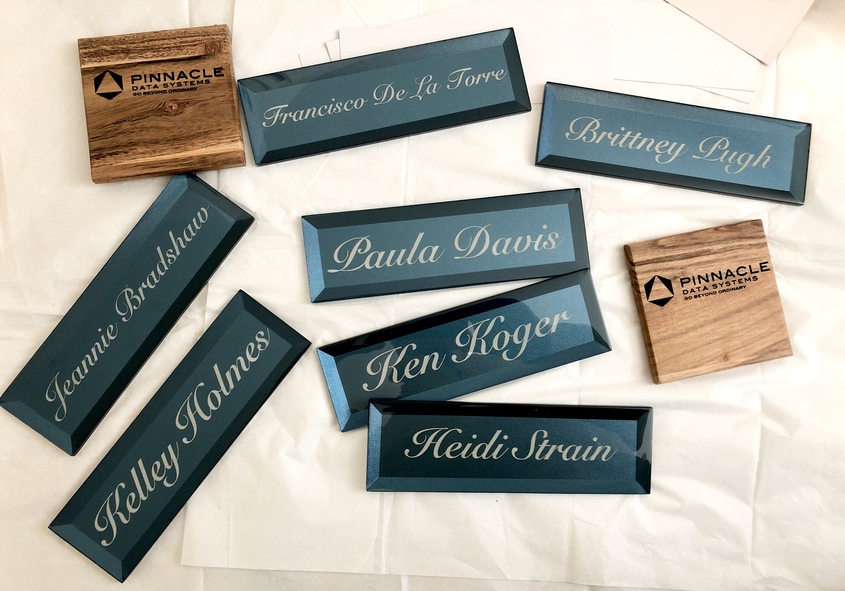
I did a few of these really cool metallic blue plates. Once the laser did it’s work I cleaned them and flipped them for white paint on the revers side to make them pop.
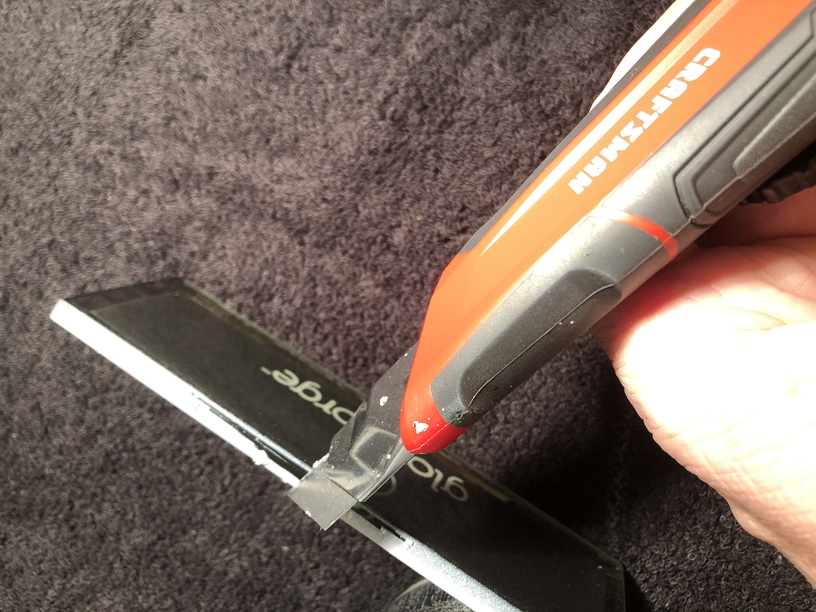
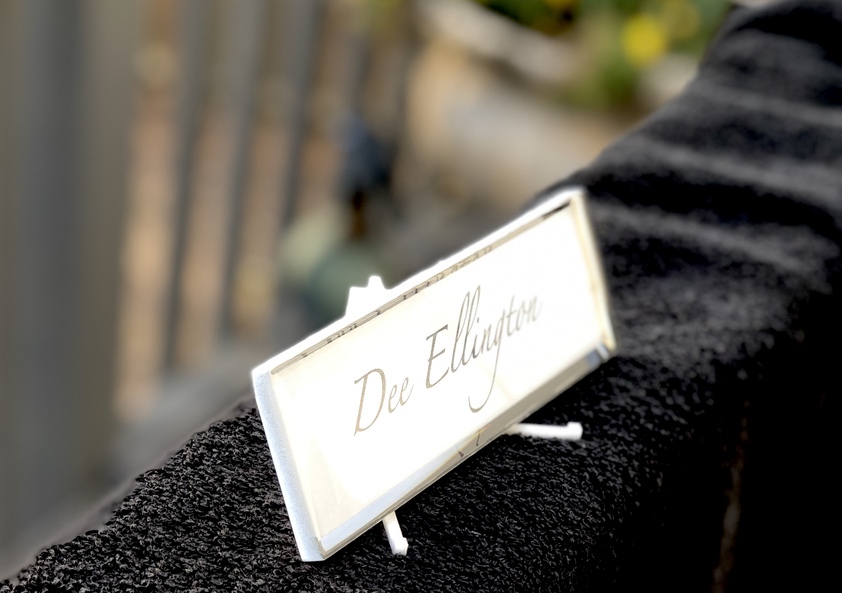
I like the hold down pin you are using in the first pic I really need to find a source for those “subway” tiles with the white backing and glass front. They only sell them in pre glued sheets here and i think removing them from the mesh would probably damage the coating.
I have some hammered effect Krylon that I’ve been wanting to try out. This really gives me ideas. MDF slats with some router work on the enges, paint, and a little GF magic. Thanks for the inspiration.
That’s exactly what I am doing. The mesh backing is pretty easy to come off. I find that the pre-painted coating is very durable when removing it. I have never had one pull off of the bonded surface to the glass.
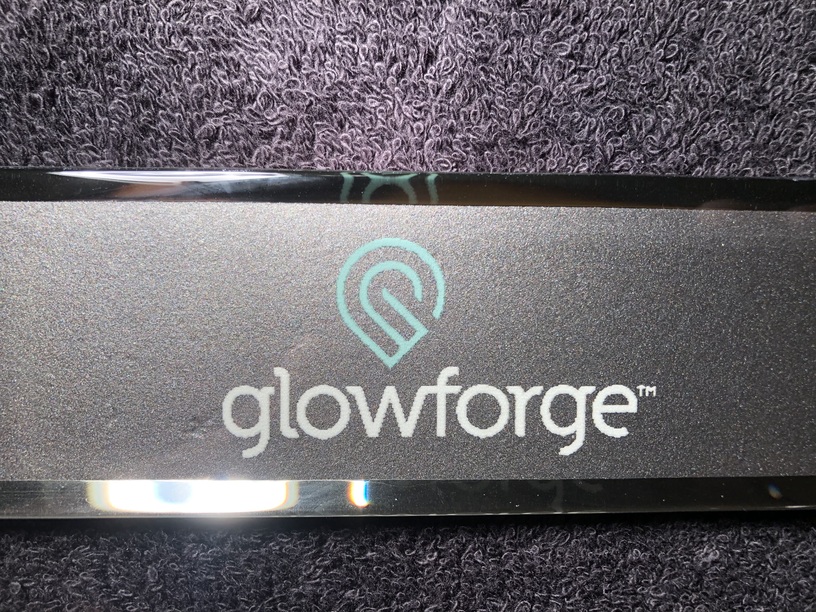
They are just beveled glass tiles. Most call them subway tiles. The particular coating on these tiles looks like a metallic marine metal flake blue automotive paint. They are available at most local big box stores. The folks in mine were wearing orange.
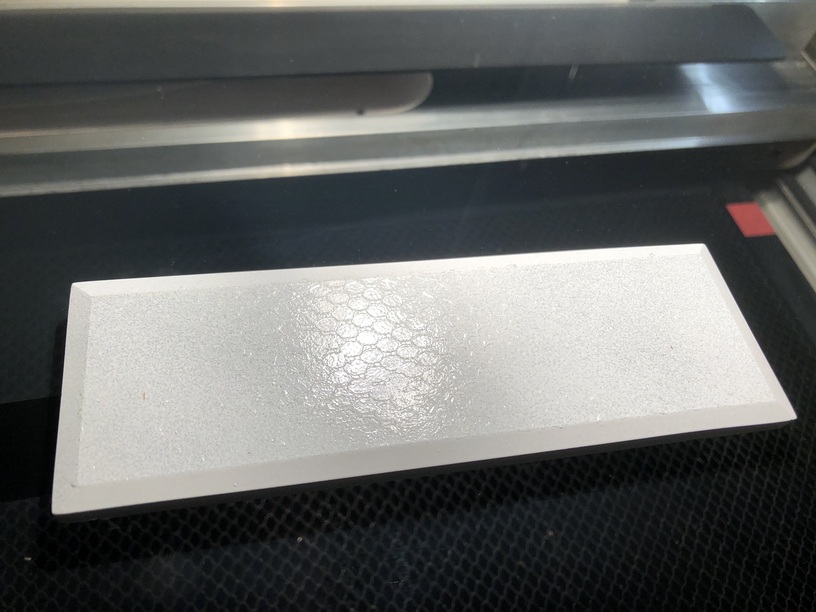
I peel the grid mesh off and leave the lightly checkered surface on it. I’ll add that pic in a few minutes. I do remove the stickers, as every tile has a sticker on the back. I take that last statement back… The single tiles all have a sticker that needs to be removed to get the surface ready for the Glowforge. Now back to the mesh. I grabbed a pic.
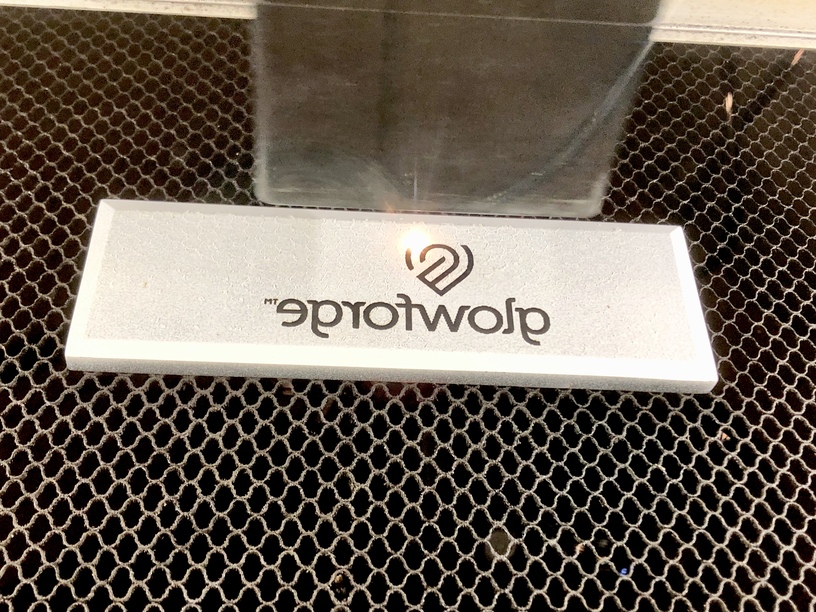
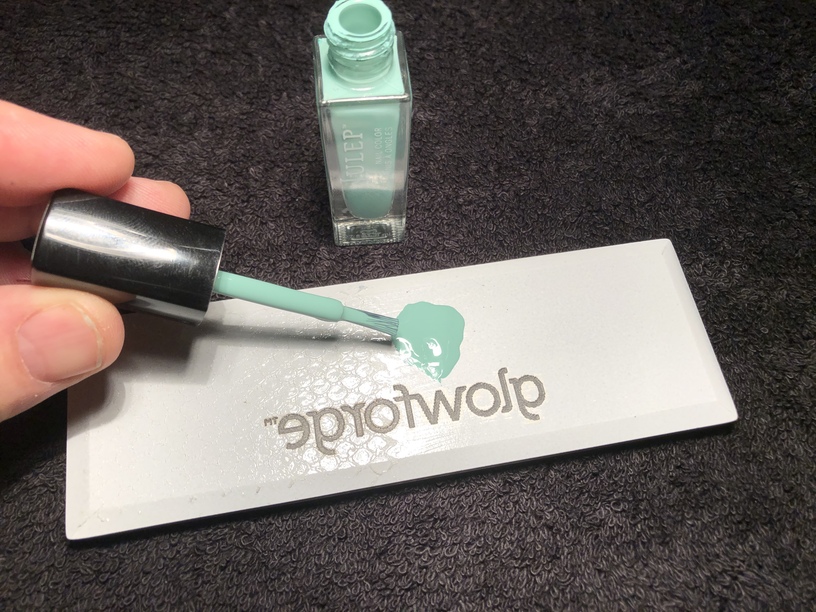
Just type your favorite font, save the font as a image snip, flip it horizontal, Glowforge it, then leave it as is, or add some contrasting paint back on it over your laser work to make it pop.
Nice! I need to find a an EU source of tiles like this. That is a very nice effect for a reasonably straight fforward procedure. Thanks for all the tips!
I’m always amazed at how great these lasered tiles come out! It’s a perfect medium for the GF: inexpensive, lots of color and size options, and they always look fantastic.

 I really need to find a source for those “subway” tiles with the white backing and glass front. They only sell them in pre glued sheets here and i think removing them from the mesh would probably damage the coating.