Another shining example of how @Jules is a supreme human: learning, then teaching others so they don’t have to repeat efforts and waste time. Thank you so much, I always learn so much from your posts.
4 Likes
Whoa, thanks! Don’t think I qualify as supreme anything though…bored cheerleader?..maybe. 
2 Likes
What program are you using for design. I just have the interface with the glowforge and everything I import is a jpg file. Basically I want to be able to tell it to cut this line and like to cut around something I have imported . You know, like to cut out a decoration or anything like that.
1 Like
There are a number of different programs that people work with. I personally like to use the Free Inkscape option, but many others here use Adobe Illustrator, Affinity Design, and Fusion360.
1 Like
Welcome to the forum @pappy.
You can use any drawing software you want. I use an old version of Illustrator that I actually own outright (no subscription service). Or as @julybighouse mentioned, Inkscape is the supported free alternative.
There are more tutorials in our Tips and Tricks section, and a whole section on tutorials for the Drawing programs here:
1 Like
I would like to propose the creation of a new top-level category for this forum. The new structure would be:
- Announcements
- Jules Rules
- Made on a Glowforge
- Glowforge Tips and Tricks
- Problems and Support
- Free Laser Designs
- Everything Else
Because Jules rules. Thanks for all your hard work and great posts!
13 Likes
I have a question and think i am just missing something after reading so many posts. I have made one of the edge lit acrylic signs without any gradient. I’d like to go back and add the gradient to allow the light to shine a little more evenly throughout the design. But…how do I create the bitmap gradient in inkscape? I see the option for illustrator (object->rasterize), but how do other do this same type of thing in inkscape? Thanks for the help.
1 Like
You know that’s a good question. Any object can be rasterized in Inkscape by selecting it, choosing Edit > Make Bitmap copy, but I have no idea how to create a gradient in the first place in Inkscape. Maybe someone else who uses it knows.
(If it can’t do it, you might have to create them in a raster program like GIMP or Photoshop and then import them into Inkscape.)
2 Likes
Thinking aloud - is the object an engrave, ie already a bitmap ?
Or are you trying to vary the depth of a vector line ?
If the former, then Gimp is your friend, but if the latter, I’ve no idea as yet.
John
This may help, go down to 6.
https://design.tutsplus.com/tutorials/quick-tip-how-to-create-gradient-fills-and-on-stroke-in-inkscape–vector-14240
Not tried it, as I’m still an inkscape newbie, but I have got a future use for it, if it works !
So please give us a heads up on the results.

4 Likes
Thanks, Jules and John. The Edit -> Make Bitmap copy did the trick. I created a gradient filled box, did the “Make bitmap copy” on it and GF treated it like an engrave. I could then do the different types of engrave (3d, hd, sd, …). Thank you - this is the piece I was missing. 
3 Likes
Inkscape has the gradient option alongside the buttons to turn the vectors on or off (you can even gradient the vector! However, for a gradient that follows the shape, I would go to Gimp as I cannot get the Inkscape gradient to do so, You could use “Glow” in a vector behind the work that would be such a raster but it would be on both sides of the line.
3 Likes
Great list, thanks!
1 Like
I’m doing everything I can do avoid the monthly cost of AI and so one of the things that has taken me the longest to learn is the cut out function. In Illustrator it looks pretty straightforward and though I found some tutorials that described the function in Inkscape, I thought I’d share here to add to the @Jules original.
So in this simple tutorial I’ll explain how I cut out the shape above in to the shape below using a black circle and a simple top graphic.
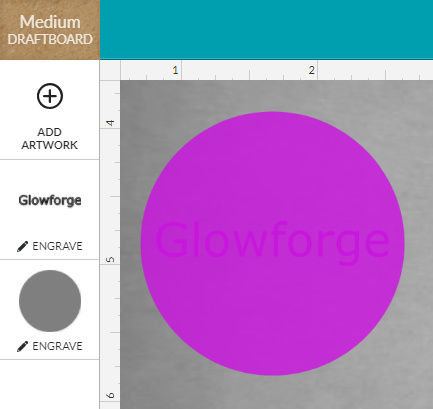
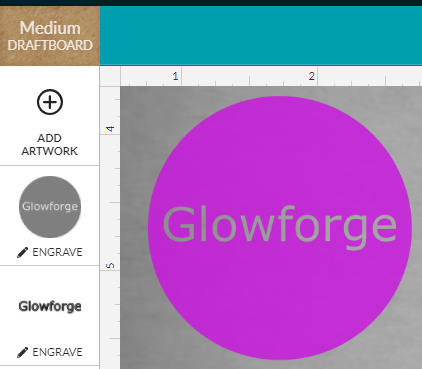
If you just draw a circle and lay something on top, the gfui presents the following:
So @Jules describes the process in AI and it is indeed simple there but it took me some time to figure it out on Inkscape.
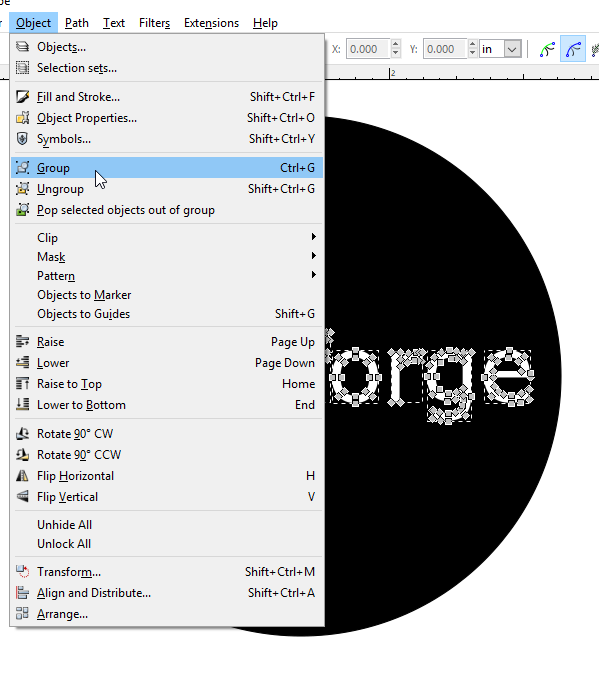
First, click “edit paths” button ![]() and select each path in the top image - in this case, we’re clicking each letter in the text (already used object to path since gfui doesn’t read text) -
and select each path in the top image - in this case, we’re clicking each letter in the text (already used object to path since gfui doesn’t read text) - 
I then choose to group these together.
Then I create a new layer above and move my grouped image to it. 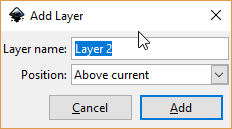
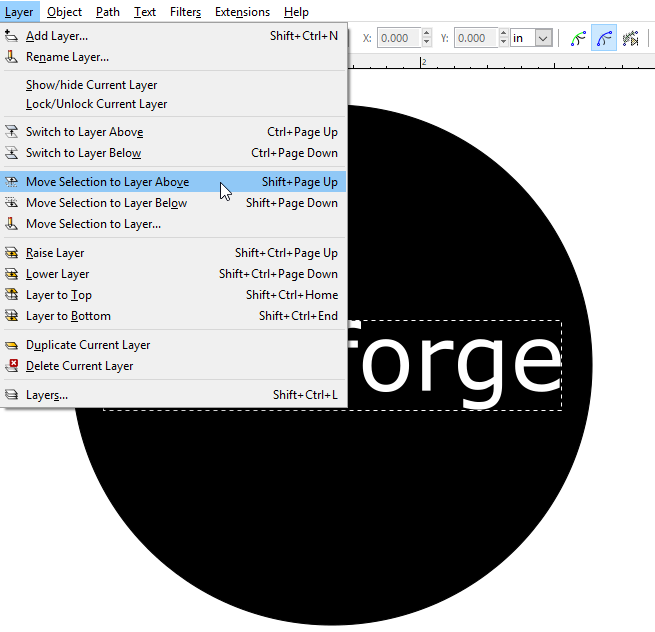
Then switch to layer above: ![]()
With the text group selected, shift click the background image:
and choose exclusion.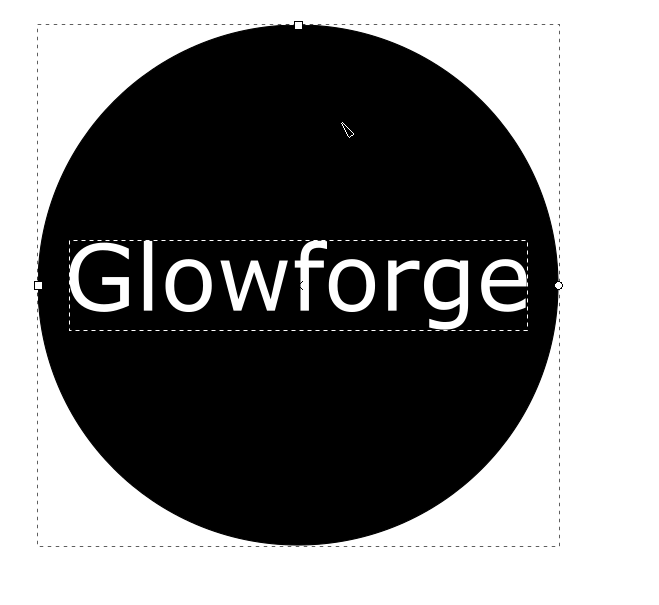
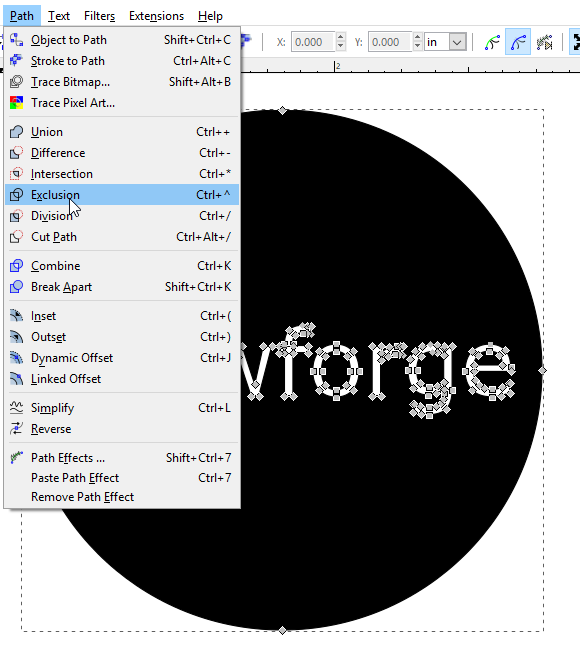
Your finished product will cut the above layer out of the bottom layer and effectively combine the two in the way that I need it for the GFUI.
I hope this helps those that are attempting to learn all of this from the ground up without prior design software knowledge.
Also, I see this as an extension of @Jules post but let me know if this should be in a separate thread.
The other thing I’ve had to learn is how to make cut line out of anything. This exclusion feature and the offset feature have been the most useful so far.
20 Likes
It’s great to have the Inkscape method outlined as well! Thanks for adding it. 
2 Likes
Perhaps I’m not seeing something here, but while it has the same number of steps, I don’t understand the need to complicate things by creating a new layer.
See if you find the following method both more logical, and universal.
Start with your filled circle, and then type out your text on it.
Select the text.
Click on ‘Object to Path’ in the Path menu, which converts the text to a ‘group’ of paths.
Click on ‘Ungroup’ in the Object menu, then click on ‘Combine’ in the path menu, which turns them into a single path.
Select both the new path and the filled circle,.
Click on ‘Difference’, in the Path menu, and you have the object you require.
12 Likes
Thanks for this. Any enhancement to this method I stumbled on is a plus. I’ve yet to try it, but I’m looking forward to trying it. I will update my amateur version accordingly.
It took me so long to get to this method that optimization was an afterthought. I don’t have time for classes, so I’ve been finding youtube videos when I can.
Do yo happen to have any tips on generating a cut line around any object? For instance, in Inkscape now, I do a dynamic or linked offset of a duplicate on another layer.
1 Like
There’s also this technique:
3 Likes
Nice! Thanks, @AhnoldZ. What else are you using regularly in Inkscape?
1 Like
Funny how we all have different workflows. Assuming he circle and text are the only objects in the doc… this is how I’d do it:
Control a. (Select all)
Object to path. (Converts text and circle to path. If circle is already a path no harm.)
Control a (in case anything isn’t selected after path conversion)
Control shift g. (Ungroup everything)
Shift click on circle. (deselecting it, now the letter objects are still selected) .
Control k. (Combine letters into a single path)
Control a. (Reselects the circle, now both paths are selected)
Path->exclude. (Cuts it out)
Done.
6 Likes
By your exclusive use of keyboard short cuts, am I right in guessing you might be a mac user, rather than pc ?
I suppose because I came through the pc/win route, then graduated to ubuntu, but still with a pc, my instinct has always been to using the mouse, then latterly a pen.
Perhaps I have a need to keep hold of the mouse in my dominant left hand, and never got the instinctive typing skill to find the right keys when I need them !
1 Like