I’m a newbie. Like, I’ve printed a few items from the catalogue and that’s it. I need to do the first suggested exercises. I’ve been busy working on our observatory. 5 premium telescopes, including 2 research grade telescopes. We have 2 PhD’s on our team, along with five teachers from four schools. When Covid is solved we will have free admission for students, teachers, school employees, and artists in four counties. So I have been busy. I’m trying to think about a project 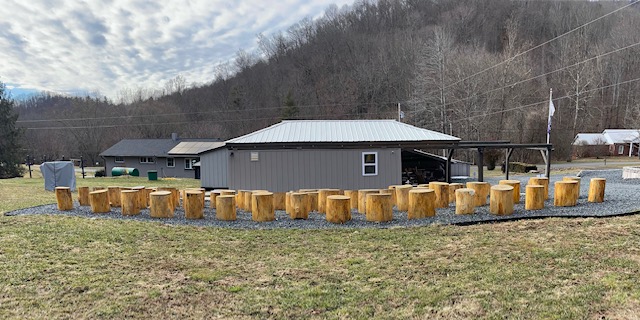
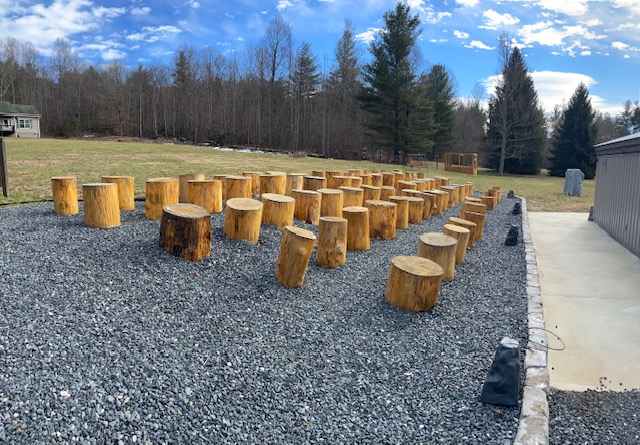
I want do to in a couple of months. I have the Glowforge Pro so I can print to infinity. I have Lightform LFC Kit, which allows me to do projection mapping/augmented reality on objects. I have a boatload of vectors from Shutterstock depicting flying saucers and aliens. We have as far as I know, the only UFO Landing Pad in the United States. I’m thinking about printing out 2 12 ft boards of a flying saucer and using a pattern at the edge (not sure what you call that) to connect the boards. Assuming best to use 1/2 inch and I’m thinking white color - birch plywood. I’ve attached photos of the viewing area we use for videos and the projection of the flying saucers and aliens would be to the right, about 80 yards. Any ideas, suggestions would be appreciate particularly from those who have used the pass through slot on the Pro, printed 10+ feet length, printed project that involved connecting top and bottom boards. https://www.willisobservatory.com/
I think that would be amazingly cool! Looking forward to hearing more about the project.
One thing to be aware of, is that you can’t use boards thicker than 1/4” if you are going to use the passthrough slot. You could always do it in two 1/4” layers if you want 1/2”. Also, be aware that non Proofgrade birch can have voids and plugs that can cause cutting failures. If you plan to use non Proofgrade birch, your best bet is to go for true Baltic birch.
Thank you so much
one thing you can do is cut/engrave on 1/4 or 1/8 and then attach that to a backer board to give you the additional thickness.
This! You will find it so much simpler and easier to do it this way
This topic was automatically closed 32 days after the last reply. New replies are no longer allowed.